How to install and configure vRealize Operations Manager 6.0.1

VMware vRealize Operations Manager

vRealize Operations Manager is the successor of vCenter Operation Manager which consists of much more then a simple name change, but several changes in the product over all. Just one of the new changes is that vRealize Operation Manager can now be deployed as a single virtual appliance, or on a Windows or Linux machine.

This post we’ll walk through installing and configuring vRealize Operations Manager 6.0.1 step by step.

Deploy and install vRealize Operations Manager 6.0.1

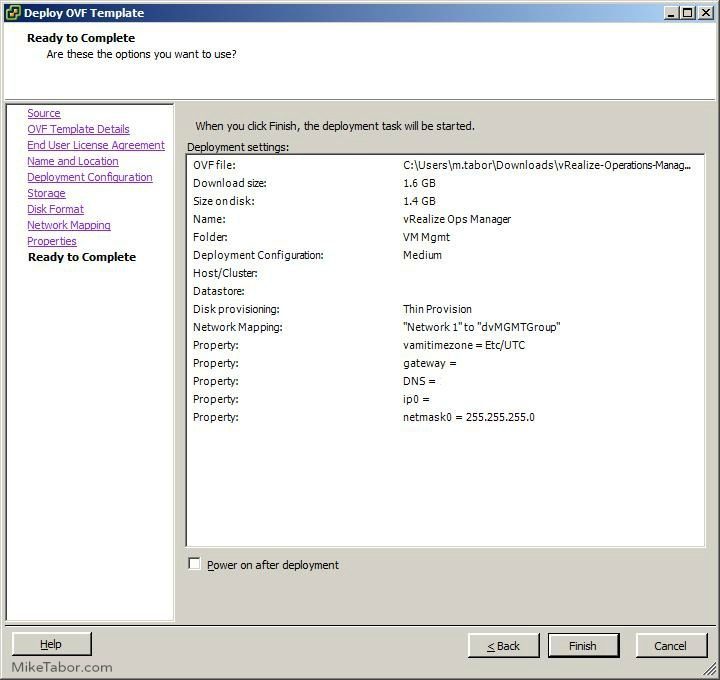
  1. Download the vRealize Operations Manager 6.0.1 OVA file from VMware.com and then deploy the OVA just like any other OVA using either the vSphere thick or web client. During this process you will configure the name, deployment size, datastore, disk format (thick or thin) network mapping, and then timezone and network settings (IP address, etc).
    vrealize operations manager deploy ova
  2. Now power on the vRealize Operations Manager virtual machine.
    vrealize operations manager console
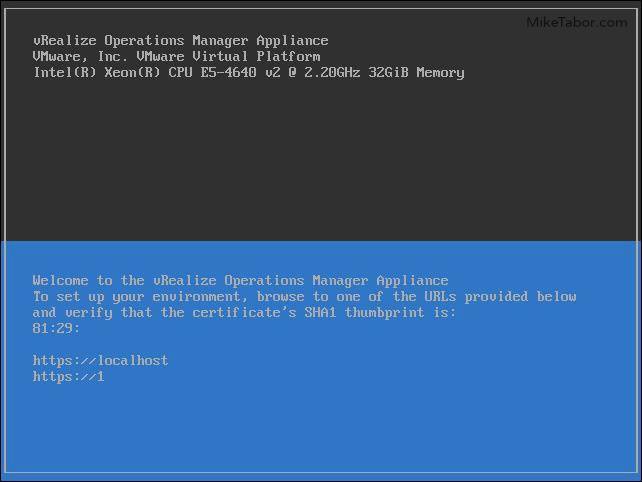
  3. Once the OVA has been deployed open up a browser window and go to: https:\\IP_ADDRESS\
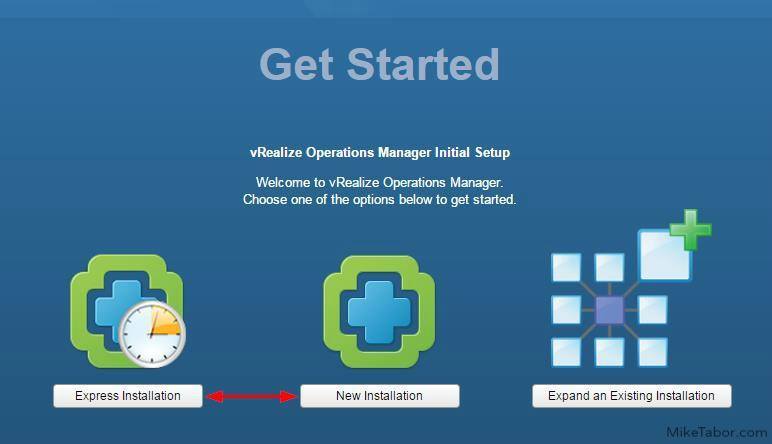
  4. At the vRealize Operations Manager Getting Started page select either “Express Installation” or “New Installation“. For me I selected “Express…“.
    vrealize operations manager getting started
  5. Click Next at the Getting Started step, then set an Administrator password.
    vrealize operations manager admin password
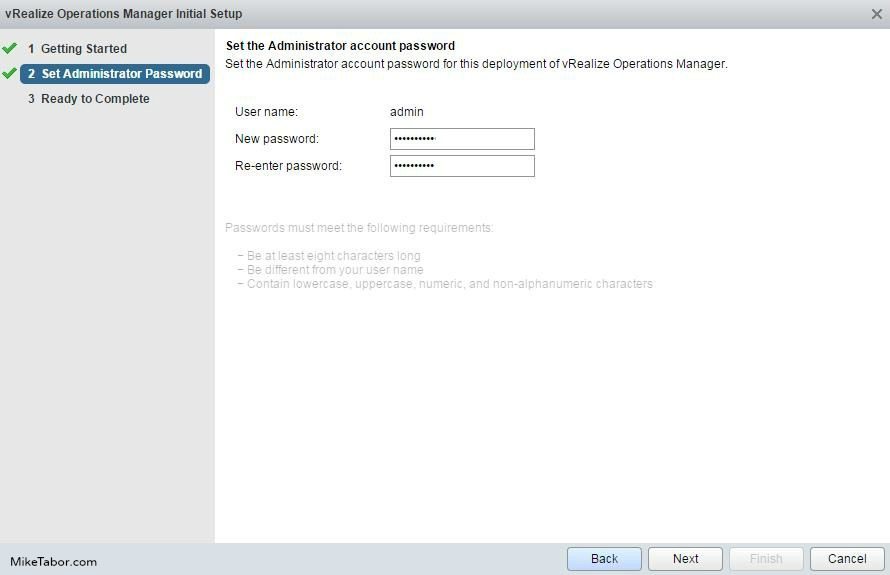
  6. Click on Finish to complete the initial setup wizard.
    vrealize operations manager finish inital setup
  7. vRealize Operations Manager will then being preparing for first use.
    vrealize operations manager preparing
  8. Within a few minutes you will be congratulated by vRealize Operations Manger and prompt you to log in.
    vrealize operations manager first login

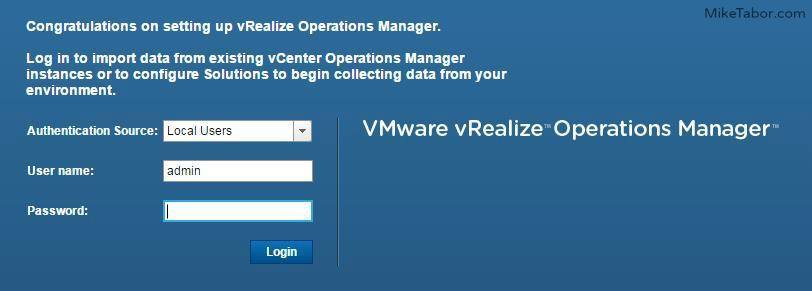
At this point vRealize Operations Manager 6.0.1 has been installed and ready to be configured or import data from an existing vCenter Operations Manager.

How to configure vRealize Operations Manager

  1. Picking up where we left off from above, log into vRealize Operations Manager using admin and the password you configured earlier.
  2. Select “New Environment” if you are not importing data from an existing vCenter Operations Manager install or “New Environment” if you are. For me I’ve selected “New Environment“.
    vrealize operations manager configure new environment
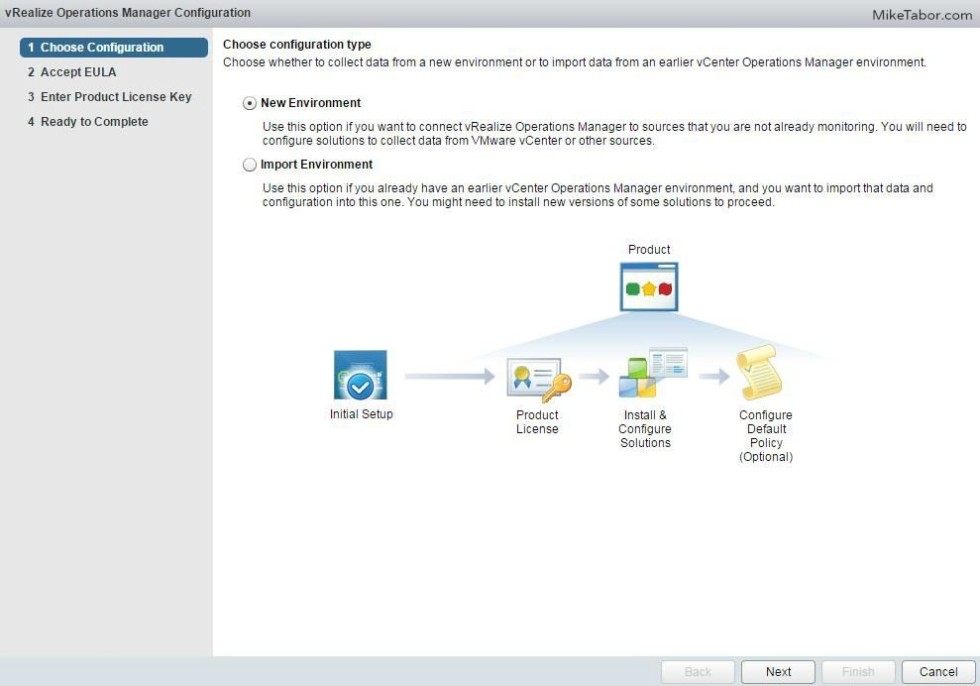
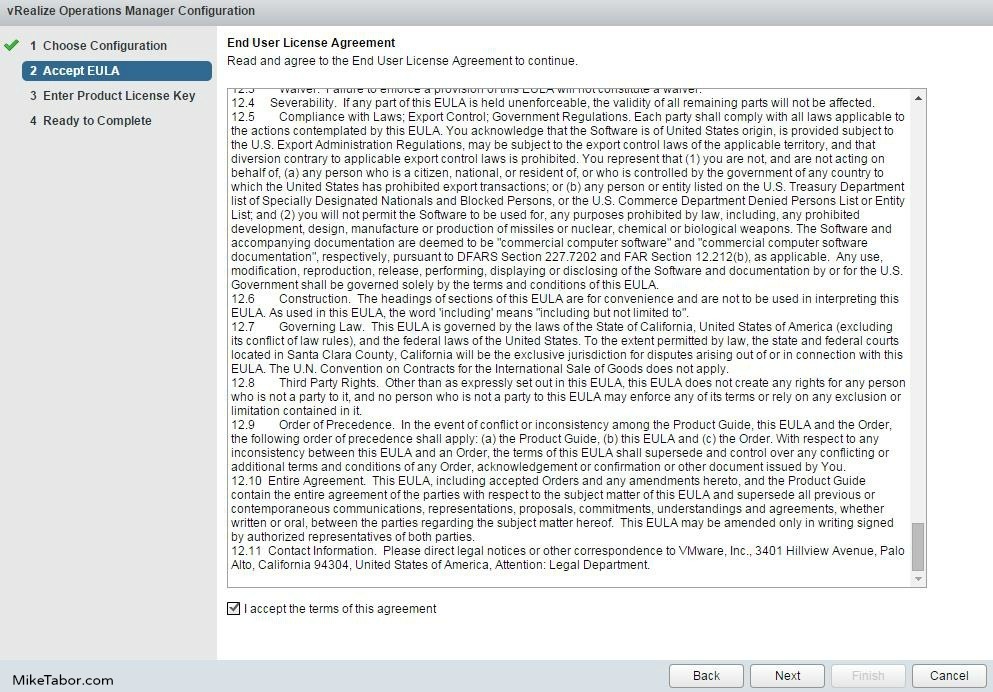
  3. Accept the EULA and click Next.
    vrealize operations manager configure accept eula
  4. Enter your product key or start a product evaluation then click Next.
    vrealize operations manager configure product key
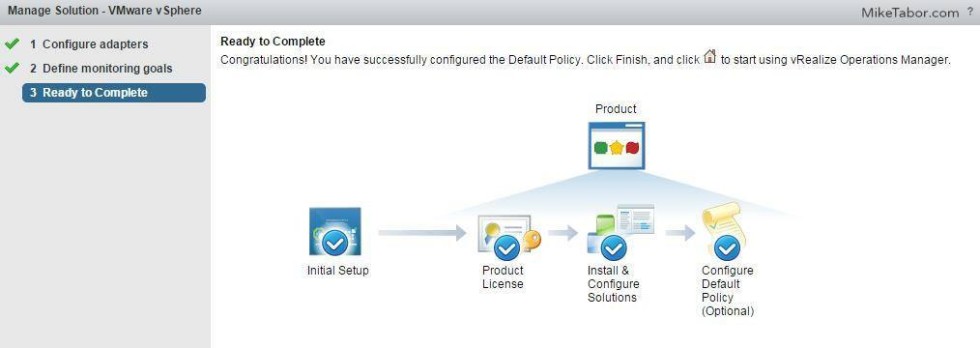
  5. Now click on Finish at the Ready to Complete stage.
    vrealize operations manager configure complete
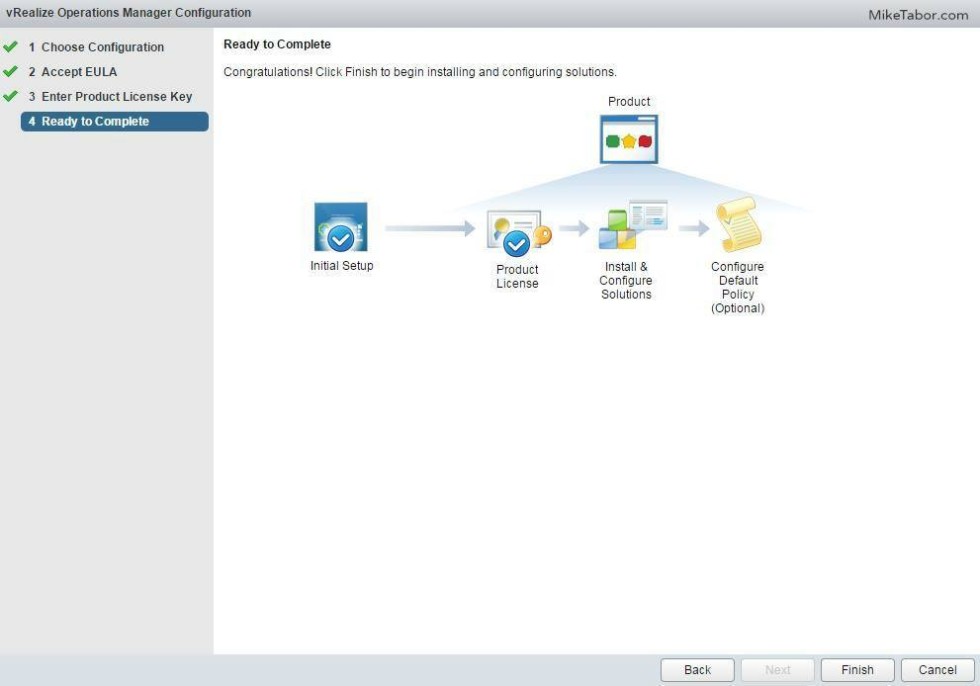
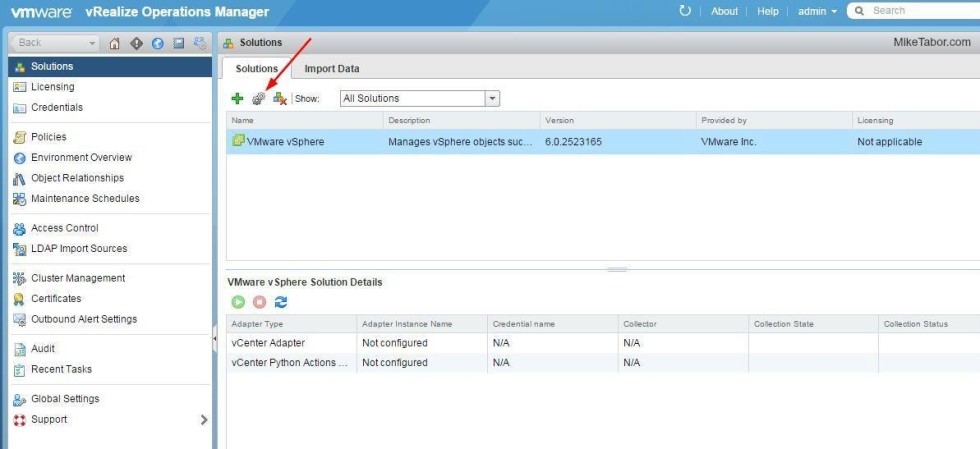
  6. When the vRealize Operations Manager configuration wizard finishes you should be taken to the “Solutions” menu. Click on “Configure” above “VMware vSphere” in the right pane.
    vrealize operations manager configure vsphere
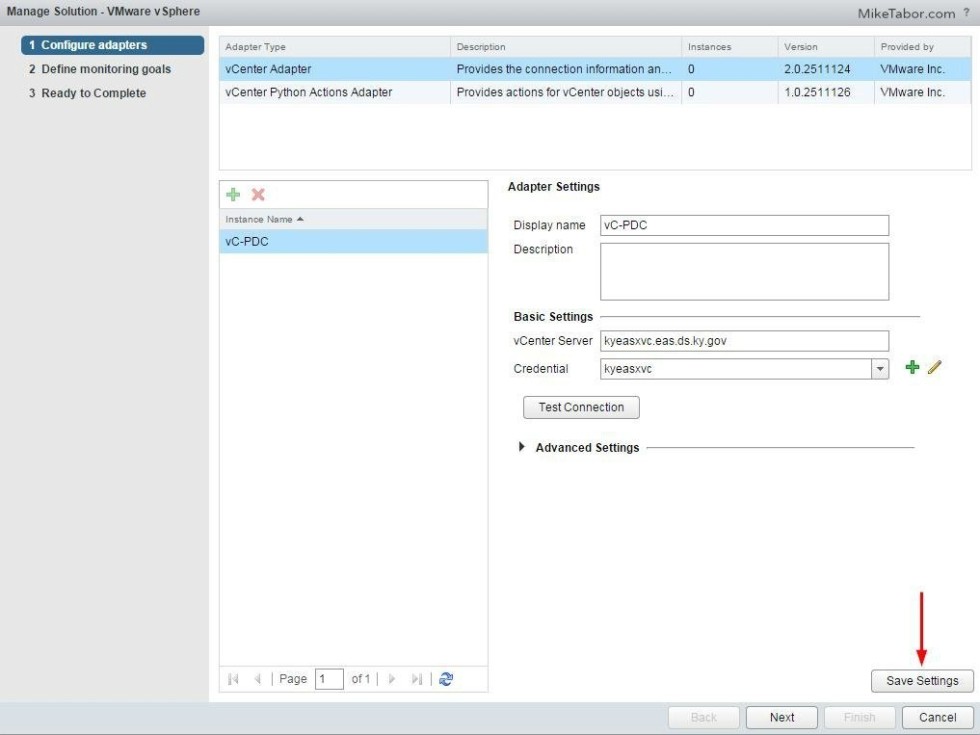
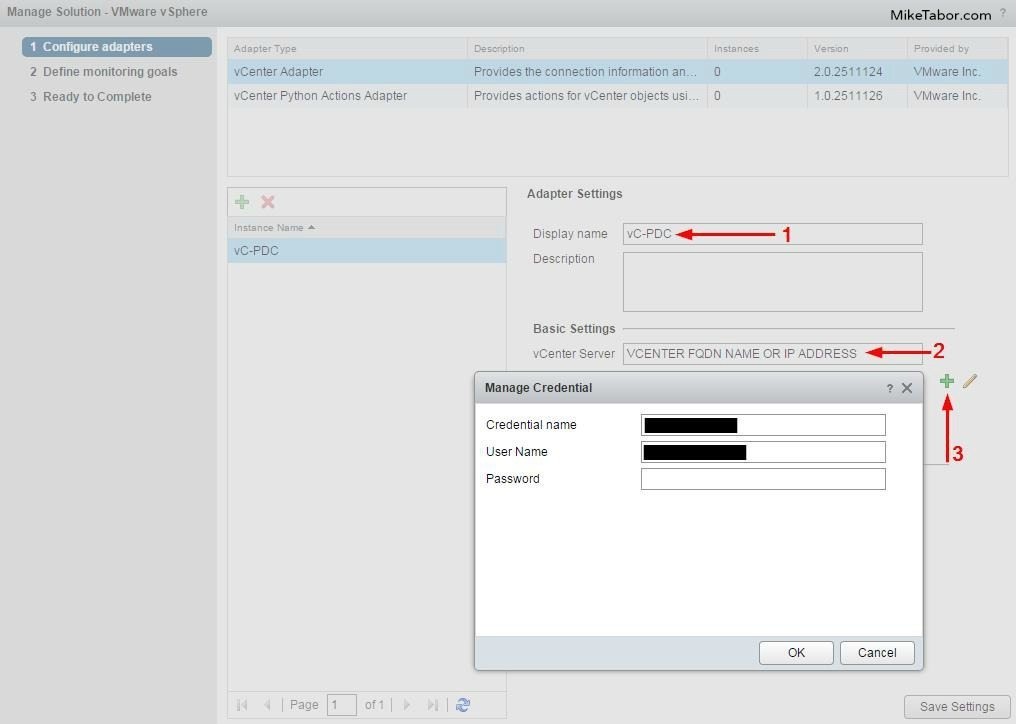
  7. In this step we’ll need to give vRealize Operations Manager credentials to use for the vCenter Adapter and vCenter Python Actions Adapter. So select the vCenter Adapter, enter a display name (#1), enter your vCenter server name or IP address (#2), click on the green plus icon (#3) and add your credential name, username, and password. Then click on Ok and Test Connection.
    vrealize operations manager configure add credentials
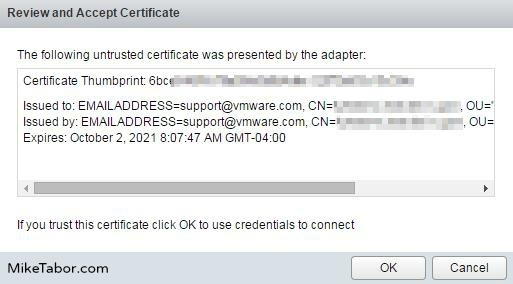
  8. Review the certificate information and click on OK.
    vrealize operations manager configure add accept certificate
  9. Click on OK after the test has been successful.
    vrealize operations manager configure test successful
  10. Now click on “Save Settings“.
    vrealize operations manager configure save settings
  11. Under “Adapter Type” select vCenter Python Actions Adapter and repeat steps 7 – 10 then click on “Next“.
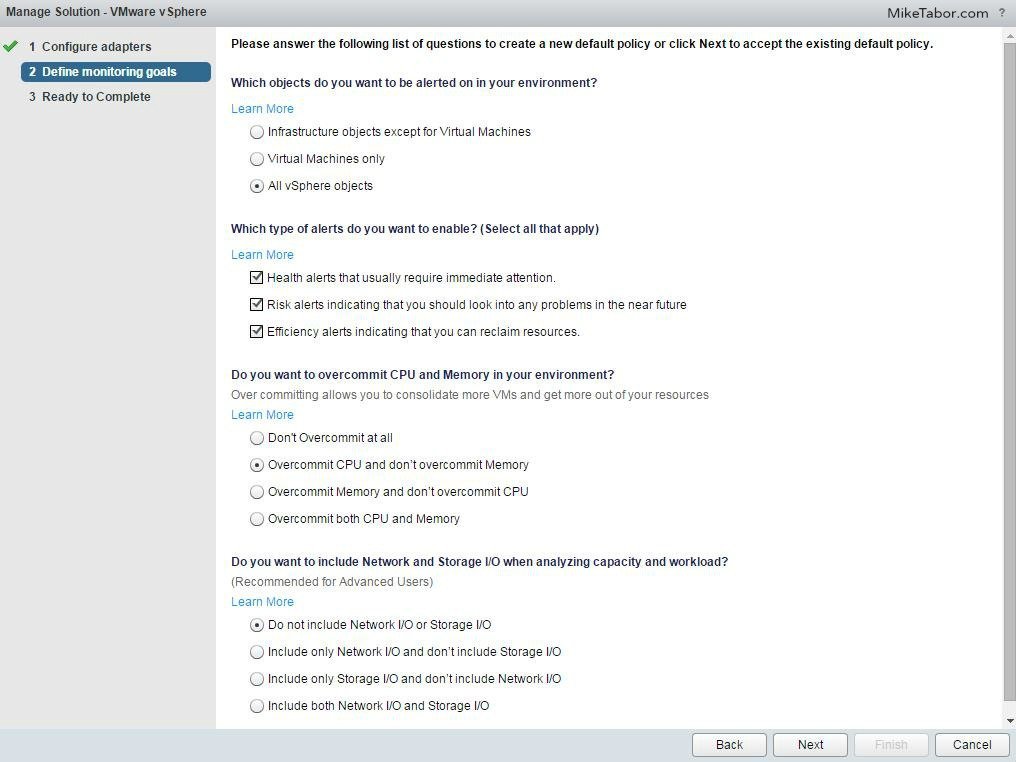
  12. Select how you would like the default policy to monitor your environment and click on Next.
    vrealize operations manager configure monitoring goals
  13. Finally click on Finish on the Ready to Complete page.
    vrealize operations manager configure ready complete
  14. If all goes well you should see both the vCenter Adapter and vCenter Python Actions Adapter collecting and receiving data.
    vrealize operations manager configure collecting

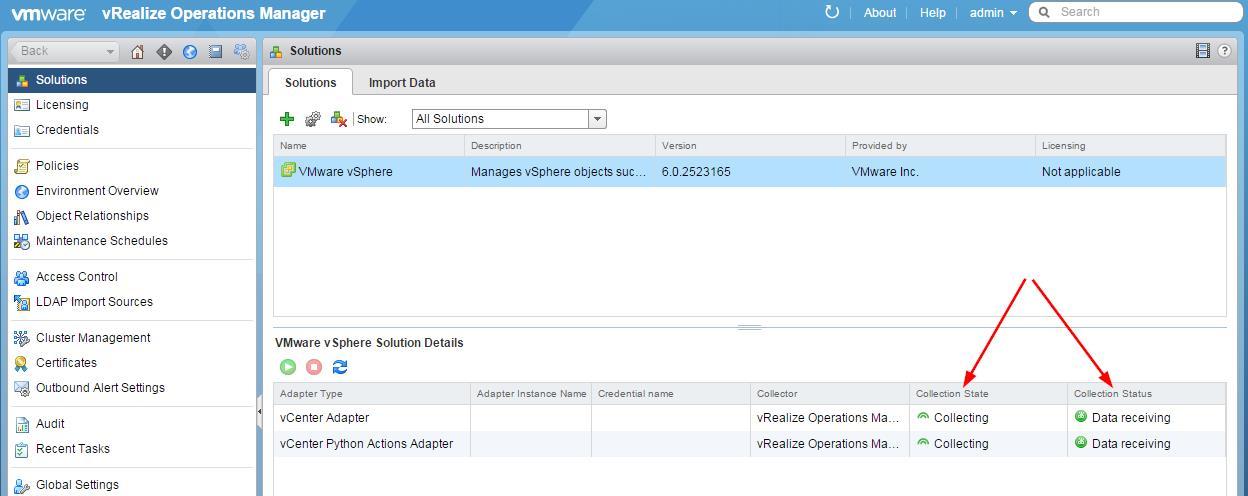
At this point VMware vRealize Operations Manager 6.0.1 has been deployed, configured, and now collecting data from your vCenter environment.

Similar Posts

  • VMware Recertification Policy

    VMware certified

    Starting today, March 10 2014, new VCP certifications must be re-certified within two years of it’s earned date. Anyone who currently has their VCP certification prior to March 10 2013 has until March 10, 2015 to re-certify.

    The new policy gives you three options to re-certify:

    1. Take the current exam for your existing VCP certification solution track. For example, if you are a VCP3, you could take the current VCP5-Data Center Virtualization (VCP5-DCV) exam.
    2. Earn a new VCP certification in a different solution track. For example, if you are a VCP-Cloud, you could recertify by earning VCP5-Desktop (VCP5-DT) certification.
    3. Advance to the next level by earning a VMware Certified Advanced Professional (VCAP) certification. For example, if you are a VCP5-DCV you could earn VCAP5-DCA certification.

    I can understand why they are doing this but I don’t agree with the changes. As per the announcement if you let your certification expire, “Your certification will be revoked,and you will no longer be entitled to use the certification logo or represent yourself as VMware certified“. Really? You mean everything that was done prior and after taking the exam means nothing?

    Read More “VMware Recertification Policy”

  • How to install VMware vCenter Log Insight

    VMware vCenter Log Insight

    Log Insight is a real-time log management and analytics solution, and one of VMware’s newest product. Log Insight was recently updated to version 2.0 and available to download here.

    Below we’ll go through the steps to installing VMware Log Insight and you’ll soon see just how easy it is to get Log Insight up and running.

    Read More “How to install VMware vCenter Log Insight”

  • VMware extends VCP550D exam deadline again, provides VCP6 discount

    VMware Education

    VMware has just announced good news for many VCP’s and procrastinators alike by extending the VMware VCP550D Delta Exam from March 10, 2015 to May 8, 2015!

    It seems VMware had some issues with the myLean system over this last weekend as well as some partners of VMware expressed concern that the initial deadline (Nov 30, 2014) and first extension (March 10, 2015) was not enough notice and asked for another extension so they (the partners) could schedule time to have their VCP’s re-certified.

    If you haven’t taken the VCP550D exam yet, I’m compiled a list of topics to study in my VMware delta exam passed post.

    Read More “VMware extends VCP550D exam deadline again, provides VCP6 discount”

  • Install ESXi 5.1 from a USB Flash Drive

    Many servers already come with a DVD/CD-ROM drive or some kind of ability to virtually mount an ISO image from a network share onto your server to then install ESXi. However, not all do or you just want to have your ESXi image readily available. Here’s a quick step by step instructions on how to use a USB flash drive to install ESXi.

    1. Download ESXi 5.1 from VMware (if you haven’t already) as well as UNettbootin.
    2. Plug in your USB Flash Drive.
    3. Open UNetbootin and select “Diskimage”, set Type to “USB Drive”, select Drive letter of your USB flash drive, and set the path of your ESXi 5.1 ISO image. Then click on “OK”.
      unetbootin setup
    4. Read More “Install ESXi 5.1 from a USB Flash Drive”

  • How to easily add an ESXi SSH login message banner

    ESXi issues message

    Preparing for some upcoming audits, I noticed one of the checkpoints was to ensure each ESXi host was configured with a warning banner stating the machine is being monitored and audited when someone logs into the ESXi host via SSH. This type of message is something you see on most any company or government computer before you login.

    There are two message types that can be used to achieve this, the first being login banner (/etc/issue) and MOTD (/etc/motd). The difference between the two are where they are shown. The login banner is shown between the username and password inputs during login, while the MOTD is displayed after a user has successfully logged into SSH.

    Read More “How to easily add an ESXi SSH login message banner”

  • How to shadow a VMware Horizon View desktop

    Ever work on a View 5.x Desktop issue and needed access to the desktop it self while in use? While not a feature that is easily enabled say via the vmTools or the View Administrator console – it can however be easily enabled via Group Policy, similar to some other settings that I mention in the Windows 7 Optimization Guide.

    Enable PCoIP Shadowing

    • Import the pcoip.adm GPO Template.
    • Navigate to: Computer Configuration > Administrative Templates > Classic Administrative Templates (ADM) > PCoIP Session Variables.
    • Enable “Enable access to PCoIP session from a vSphere console”.
    • Link the GPO to the OU where your View Desktops reside.

    shadow pcoip policy

    Read More “How to shadow a VMware Horizon View desktop”

Leave a Reply

Your email address will not be published. Required fields are marked *