How to Backup and Restore Google Workspace Data Using Synology Active Backup
The importance of data backup can’t be overstated. Whether you’re safeguarding enterprise data or just personal files, a reliable backup tool is a must.
In this guide, I’ll be sharing how you can utilize Synology’s Active Backup to backup and restore your Google Workspace data, ensuring that your information remains secure and accessible at all times.
Before we get started, you will want to configure and generate a Google Workspace API/Service Key.
Installing and Setting Up Synology Active Backup for Google Workspace
- Login into your Synology NAS and open the Synology Package Center.
- Install “Active Backup for Google Workspace“.
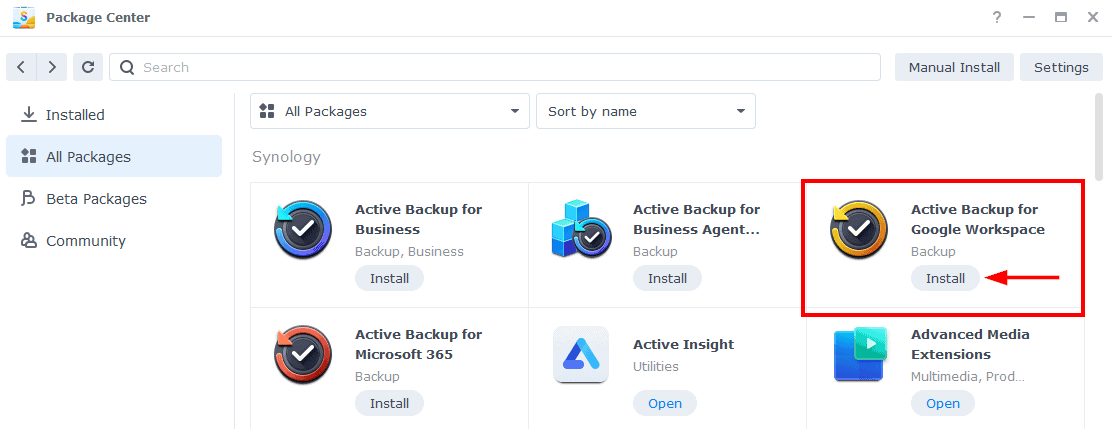
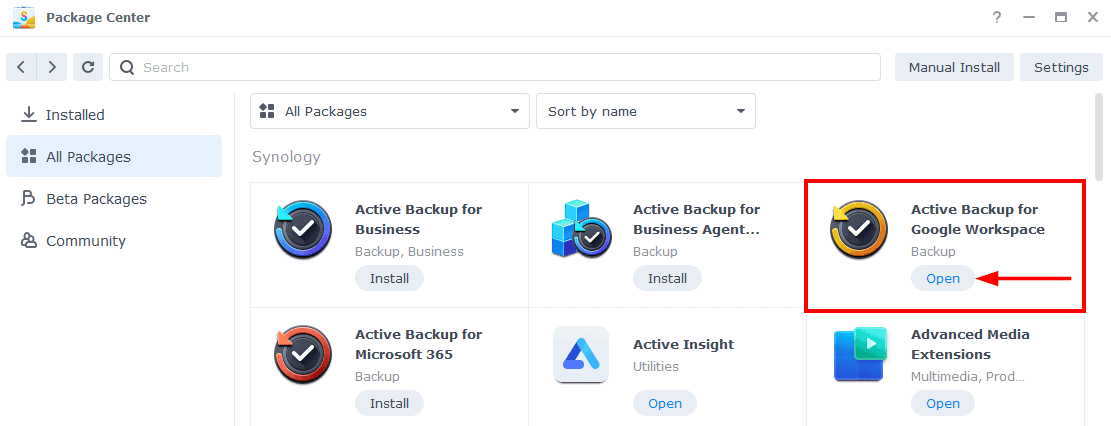
- After Active Backup finishes installing, click on Open.
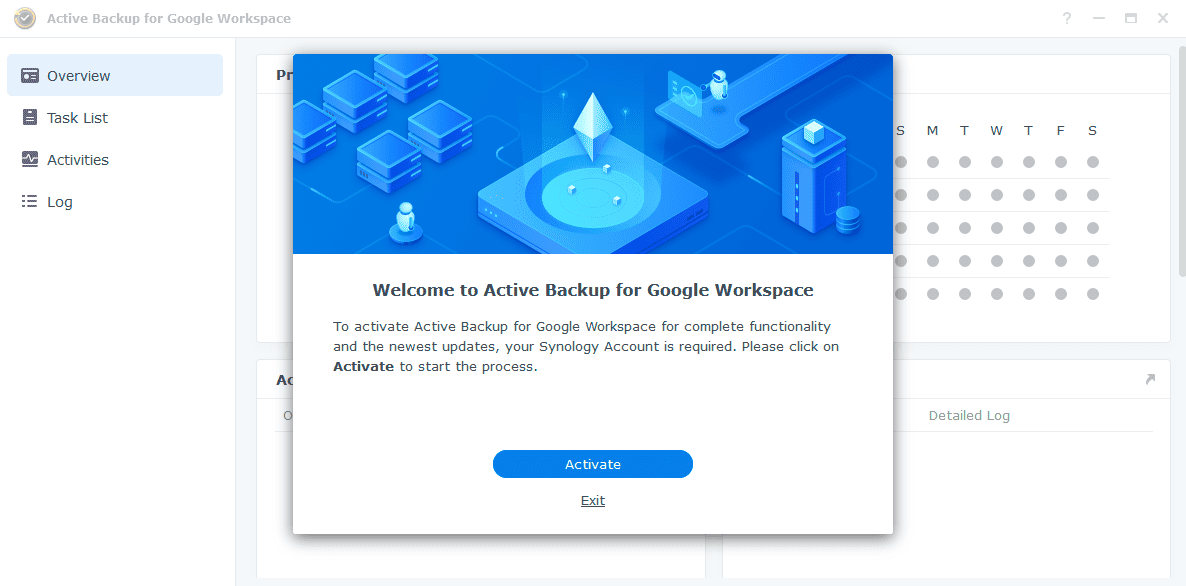
- Now you need to click on “Activate” to activate Active Backup for Google Workspace.
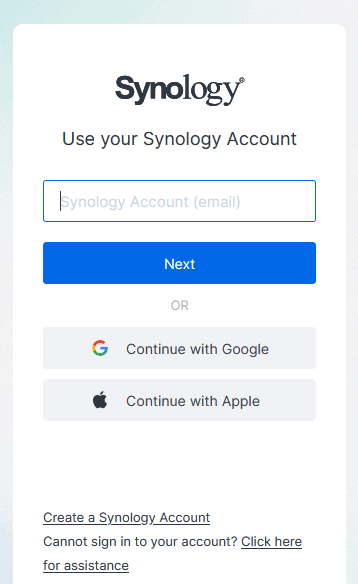
- Log into your Synology account.
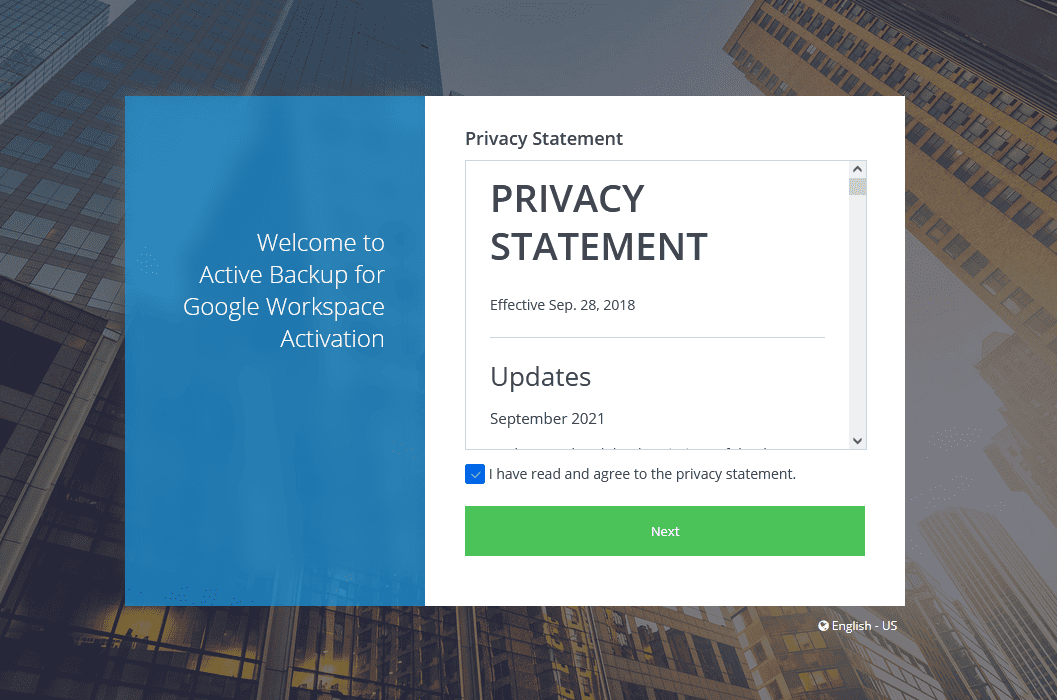
- Next you will need to accept the Privacy Statement (and maybe read it too)
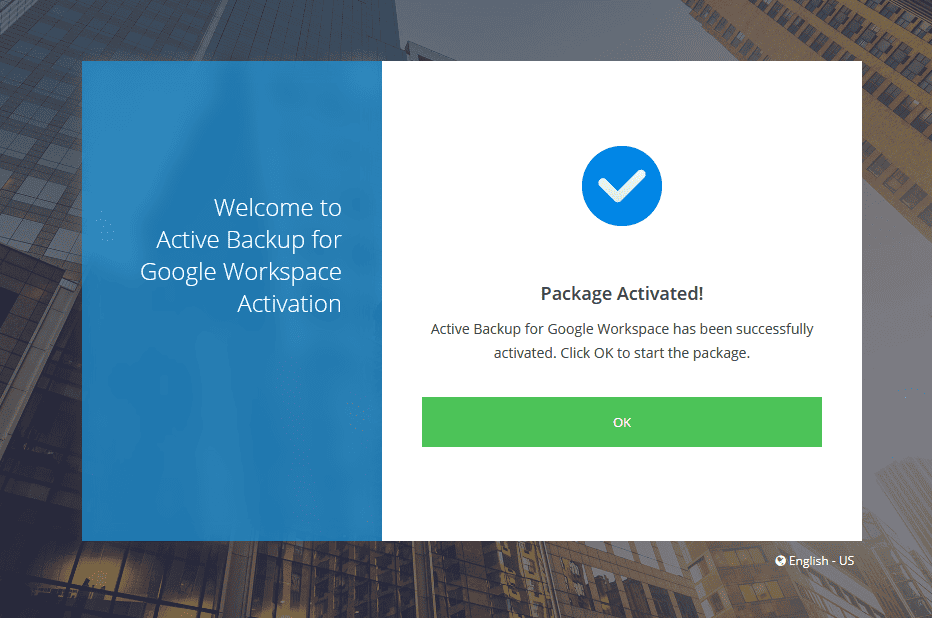
- Active Backup for Google Workspace should now be activated. Click on OK.
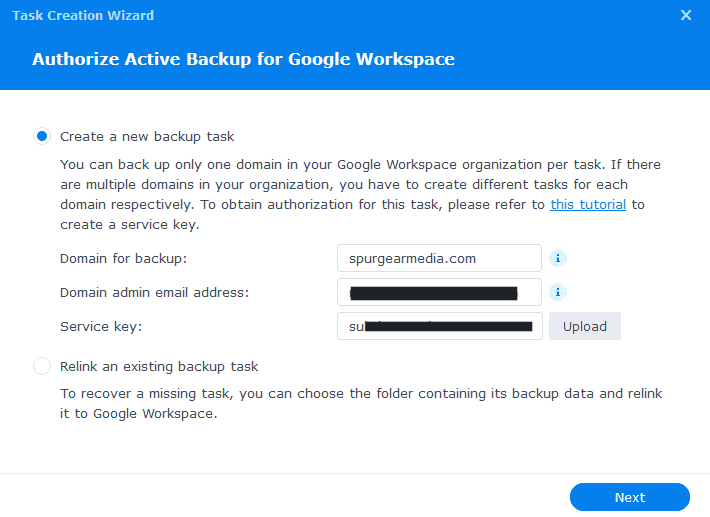
- Next Create a new backup task by entering the domain, Google Workspace domain admin email address, and upload the .json Service Key (How to generate Google Workspace API/Service Key).
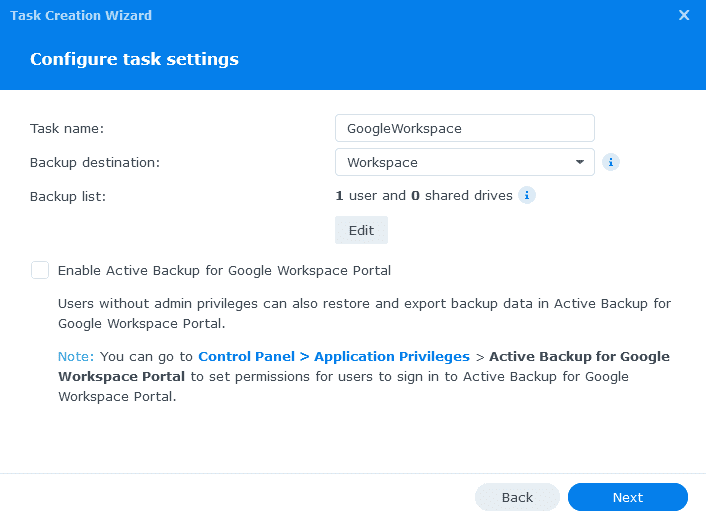
- Give your backup task a Name. Then select a backup destination on your Synology NAS, then I would recommend checking “Enable Active Backup for Google Workspace Portal” as this will give you a way to restore your files.
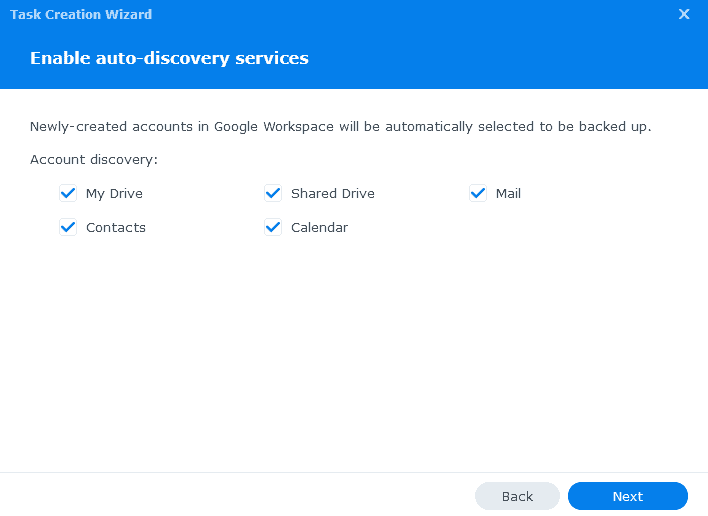
- Now select what services you want to have backed up in Google Workspace.
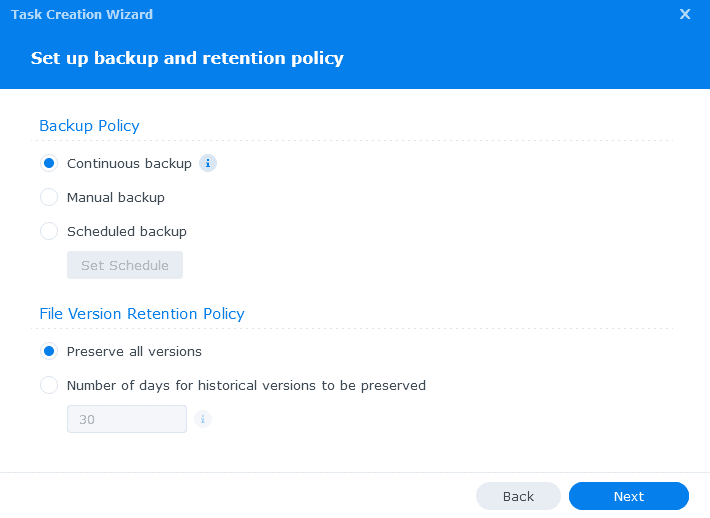
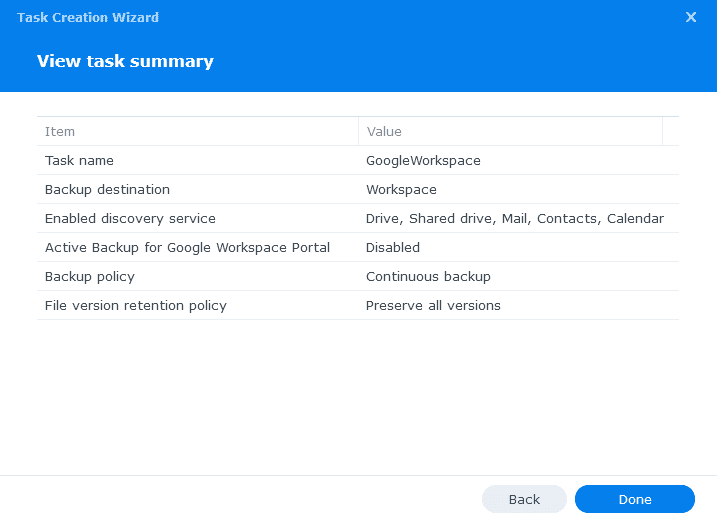
- Next you will want to select your Backup Policy and a File Version Retention Policy. This is going to vary greatly for each organization. For my needs I selected Continuous backups and Preserve all versions.
- Review the Task Summary and click on Done if everything looks good to you.
- You will be asked if you want to run the back now or not. Click on Yes.
- Finally, depending on how many users and the number of files to back up, this initial backup can take some time. Once the backup is complete, your task list will show a similar message as below:
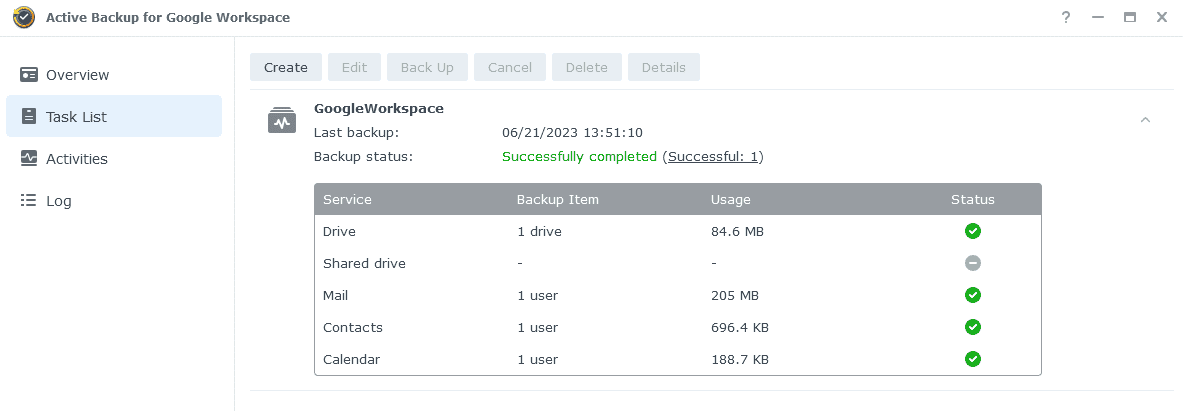
It’s that simple. Your Google Workspace account will now automatically back up based on your backup policy and retention policy.
I have been very impressed so far with Synology’s Active Backup for Google Workspace. Having selected a continuous backup schedule, emails are backed up to my Synology NAS typically within seconds!
How to Restore Google Workspace Files or Emails using Active Backup
While backing up your enterprise or personal Google Workspace account was pretty easy. Restoring those emails and files using Synology Active Backup for Google Workspace is even easier!
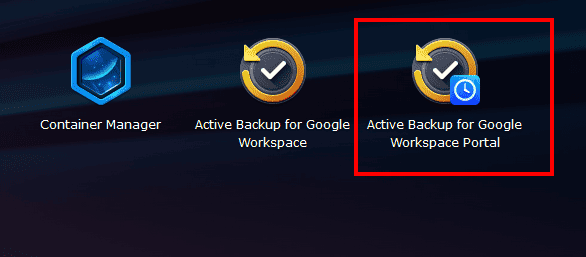
- First log into your Synology NAS and open Active Backup for Google Workspace Portal
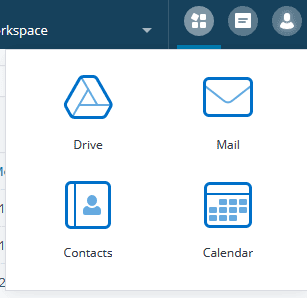
- In the top-right corner, click on the menu item that looks like four squares and then select what Google Workspace service item you would like to restore.
- For this I selected Mail, then selected an email I had deleted to have restored.
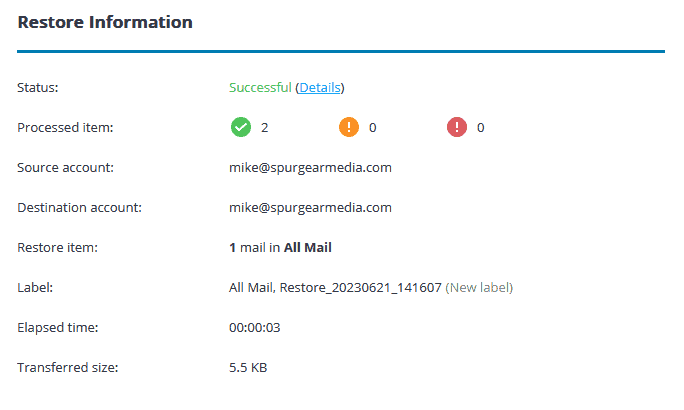
- Active Backup will then show you the Restore Information. This restore took 3 seconds and place the email back into my Google account with the labels “All Mail” and “Restore_20230621_141607” which makes it easy to locate the email.
It really is that easy.
The best part is, if you are using a Synology NAS in an enterprise environment, you can easily give users access to the Active Backup for Google Workspace Portal, which will allow your end users the ability to perform their own file and email restores.
I found this option doesn’t always work in a home setup, the wife and kids still come to me to restore their files or emails. haha.
