Backup Synology NAS to Amazon Glacier
Recently I replaced my Synology DS1815+ with a new Synology DS1621+ NAS.
After migrating all the data from the old to new NAS and re-setting up Backblaze on the new Synology, I wanted to have a second backup of everything… just in case.
If you already have an AWS account and want to know how to backup your Synology NAS to Amazon Glacier then keep reading.
How to backup Synology NAS to AWS Glacier
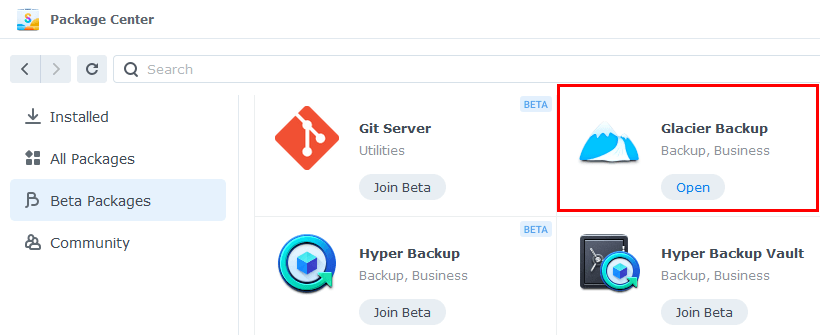
- First log into your Synology NAS and install the Glacier Backup application from the Package Center, if you haven’t already and start the application.
- Then go to Backup in the left menu and then up to Actions > Create:

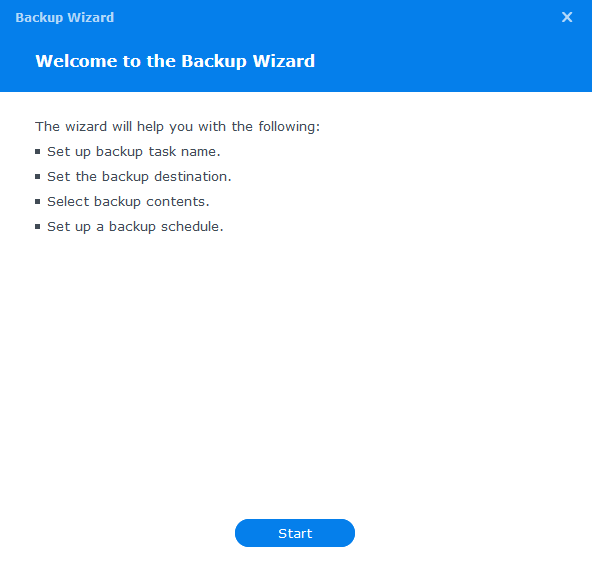
- At the Backup Wizard, click on Start.
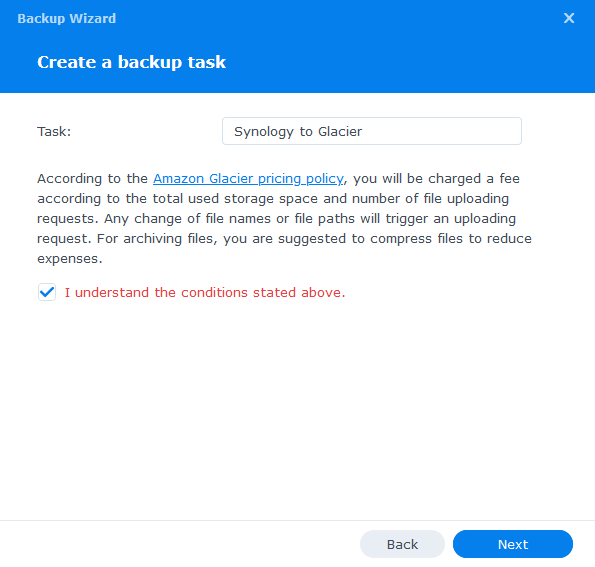
- Now give your backup task a name and check the box to agree to the conditions that Amazon Glacier costs money and isn’t free. For the most current Amazon Glacier pricing check here.
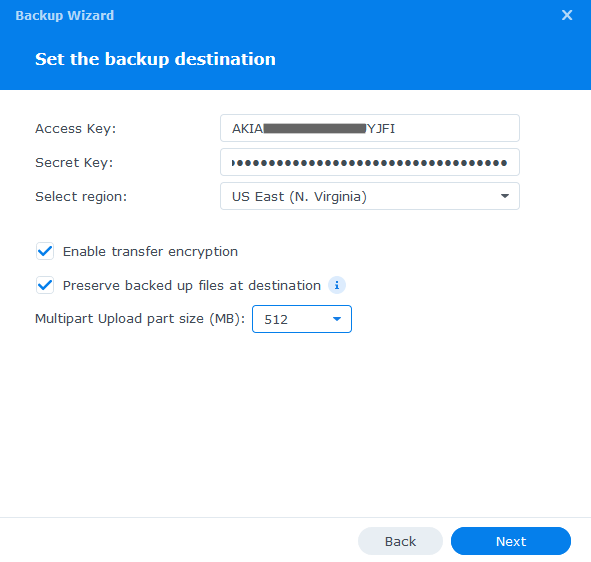
- Next enter your AWS IAM access key and secret key as well as select which AWS Region you want your backups to be sent to.
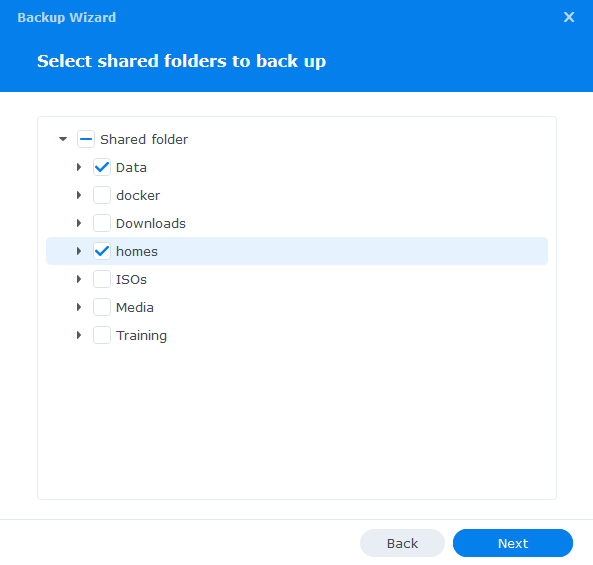
- Select which Synology shared folders you want to backup to Amazon Glacier.
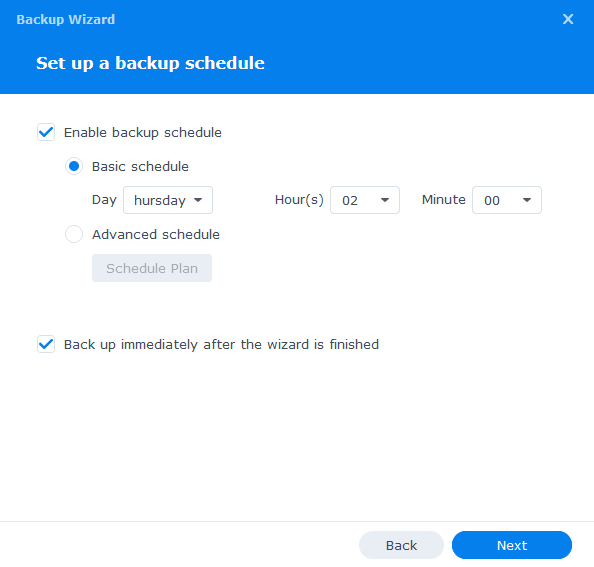
- I enabled a backup schedule to perform the backup of my selected Synology folders every Thursday starting at 2AM. As well as to start the backup immediately after the Synology Glacier Backup wizard is finished.
- Finally, review the Backup Wizard settings and click on Done.

You can monitor your Synology to Glacier backup job under the Backup Status column:

Now you can rest easy knowing your files are being backed up to AWS Glacier. If you want you can re-create the steps above to select a different AWS region for a more diverse backup locations.

Hey Mike
Thx for this detail. Very helpful. I am running a TimescaleDB instance on my Synology so it will be worthwhile to explore this as a backup.
I have perhaps an unusual question. I need to run a set of batch jobs to update financial data in my db. The frequency will vary from hourly (maybe shorter), eod, monthly etc.
Now my local/dev environment is a laptop so keeping it running forever might be unreliable and taxing on the laptop. I thought of running jobs on Amazon and then saving it to Synology. This might sound counter intuitive but wanted to get your thoughts. Thx in advance!
Hi Mike
I would like to ask about the price aspect. Based on the Synology docs (https://www.synology.com/en-global/knowledgebase/DSM/help/GlacierBackup/help): “The first time a shared folder is backed up to your Glacier account, a full copy of the shared folder is uploaded. The next time the shared folder is backed up, only modified files are uploaded.”
Which means an initial backup of say 12TB would cost me about 50-100 USD, so far, no problem.
The question I have: if I don’t touch most of my data (subject to backup), never read glacier (only in case of disaster) and only generate monthly say 100GB difference, would it mean that I only have to pay for the 100GB upload next backup, or I still need to pay for the whole storage volume involved?
I would assume I only have to pay for the modified part, meaning half year of NAS silence would cost me ZERO cost for 6 months. But I cannot find anything on the internet affirming my suspicion.
Sincerely
David
David,
You would still incur the storage cost, which currently runs $0.004 per GB/month or about $50 a month for your 12TB of data.
-Michael
Please can you help. When I do this, AWS bills me for the data transferred at the highest ‘S3’ level (‘TimedStorage-ByteHrs’ rather than ‘TimedStorage-GlacierByteHrs’). Any thoughts on why this is?
Seems my data, when backed up in this way, is in a Glacier Vault (but not in a bucket – so I can’t move it around the various storage tiers).