Synology 10GbE Upgrade for the Home Lab
One big feature I was looking forward to taking advantage of when I replaced my old Synology DS1815+ with a new Synology DS1621+, was the PCIe expansion slot and support for 10GbE cards. I could now setup a 10GbE network between the NAS, the home lab Dell R720, and my main PC.
My goal was to create a small 10GbE network without spending a ton of money.
In order to achieve this goal I purchased the following items:
- MikroTik CRS305-1G-4S+IN 10GbE switch
- (2x) Mellanox MCX311A-XCAT CX311A ConnectX-3 10GbE NIC’s
- ipolex 10G SFP+ direct attached cable
- (2x) 6COM 10GBase-SR SFP+ Transceivers
- Cable Matters 10Gb 40Gb Multimode Duplex OM3 Fiber Cable
How to install a 10GbE NIC to Synology DS1621+
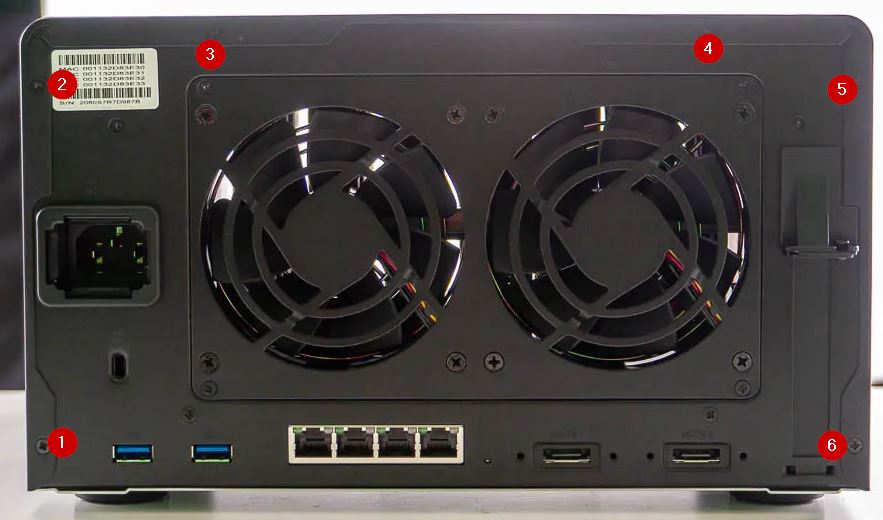
- To get started, first remove the 6 screws at the back of the DS1621+ to remove the case:
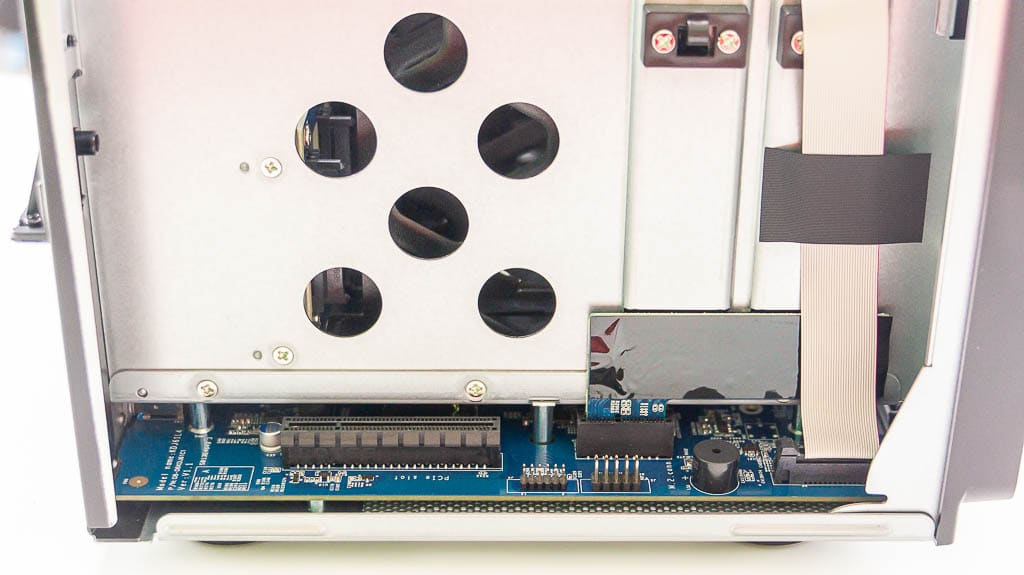
- Remove the PCIe slot cover and insert the Mellanox ConnectX-3 NIC in the empty PCIe slot.
- Reinstall the case and secure using the 6 screws:
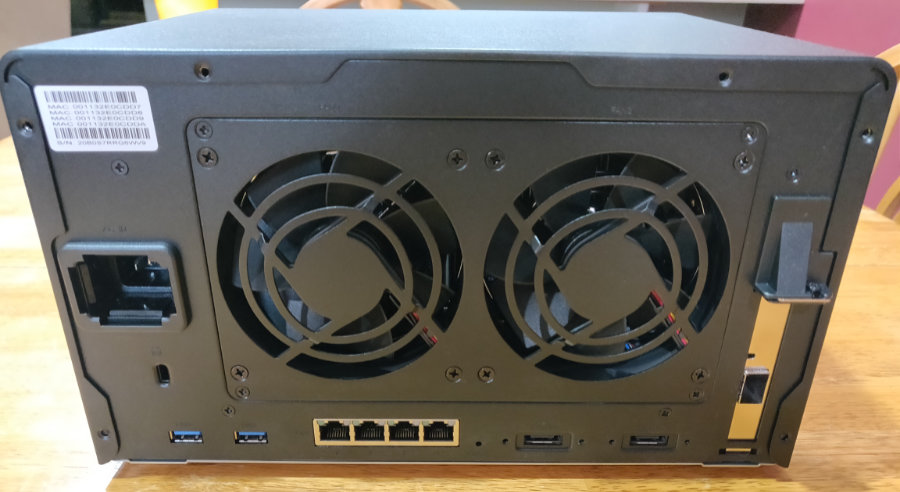
- Using the ipolex direct attached cable, I connected the Synology DS1621+ to the MikroTik 10GbE switch.
- The second Mellanox ConnectX-3 NIC and two 6com transceivers was used to connect the Dell R720 to the MikroTik 10GbE switch as well.
At this point everything is physically connected and ready to go. The Synology DS1621+ found and recognized the Mellanox ConnectX-3 NIC without any issues or the need for any secondary drivers.
It just works!
Now it was time to test this new 10GbE network out and see if it’s really working like it should be!
How to run iPerf3 server on the Synology NAS using Docker
- Log into your Synology NAS.
- Open Docker (if you haven’t already installed docker, you can find it in the package center).
- Click on Registry on the left menu and in the search box type in “iperf3“:
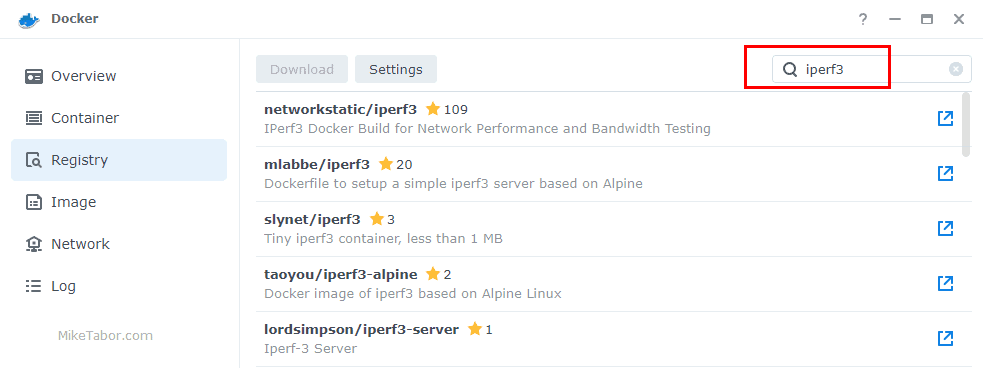
- Select “networkstatic/iperf3” and then click on Download:

- Click on Image on the left menu and select the iperf3 image and click on Launch:

- Now give the container a name and then click on Advanced Settings:
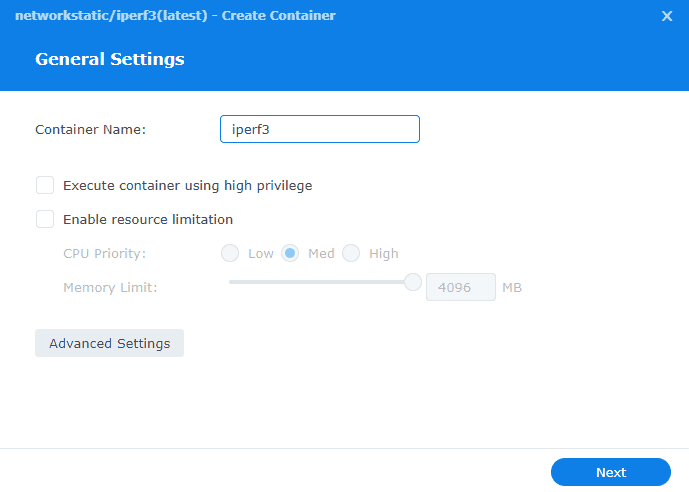
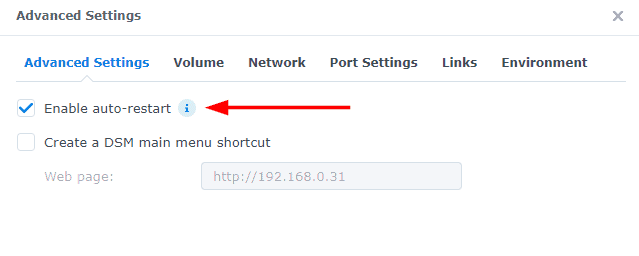
- In the Advanced Settings tab check “Enable auto-restart“:
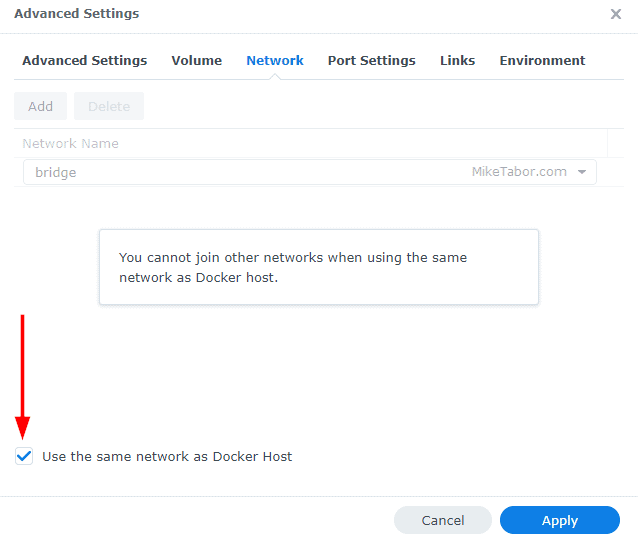
- In the Network tab check “Use the same network as Docker Host“:
- Finally in the Environment tab, enter “iperf3 -s” in the command box, as this will start iperf as a server:
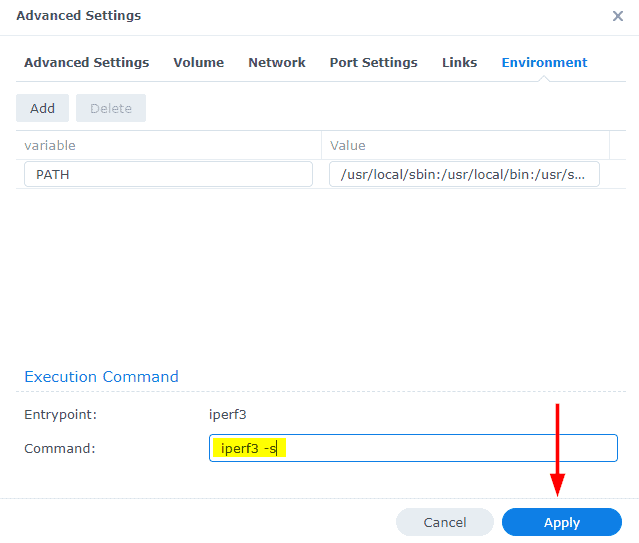
- Now just click on Next and then Done on the summary screen.
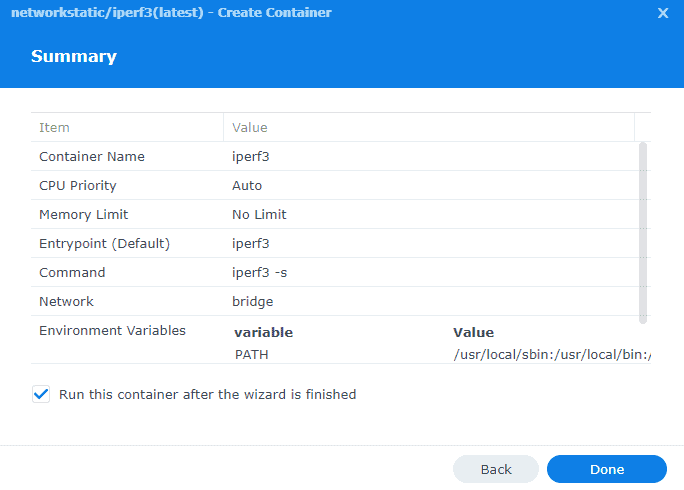
Now in order to perform a speed test we just need type the following command on the client machines (our ESXi host or main PC):
./iperf3 -c IP_ADDRESS_OF_SYNOLOGY_NASHere are the results of the iperf from my Dell R720 to the Synology DS1621+
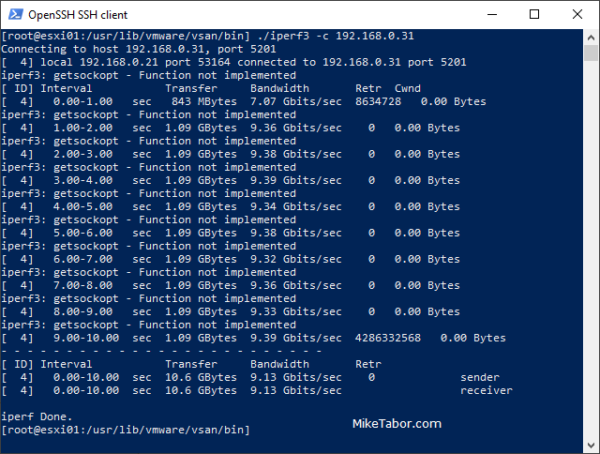
Speeds between the ESXi host and Synology NAS is looking very nice 9.13Gbit/sec. Mission accomplished!
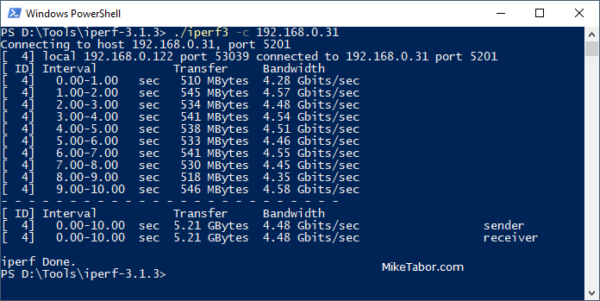
As for speeds between my main PC and the Synology NAS, it’s better than the 1GbE prior but not the 10GbE it could be.
This is due to the fact I’m using the old CAT5e cable in the walls. I have a spool of CAT6 cable which should resolve this, I just need to find time to re-run cable. Even still, 4.48Gbit/sec ain’t bad at all.
