How to host a static website using AWS S3, CloudFront, Route 53 and Cert Manager
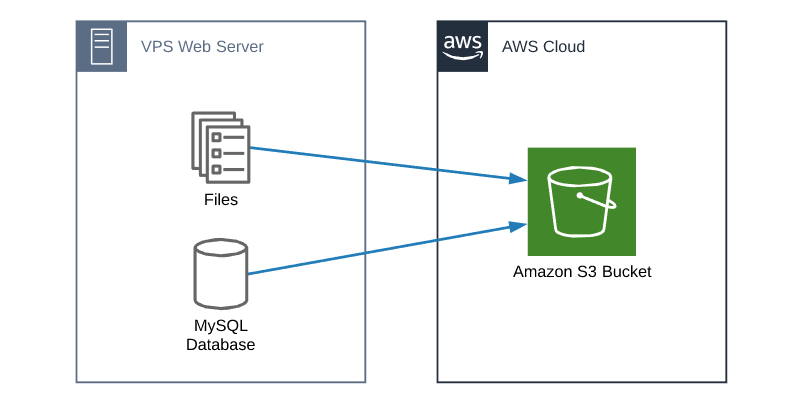
In addition to running this blog I also run several online forum communities, but in the past I never had a place to showcase these communities in one place. This post will detail my steps I took to host a static website using AWS S3, CloudFront, Route 53 and Certificate Manager to showcase those communities all in one place. All without the need to worry manage another server.
Requirements before getting started:
- An Amazon Web Services account.
- Domain name – I use and suggest either Namecheap or NameSilo to register new domains if you haven’t already. (Use coupon SAVE1OFFNAMESILO at NameSilo to save $1.00)
- Already have a static HTML page designed and ready to upload.
So briefly I’ll explain why I choose these services and what they will offer.
- S3 – Is the Simple Storage Service which will store the HTML files and allows us to host static web pages without the need to maintain a server of anytime – just upload the files. For example, the URL would look something like this: http://BUCKETNAME.s3-website-us-east-1.amazonaws.com/index.html
- Route53 – Is the DNS provider which will allow me to change that long URL from S3 and instead use my custom domain name, in this post I’ll be using SpurGearMedia.com.
- Certificate Manager – Gives us FREE SSL certificates, plus every site should be using HTTPS.
- CloudFront – a CDN which will not only allow our site to load even faster, but a requirement in order to use the free SSL from Certificate Manager.
One final note: During this process I’ll be using the domain name SpurGearMedia.com, simply replace that domain name with your own when following these steps.
So with that, lets get started!
Host a static website using AWS S3
S3 – Create and configure bucket for static hosting
- Log into your AWS account and create a bucket called www.yourdomain.com, be sure to include the www. at the begining of the bucket name as this is important. Select what ever region works best for you, for me I’m picking US East.

- Enable static website hosting for the bucket under the Properties tab.
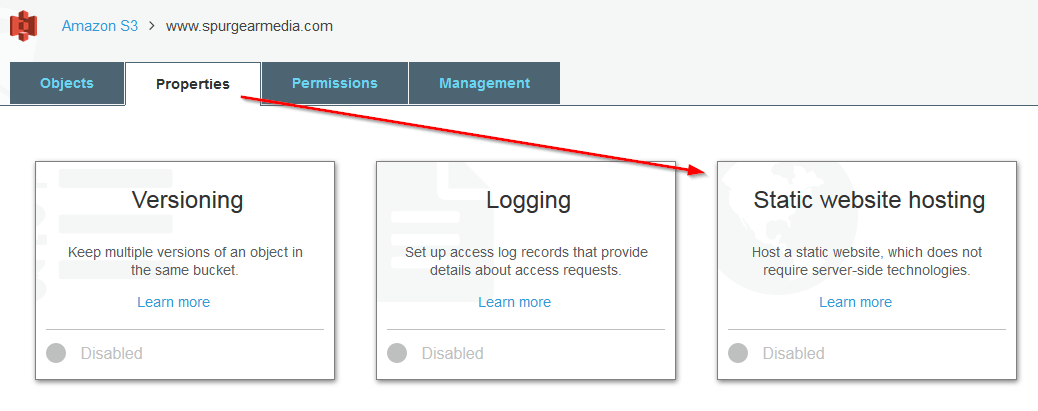
and set index and error document file names and click SAVE.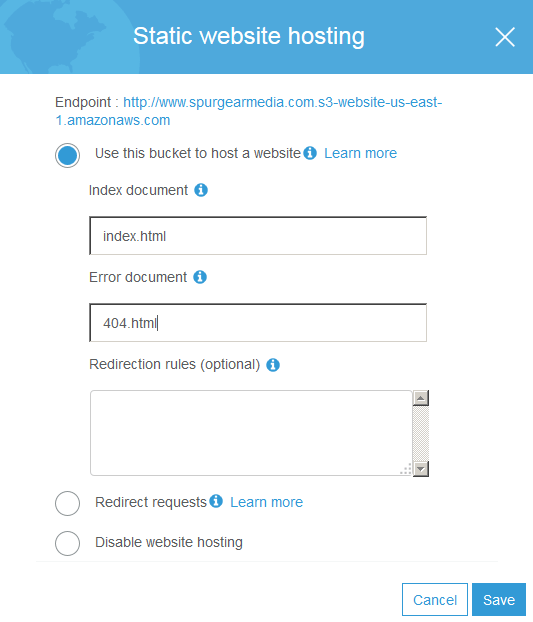
Make note of the bucket endpoint URL! - To allow this bucket to be publicly view-able we need to edit the bucket policy, under the permissions tab
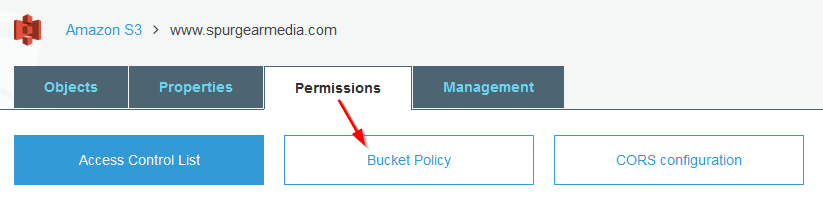
and type the following:{ "Version":"2012-10-17", "Statement":[ { "Sid":"AddPerm", "Effect":"Allow", "Principal": "*", "Action":["s3:GetObject"], "Resource":["arn:aws:s3:::www.yourdomain.com/*"] } ] }Note: Be sure to replace yourdomain in the policy with your own domain name!
- Upload your static HTML pages to the new bucket.
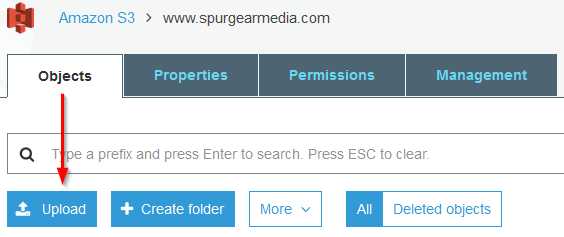
At this point you should be able to access your site via the endpoint bucket URL, assuming you also used US East as your region: http://www.yourdomain.com.s3-website-us-east-1.amazonaws.com
Certificate Manager – Request a free SSL certificate
Some might question the need for an SSL on a static page, but for me there are plenty of security and privacy concerns that justify a certificate. Further there are SEO boosts associated with using one and finally it’s FREE – so really why not use it? :)
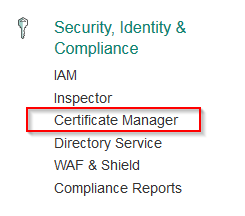
- Open Certificate Manager located under Security, Identity & Compliance
- Click on “Request a certificate” then add your domain name. Be sure to add the *.yourdomain.com and yourdomain.com and then click on “Review and request“.

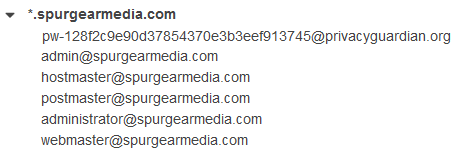
- Confirm and request the certificate and then AWS will attempt to send you an email to validate the request. You can click on the arrow next to the domain name to see which email addresses AWS will attempt to send it to.
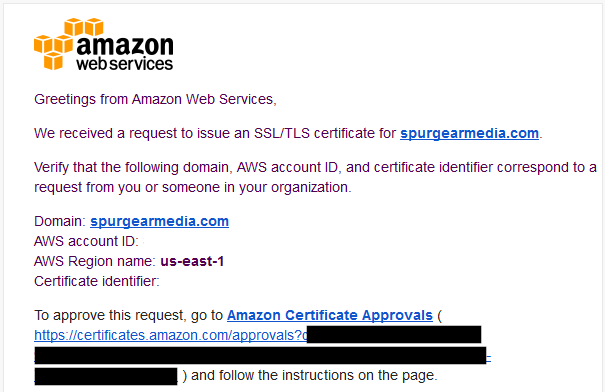
- Once you receive the email from AWS, click on the link within the email to approve the certificate requests.
This is probably the “hardest” step as you need to ensure you can get email either from the domain name or from the email associated with the domain name via the WHOIS records (in this case that would be [email protected] for me since I use WHOIS protection).
NOTE: AWS will send you an email for both *.yourdomain.com and yourdomain.com – be sure you approve BOTH requests!
CloudFront – Setup CDN and use HTTPS
Not only will CloudFront allow us to use that free SSL cert from above as you’ll soon see it will also allow use to use HTTP/2 which in many benchmarks – has been much faster than HTTP. Add to that we’ll be using the large CDN network that is CloudFront further improving our site speeds!
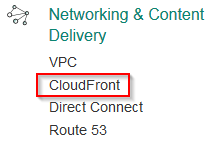
- Open CloudFront under Networking & Content Delivery.
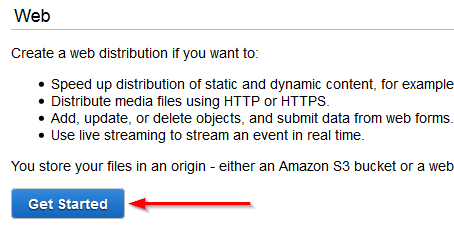
- Click on “Create Distribution” then under Web distribution click on “Get Started“
- Instead of going over every single option I’m only going to list the things I changed, the rest you can leave default:
Origin: S3 Website endpoint URL – as noted in Step 2 above in the S3 section.
Viewer Protocol Policy: Redirect HTTP to HTTPS
Compress Objects Automatically: Yes
CNAMEs: www.yourdomain.com
Custom SSL Certificate: select your newly created cert from above.
Default Root Object: index.htmlThen click on “Create Distribution“
NOTE: By default CloudFront will show you a list of origin’s and will suggest the S3 Bucket – do NOT use the S3 bucket name but instead the S3 bucket ENDPOINT URL. We made note of this in step 2 (example: http://www.yourdomain.com.s3-website-us-east-1.amazonaws.com)
So while requesting and validating the certificate request is the “hardest” part, CloudFront is certainly the longest part. Not because we’ll be doing complex settings but because it takes a long time for the distribution to be created. Like 30 minute to several hours!
Route 53 – Configure DNS
Now it’s time to put everything we’ve done up to this part together and allow us to access our site using yourdomain.com.
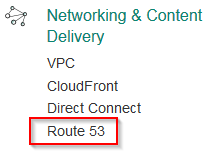
- Open Route 53 under Networking & Content Delivery.
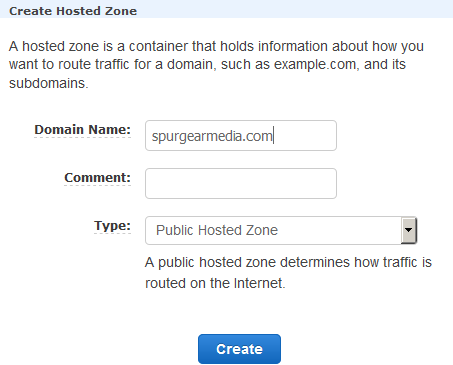
- Under Hosted zones click on “Create Hosted Zone“.

- Enter your domain name and under type select “Public Hosted Zone” and click on “Create“.
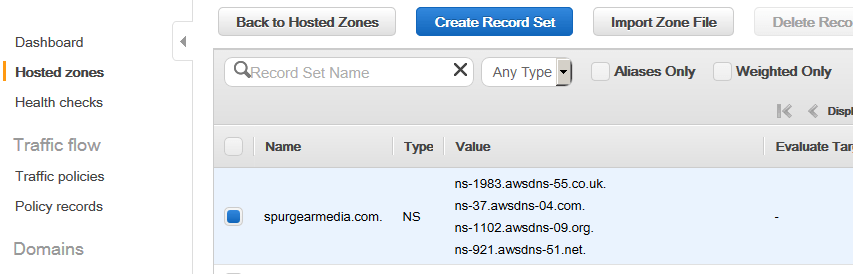
- Next take the name servers (NS) AWS provides and update your domain name servers with your domain registrar (such as Namecheap or NameSilo)
- Now create a new record set. For the name type www and Type select A record (A- IPv4) and select YES for Alias, then for the Alias Target select your newly created CloudFront distribution and click on “Save“.

Once DNS updates (can take up to 48 hours) you should now be able to access your website by going to https://www.yourdomain.com. Also any request to http://www.yourdomain.com will automatically be redirected to HTTPS://www.yourdomain.com
We’re nearly finished but now we need to have the non-www version of your domain redirect to https://www.yourdomain.com. The biggest reason for doing this final redirect is so search engines won’t detect your site as two separate sites (one with www. and one without) and thus flag you for duplicate content.
Redirect Non-WWW to WWW
In a nutshell you’ll repeat the steps above with only a few minor changes which I’ll quickly touch on below.
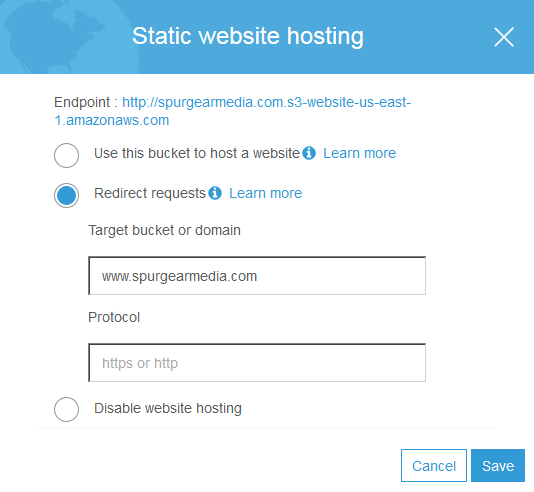
- Create a new bucket in S3 called yourdomain.com (notice the missing www. at the beginning!) then enable static website hosting but this time select “Redirect Requests” and enter the first bucket’s name (www.yourdomain.com)
NOTE: Again take note of the endpoint URL - Create a new CloudFront web distribution and use the following settings:
Origin: S3 Website endpoint URL of second bucket (noted in step 17).
CNAMEs: yourdomain.com
Custom SSL Certificate: select your newly created cert from above.Then click on “Create Distribution“
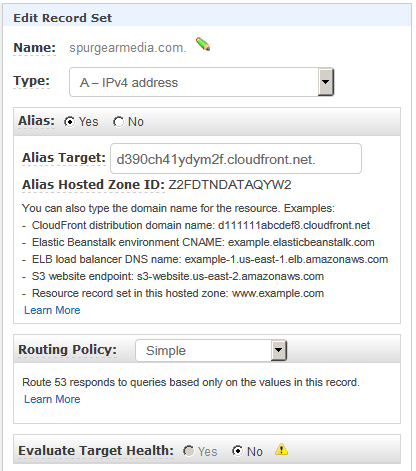
- Then finally, in Route 53 create another Record Set and this time for the name leave it blank, for Type select A – IPv4 and set Alias to Yes and select the second CloudFront distribution you just created and click on “Save Record Set“.
Now once DNS is updated, no matter how anyone tries to access our website – with or without the WWW or even with or without HTTPS the user will also be redirected to the single domain https://www.yourdomain.com. This redirect is a 301 redirect which is the proper way to do it and will make search engines happy. One consistent URL no matter what.
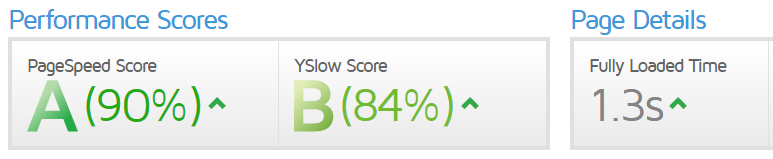
So how fast is it? Per GTmetrix.com, a popular website bench marking tool my site gets a PageSpeed Score: A and YSlow Score: B and loads in 1.3s!
The best part is, I don’t have to worry about managing a single server and it costs next to nothing to run.

How did you change the DNS servers at Namecheap? Nothing I do seems to work.
When you change your DNS servers on Namecheap you need to click on the little checkmark to the right (see linked image below). Also, the change can take up to 48 hours to take place.
https://miketabor.com/wp-content/uploads/2017/10/namecheap-dns.png
thank for contribution! work perfectly
Great guide. I’ve just hosted my first static website to Amazon S3.
Thanks!
Mmm I get mixed content when accesing via https. Assets are not being delivered in https :/
That means items in your site are still being loaded via HTTP and not HTTPS. Most likely images, javascript, etc.
-Michael
Yes, I solved my issue. I deleted all files from the bucket, uploaded again and instantly did a request to my site.
Apparently this causes CloudFront to have some issues when redirecting (creating a bucket and instantly requesting) but after a day it started working correctly again.
Thanks for your guide
Thank you for this guide! The S3 bucket static website endpoint specifically helped me – thanks.
There is a typo in the first paragraph: “All without the need to worry manage another server” – should be something like “All without the need to worry about managing another server” – hope this helps.
Thanks again.