How to install VMware Workstation 10 on Linux Mint 17.1

vmware workstation 10 linux mint

Two goals that I would like to achieve this year is to learn how to program (likely Python) as well as learn more about Linux. So last week I completely wiped my HP laptop that used to run Windows 7 Pro and installed Linux Mint 17.1. However, I had a nested ESXi lab within VMware Workstation when I was running Windows and wanted to do the same on my new Linux install.

I found this wasn’t just as simple as downloading an .exe and running the file, like it is in Windows. There are a few dependiences that are needed first, below is the steps I took to install VMware Workstation 10 on Linux Mint 17.1.

Note: If you haven’t already, go ahead and download VMware Workstation 10 from the VMware website.

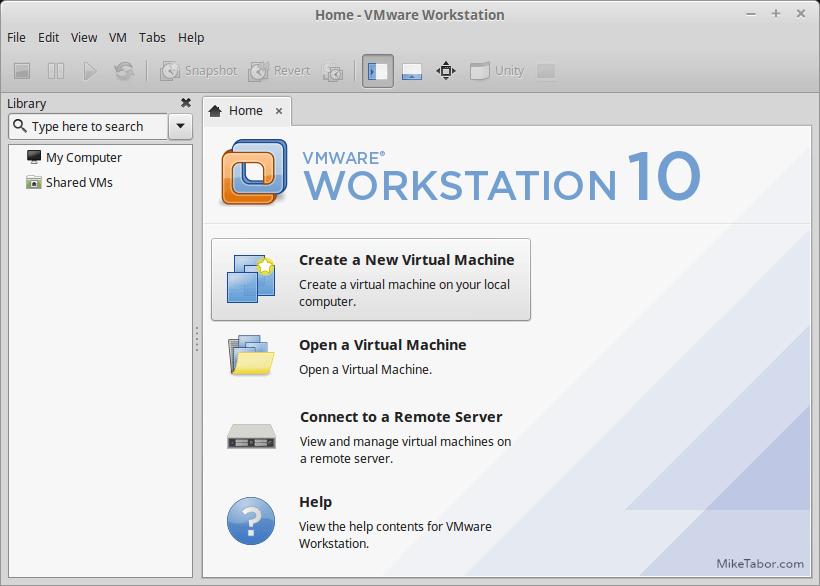
Install VMware Workstation 10 on Linux Mint

  1. Before we can start the actual VMware Workstation 10 install we need to install some dependencies first. Open up a Terminal window and type the following:
    sudo su -c "apt-get install gcc build-essential"
  2. Once the dependencies have finished, change the current working directory to where ever you’ve downloaded VMware Workstation, in my case the Downloads folder.
    cd Downloads

    Note: Unlike Windows, names are case sensitive in Linux:
    terminal CD to downloads folder

  3. Then type the following command to gain higher access:
    sudo su
  4. Now we need to make the downloaded VMware Workstation file executable, to do so type:
    chmod +x ./VMware-Workstation-Full-10.0.4-2249910.x86_64.bundle

    Note: You could also do this via the GUI by right clicking on the VMware Workstation file and going to Properties > Permissions > Allow executing file as program. But since we’re already in Terminal, why not?

  5. Now we’re ready to kick off the installer by typing:
    ./VMware-Workstation-Full-10.0.4-2249910.x86_64.bundle

From this point forward it’s the typical install wizard, a few Next‘s then an Install and then that’s it, you’re ready to go!

VMware Workstation 10 linux mint 17.1

Now I just need to setup the nested ESXi 5.5 lab again and I’ll be good to go!

Similar Posts

  • How to convert VMDK to OVF file format

    Here is a quick and easy way to convert a VMDK to OVF file format using the OVF Tool from VMware.

    1. First download and install the VMware OVF Tool for your operating system.
    2. Open a command prompt as Administrator and navigate to the OVF Tool install directory:
      
      cd C:\Program Files\VMware\VMware OVF Tool
      

      vmdk to ovf command prompt

    3. Next, type in the following command to convert VMDK to OVF:
      
      ovftool.exe \virtualmachine.vmx \virtualmachine.ovf
      

      convert vmdk to ovf command

    After a few minutes time you should you should see a “Transfer Completed, Completed successfully” message and your VMDK to OVF file conversion is complete and ready for use.
    convert vmdk to ovf complete

  • How to install Centmin Mod with Let’s Encrypt and CloudFlare

    I run several web servers for the many sites I own, like MikeTabor.com or for the sites I help run, such as LexVMUG.com. In the past these servers have always ran a traditional LAMP (Linux, Apache, MySQL/MariaDB, PHP) either installed manually or through WHM/cPanel.

    For my last couple projects I’ve been using Centmin Mod instead. Centmin Mod has several benefits, the first being it installs a LEMP stack (Linux, NGINX, MySQL/MariaDB, PHP), then optimizes the installs, and secures the server. Even on the smallest of servers the LEMP stack has been amazing and FAST!

    Read More “How to install Centmin Mod with Let’s Encrypt and CloudFlare”

  • How to manually delete NetApp SnapMirror snapshots

    The other day, one of our volumes in the lab environment filled up. This volume has a couple large VM’s on it, coupled with a couple different Veeam backup jobs running using the native Veeam backup methods as well as using NetApp snap mirror to snapshot the volume and then using Veeam to ship it out to Azure.

    At any rate the volume filled up to the point where vCenter wasn’t allowing me to migrate VM’s off the datastore. I really didn’t want to expand the volume just so I could move VM’s off of it.

    Instead, I decided to delete some of the older proof of concept snapshots from SnapMirror. Below are the quick and easy steps to clear up some un-used snapshots and free up some space on the datastore.

    Read More “How to manually delete NetApp SnapMirror snapshots”

  • VMware Recertification Policy

    VMware certified

    Starting today, March 10 2014, new VCP certifications must be re-certified within two years of it’s earned date. Anyone who currently has their VCP certification prior to March 10 2013 has until March 10, 2015 to re-certify.

    The new policy gives you three options to re-certify:

    1. Take the current exam for your existing VCP certification solution track. For example, if you are a VCP3, you could take the current VCP5-Data Center Virtualization (VCP5-DCV) exam.
    2. Earn a new VCP certification in a different solution track. For example, if you are a VCP-Cloud, you could recertify by earning VCP5-Desktop (VCP5-DT) certification.
    3. Advance to the next level by earning a VMware Certified Advanced Professional (VCAP) certification. For example, if you are a VCP5-DCV you could earn VCAP5-DCA certification.

    I can understand why they are doing this but I don’t agree with the changes. As per the announcement if you let your certification expire, “Your certification will be revoked,and you will no longer be entitled to use the certification logo or represent yourself as VMware certified“. Really? You mean everything that was done prior and after taking the exam means nothing?

    Read More “VMware Recertification Policy”

  • ESXi 5.5 free edition removes 32GB memory limit

    There have been a ton of exciting announcements coming out of VMword 2013, one of which is vSphere 5.5 and all of it’s improvements and additions. Along that note, VMware has changed ESXi 5.5 free version to remove the physical RAM limit which was limited to only 32GB in version 5.1.

    The new virtual hardware, version 10, we can now grow our home labs into more powerful VM’s as most all configuration maximums have been doubled:

    Read More “ESXi 5.5 free edition removes 32GB memory limit”

Leave a Reply

Your email address will not be published. Required fields are marked *