Use Pi-Hole to block ads on all devices in your network

Sure ad blockers have been around for a long while now, but those are typically only available for your web browsers and not ever device allows you to install them such as cell phones, media players, smart TV’s, etc. I came across a neat project that allows you to block web ads on every device in your network, called Pi-Hole.

In a nutshell Pi-Hole was developed to run on a Raspberry Pi, but will run on most any Debian based distro, and will act as a DNS server to which you point your devices or router to use as the DNS server so that all requests are filtered through Pi-Hole. Pi-Hole then blocks 100’s of thousands ad domains. All without having to use a single browser extension and for FREE!

So while Pi-Hole is made to run on a Raspberry Pi I decided to run Pi-Hole within my VMware home lab on a Ubuntu 16.04 LTS virtual machine using 1 vCPU and 1GB memory.

Below are the steps I performed to install Pi-Hole after I had Ubuntu installed on the VM.

How to install Pi-Hole on Ubuntu

  1. Lets start off making sure our Ubuntu install is updated so type in the following command:
    sudo apt-get update && sudo apt-get upgrade -y

    ubuntu ssh update system

  2. Lets get the Pi-Hole script and save it as pihole-install.sh by typing the following:
    sudo wget -O pihole-install.sh https://install.pi-hole.net

    pi hole download script

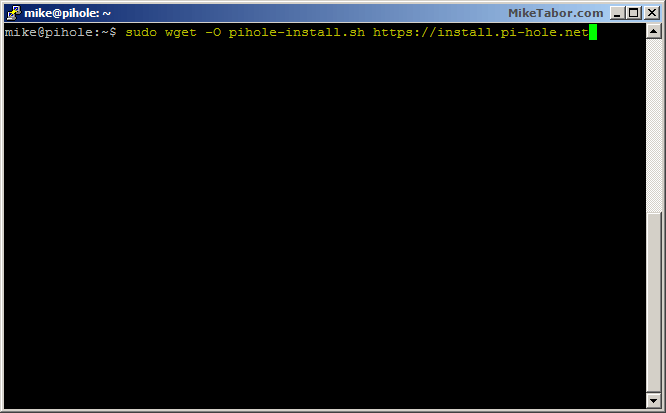
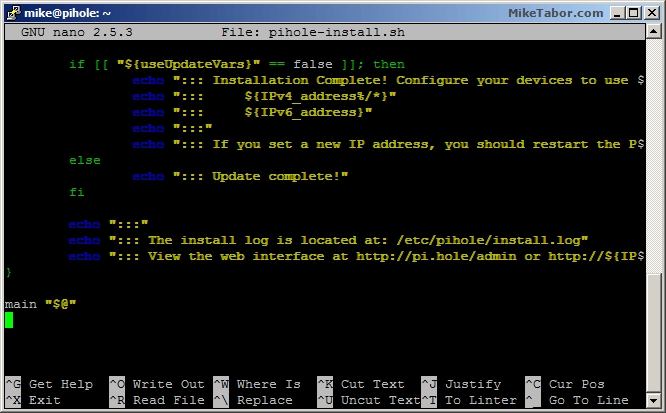
  3. It’s best practice not to blindly run any script you download from the internet and at least give it a quick look over, so lets open it in nano:
    sudo nano pihole-install.sh

    pi-hole view script

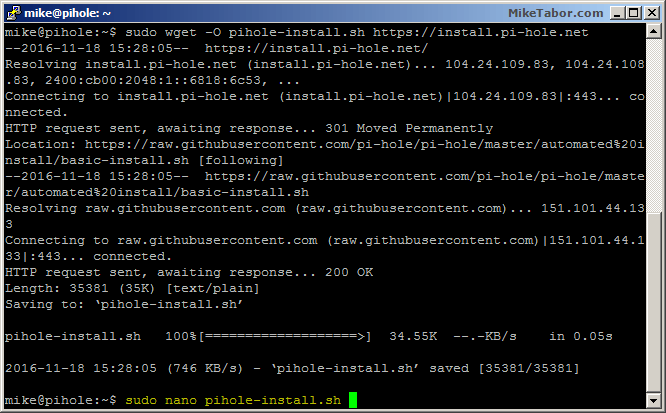
  4. After you’re done looking at pihole-install.sh simply press CTRL+X to exit nano.
    pi-hole close view script
  5. Now we need to make pihole-install.sh executable by typing:
    sudo chmod +x pihole-install.sh

    pi-hole chmod script

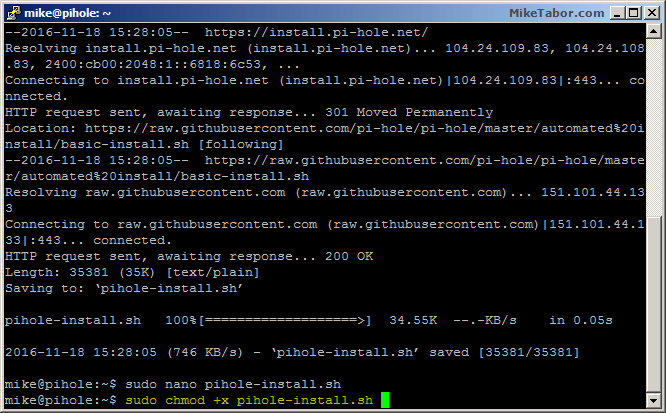
  6. Start the Pi-Hole installer:
    sudo ./pihole-install.sh

    pi-hole install script

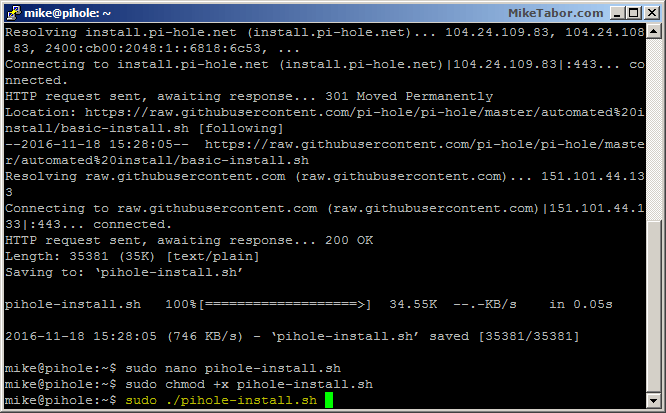
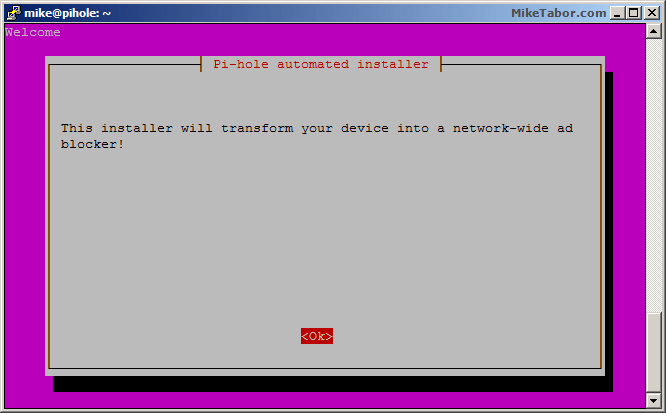
  7. Press ENTER at the introduction screen.
    pi-hole install 1
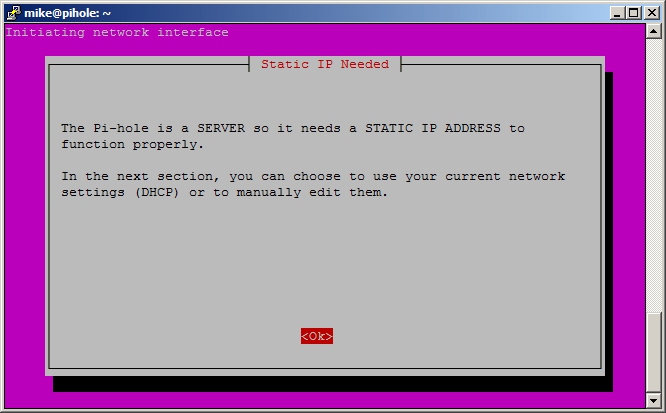
  8. Press ENTER again to start configuring the network settings.
    pi-hole install 2
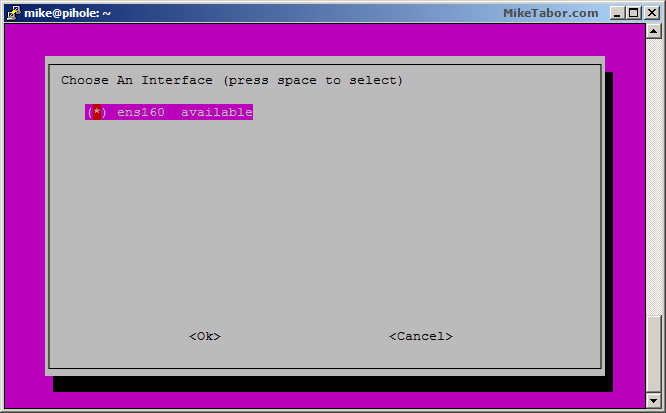
  9. Select the network adapter you want to use and press ENTER.
    pi-hole install 3
  10. Select which protocols you want to block ads.
    pi-hole install 4
  11. Next you can configure a static IP for Pi-Hole. I’ll use the current settings and select YES.
    pi-hole install 5
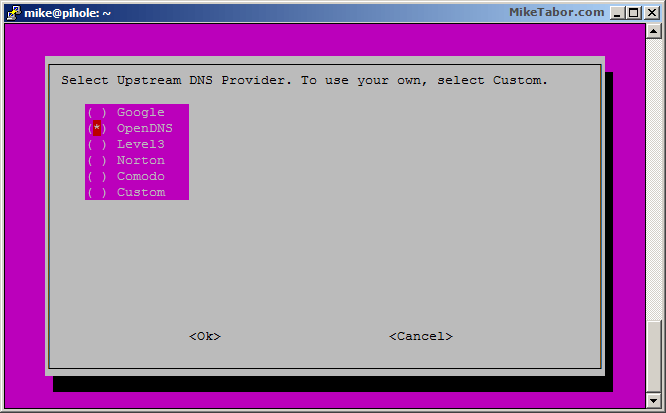
  12. Now select which upstream DNS service you want to use with Pi-Hole.
    pi-hole install 6
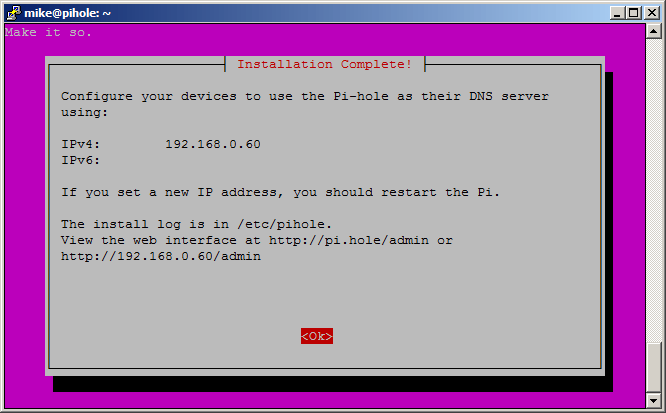
  13. Pi-Hole is now installed and ready for use. Either update all your devices DNS settings to your Pi-Hole IP or simply set your Router DNS to the Pi-Hole server IP.
    pi-hole install 7

Once you’ve changed your devices or router to use Pi-Hole as the primary DNS server you are essentially done and will no longer see any ads. If you want to enable/disable pi-hole ad blocking or whitelist certain ad domains then you can easily do so by accessing the Pi-Hole admin panel by going to: http://<PIHOLE_IP>/admin

pi-hole admin panel

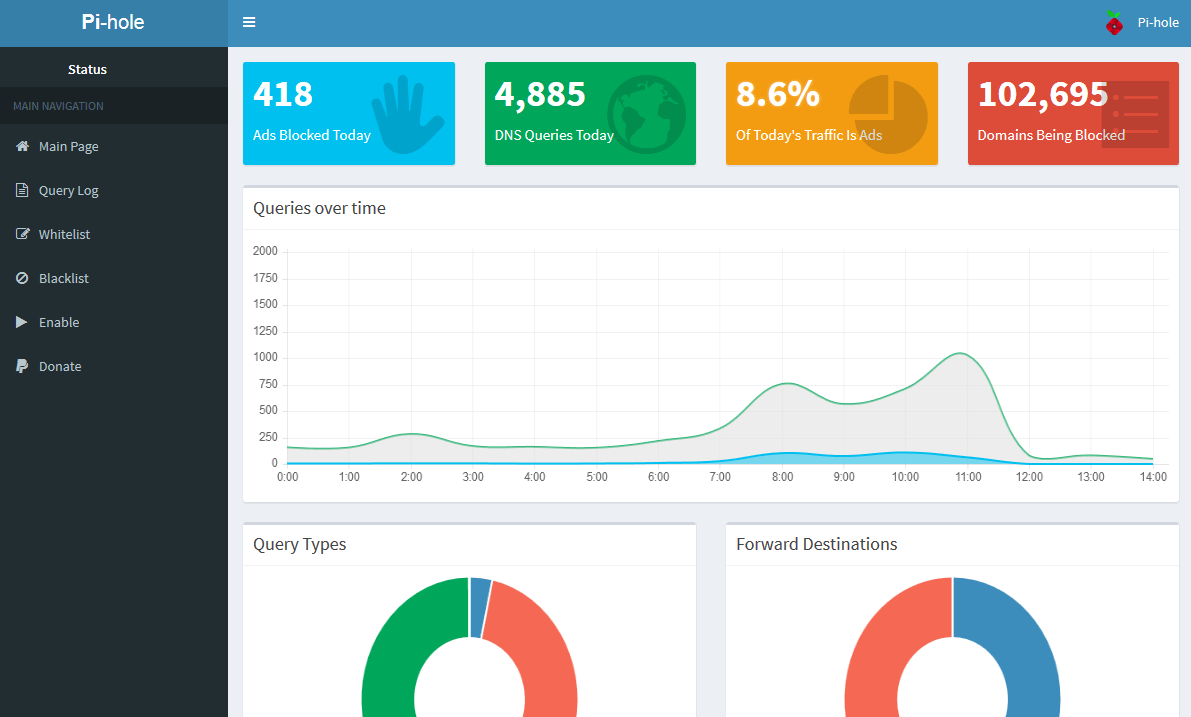
They also give you a cool dashboard to see just how many ads Pi-Hole has been blocking for you and other stats – very neat stuff!

Check out the Pi-Hole website here and donate to help them out!

Similar Posts

  • How to enable SSH auto login on Ubiquiti EdgeRouter X

    edgerouter ssh key auto login

    SSH key authentication not only provides a more convenient way to logging into your EdgeRouter X, but is also more secure because the private key replaces the need of a password and thus is typically more difficult to brute force.

    The below steps will show how to generate a SSH key, add it to the router, and then disable password authentication so that only the key-pair can be used to login.

    Read More “How to enable SSH auto login on Ubiquiti EdgeRouter X”

  • My VMware ESXi Home Lab Upgrade

    Although the focus in my career right now is certainly more cloud focused in Amazon Web Services and Azure, I still use my home lab a lot.

    For the last 5+ years my home lab had consisted of using 3x Intel NUC’s (i5 DC53427HYE), a Synology NAS for shared storage and an HP ProCurve switch. This setup served me well for most of those years. It has allowed me to get many of the certifications I have, progress in my career and have fun as well.

    At the start of this year I decided it was time to give the home lab an overhaul. At first I looked at the newest generation of Intel NUC’s but really wasn’t looking forward to dropping over $1,300 on just partial compute (I’d still need to be RAM for each of the 3 NUC’s). I also wanted something that just worked, no more fooling around with network adapter drivers or doing this tweak or that tweak.

    I also no longer needed to be concerned about something that had a tiny footprint. I also questioned if I really needed multiple physical ESXi hosts. My home lab isn’t running anything mission critical and if I really wanted I could always build additional nested VMware ESXi hosts on one powerful machine if I needed.

    So in the end, the below is what I settled on. Replacing all of my compute, most of my networking and adding more storage!

    Read More “My VMware ESXi Home Lab Upgrade”

  • Crucial 16GB memory, perfect for Intel NUC

    crucial 16gb 204pin memory

    I’m a huge fan the of Intel NUC‘s for a VMware home lab. In fact I just recently picked up my third Intel NUC to give me more head room for a small VMware Horizon (View) environment at home.

    I typically use G.Skill memory in my NUC’s as I’ve had great luck with the brand in my desktop and laptop for years. However G.Skill has been increasing in price which made me look around for alternatives and came across Crucial DDR3 204-pin memory for less money, but days after I purchased it they too went up in price. However they are now back on sale and cost about $50 less then the G.Skill memory I have been using in my first two NUC’s.

    I’ve been using the Crucial memory now for the last several months without any problems and even though they are rated at a lower voltage I can’t say I really see any difference in power savings or consumption compared to the G.Skill 1.5V. If you’re looking to upgrade now might be a good time to take advantage of the sale price.

  • How to Upgrade PowerShell 7 to latest version

    Have you opened a Windows Terminal and seen a highlighted message stating “A new PowerShell stable release is available …“?

    powershell 7 upgrade prompt

    Well you could go to the link provided in the prompt, download the upgrade and then run it on your machine, or you can quickly and easily upgrade PowerShell 7 directly from the terminal by typing the following command.

    Invoke-Expression "& { $(Invoke-Restmethod https://aka.ms/Install-PowerShell.ps1) } -UseMSI"
    

    This will automatically download and run the latest version of PowerShell 7 and run the installer for you. See quick and easy!

  • Install a Let’s Encrypt SSL certificate on a Synology NAS

    A while ago I wrote an guide on how to install a SSL from Namecheap onto your Synology. Soon after Let’s Encrypt support was added to Synology, I started getting requests for a guide.

    The benefits of Let’s Encrypt certificates are that they are automated, short lifetimes (90 days) and that they are completely FREE!

    Below is a quick guide on how to install Let’s Encrypt SSL on a Synology NAS!

    Read More “Install a Let’s Encrypt SSL certificate on a Synology NAS”

  • Synology DSM 5.1-5021 update released

    Synology

    Synology released DSM 5.1-5021 update as well as Cloud Station 3.1-3320 today. This update includes all the updates since 5.1-5004 as well as fixes for a number of vulnerabilities in PHP, OpenVPN, and other security improvements. DSM 5.1-5004 also improves Amazon S3 backup stability along with a number of other fixes and improvements.

    Read More “Synology DSM 5.1-5021 update released”

Leave a Reply

Your email address will not be published. Required fields are marked *

9 Comments

  1. I’m amazed this guide hasn’t gained more popularity considering its noob-friendly, curl-command-avoiding benefits. Took so long to find out the safest, most straightforward way to go about installing this.

    Kudos

    1. @disqus_V450ceqG3H:disqus I can’t say for sure as I’ve either never ran into a web site that blocks you entirely for adblock or maybe I have and just never been effected by it. Got a website in mind that I can test for you?

  2. i installed it in a vm as you suggested, but my pi hole is working only inside vm. Not even on my host or any other machine. i am able to ping that ip address but could not launch pihole admin. any other settings do i need to do?

  3. Tha k you for this simple step by step instruction using a VM. One of these says I’ll get an actual pi, but this will suit just nicely until then. Many thanks once more!