How to install VMware vCenter Log Insight

Log Insight is a real-time log management and analytics solution, and one of VMware’s newest product. Log Insight was recently updated to version 2.0 and available to download here.
Below we’ll go through the steps to installing VMware Log Insight and you’ll soon see just how easy it is to get Log Insight up and running.
Deploying the Log Insight OVA
When you download Log Insight it comes as a .OVA file. I’m not going to get all wrapped up in OVA deployment part as it’s pretty simple. In a nutshell you’ll accept the user agreement, give it a name and assign it an IP – or you can use DHCP.
Once the appliance has been deployed go ahead and power it up.
Install / Configure Log Insight
- To begin, open up your favorite browser and go to:
https:\\appliance-ip-address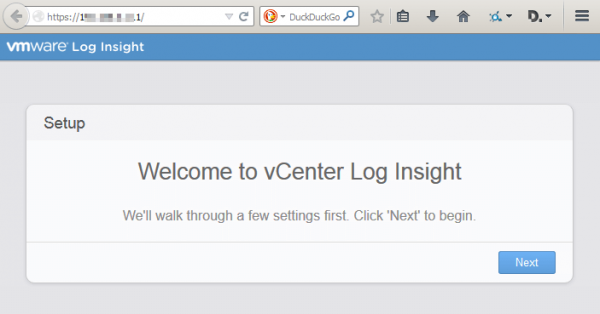
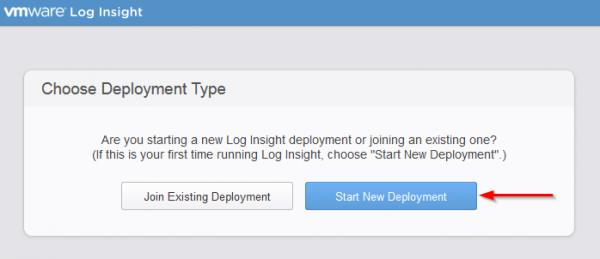
- You are then prompted to join an existing deployment or new deployment, being that Log Insight isn’t already installed – click on “Start New Deployment“.
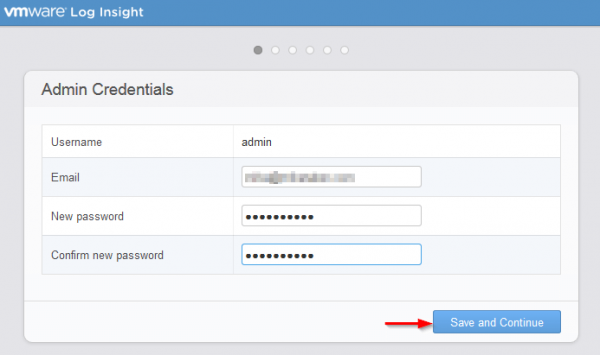
- You’re then prompted to enter a new password and email address for the Log Insight admin user.
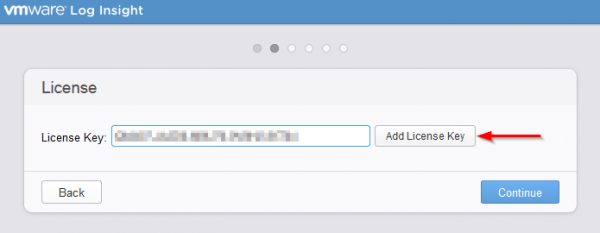
- Now enter your license key and click on “Add License Key“.
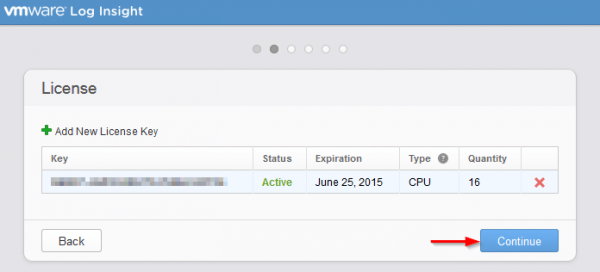
- The next screen shows details of your license, now click on “Continue”.
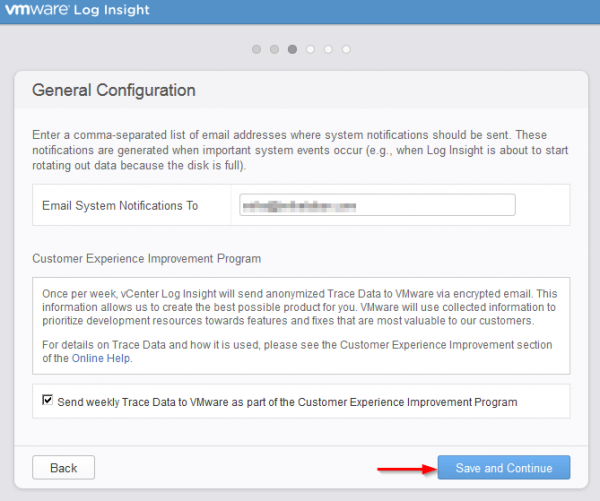
- Next, enter an email address you want to have system notifications sent to. Also decide if you want to help VMware be sure to join the customer experience improvement program. Being that my license was free (Thanks Corey Romero & vExpert program!) I decided to check the box.
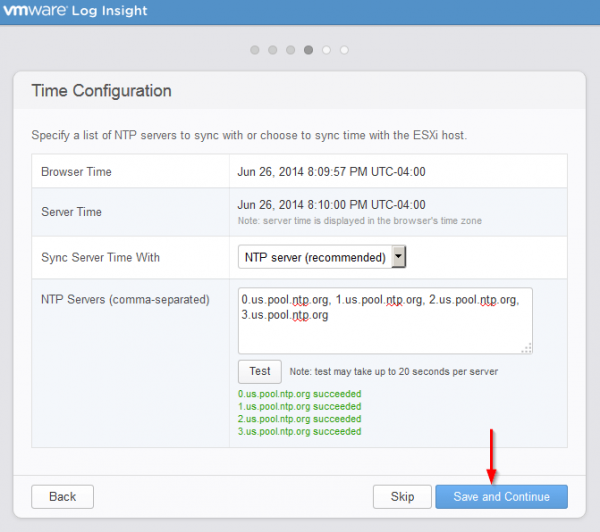
- Next is Time Configuration and you have two options. Use NTP server(s) or time sync with the ESXi hosts. I went with the recommended option (NTP Server), the default NTP servers Log Insight has automatically entered is: 0.vmware.pool.ntp.org, 1.vmware.pool.ntp.org, etc, however I recommend using the same NTP servers you are currently using throughout your environment, otherwise it’s going to be hard reading logs if the time is skewed. In my case I’m already using: 0.us.pool.ntp.org, 1.us.pool.ntp.org, etc.
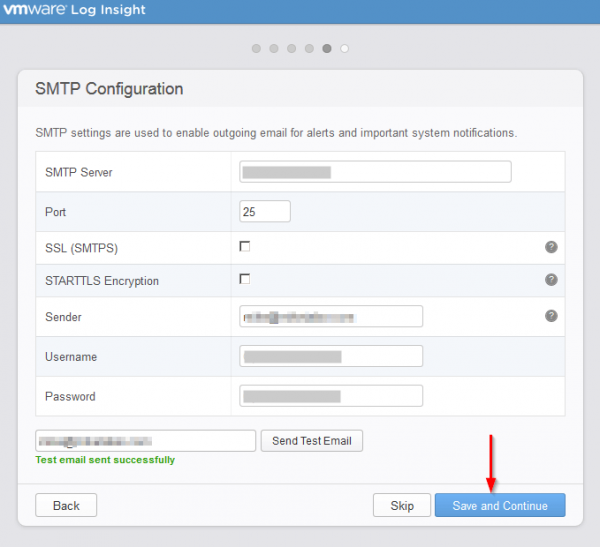
- Enter your SMTP server, sender address, username, and password so that Log Insight can send you notifications.
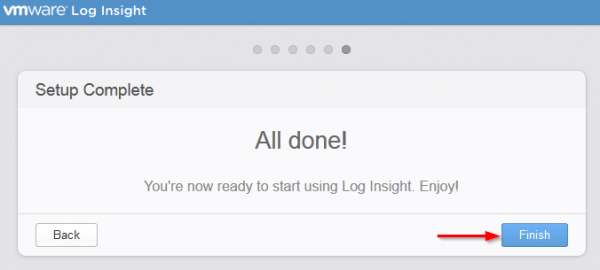
- That’s it on the initial setup of Log Insight, just click on Finish!
Import system logs into VMware Log Insight
Now that the initial appliance setup is finished we need to link our vCenter and ESXi hosts to Log Insight.
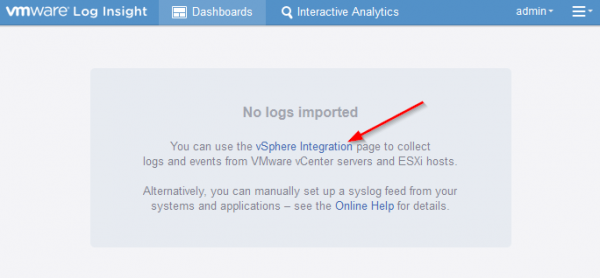
- Click on the “vSphere Integration” link to start the wizard
- Simply enter the host name or IP address of your vCenter server along with a username and password. By default Log Insight will collect vCenter events, tasks, alarms, as well ans configure the ESXi hosts to send their logs to Log Insight as well.
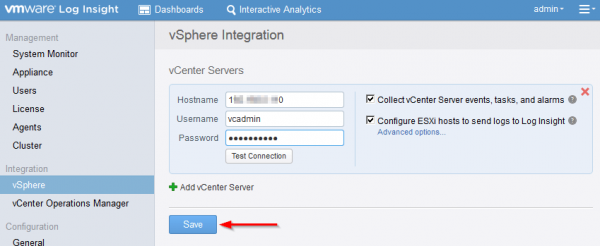
- Once you click on Save from the step 11, Log Insight will start link to vCenter and start configuring your hosts to send logs to Log Insight.
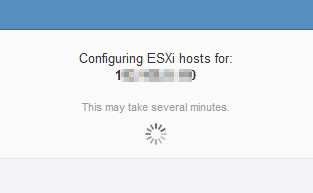
Note: I already had my hosts configured to send logs to my Synology Syslog server and was happy to see Log Insight kept that IP setting alone on each of the hosts and simply added a comma and the Log Insight IP as well.
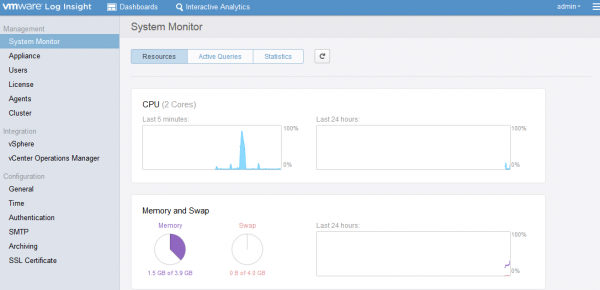
That’s it! When the last step completes the page will refresh and will already start showing you stats and information about your environment.
I’m looking forward to really digging into Log Insight in the lab and very possibly in the production environment as well. If you’re interested in finding out more specifics on VMware Log Insight, be sure to check out the Log Insight Community by VMware.
