Upgrade VCSA 6.5 to VCSA 6.7 Update 1
VMware vCenter 6.7 U1 has recently been released. Last week I posted how to upgrade VCSA 6.7 to 6.7 Update 1, this post will walk you though upgrading VMware vCenter Server Appliance 6.5 to VCSA 6.7 Update 1!
When doing a VCSA version upgrade the upgrade process is much different, than going from say 6.7 to 6.7 U1. When going from 6.5 to 6.7 the upgrade is actually broken up into two stages.
The first stage involves deploying a brand new vCenter 6.7 appliance. Then the second stage will copy the data from your 6.5 VCSA into the newly deployed 6.7 VCSA from stage 1.
Getting Started
Before we begin it’s HIGHLY recommended you first check the VMware Interoperability Matrix before performing any upgrade to check compatibility of other VMware products.
Now go download the VCSA 6.7 U1 ISO if you haven’t already and lets get started with the upgrade!
How to Update VCSA 6.5 to VCSA 6.7 U1
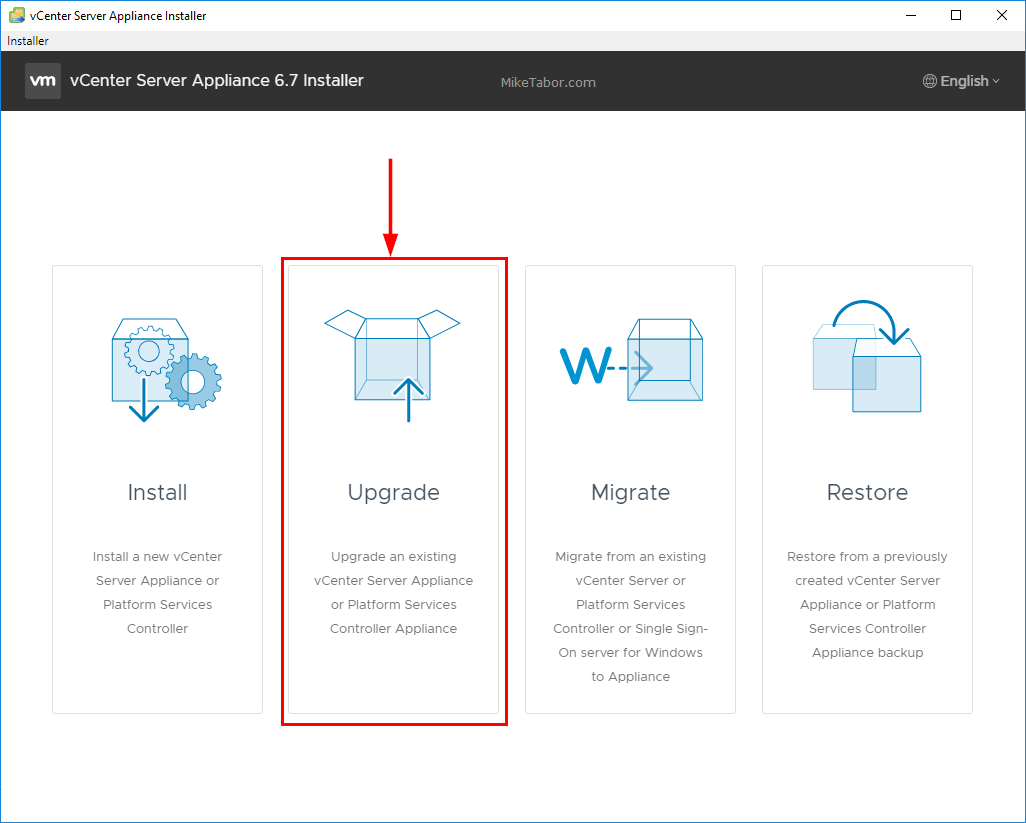
- Mount the VCSA ISO and start the vCenter Server Appliance 6.7 U1 installer (installer.exe) located at \vcsa-ui-installer\win32 and select Upgrade.
- Click on Next on the introduction, then accept the EULA and click Next.

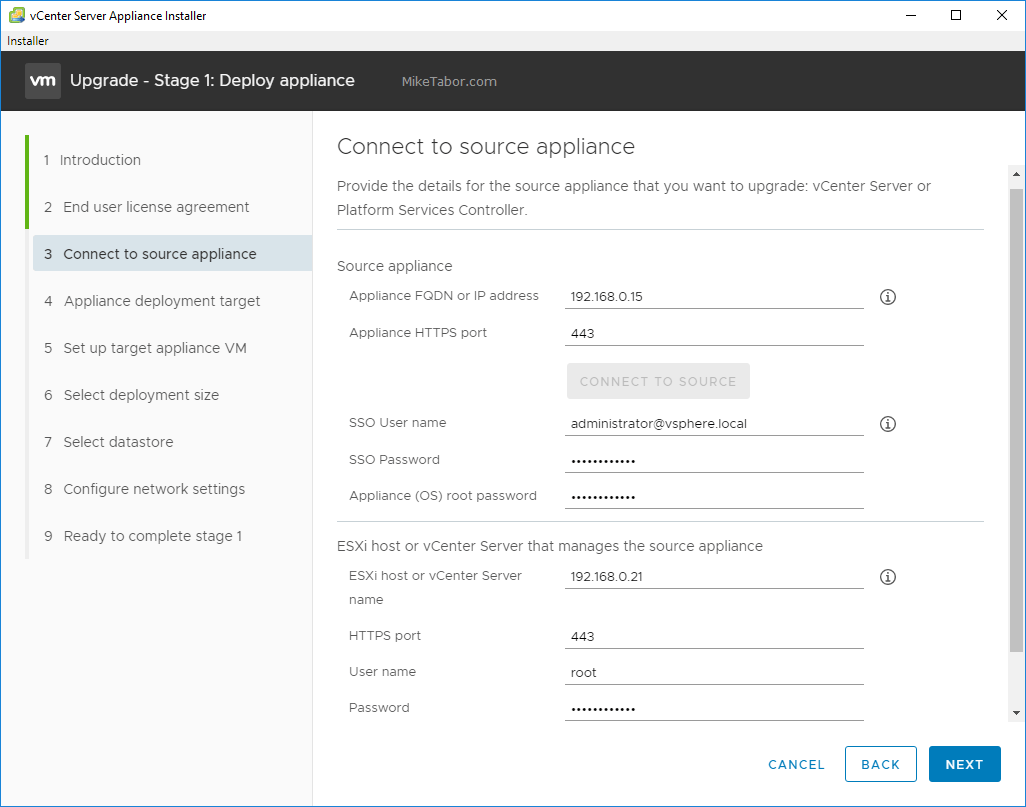
- Now enter the existing VCSA FQDN or IP address as well what ESXi host the existing VCSA is running on, along with all of the login details for the existing VCSA and ESXi host.
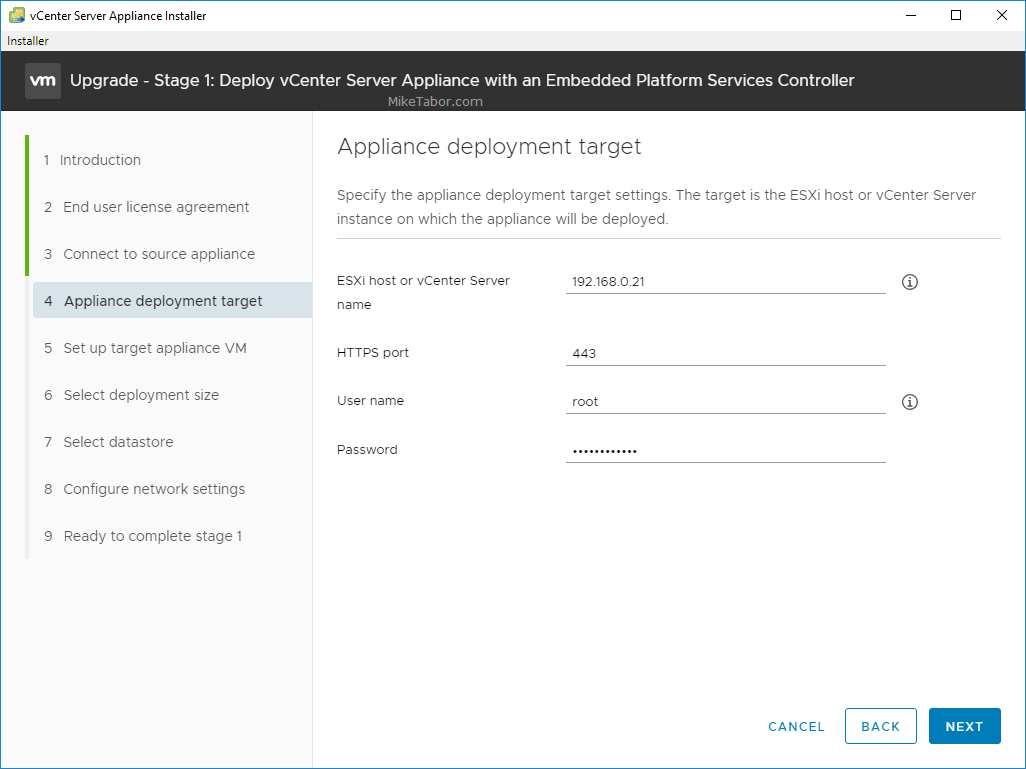
- Next enter the ESXi host or vCenter server where you would like the new VCSA 6.7 Update 1 appliance to be deployed.
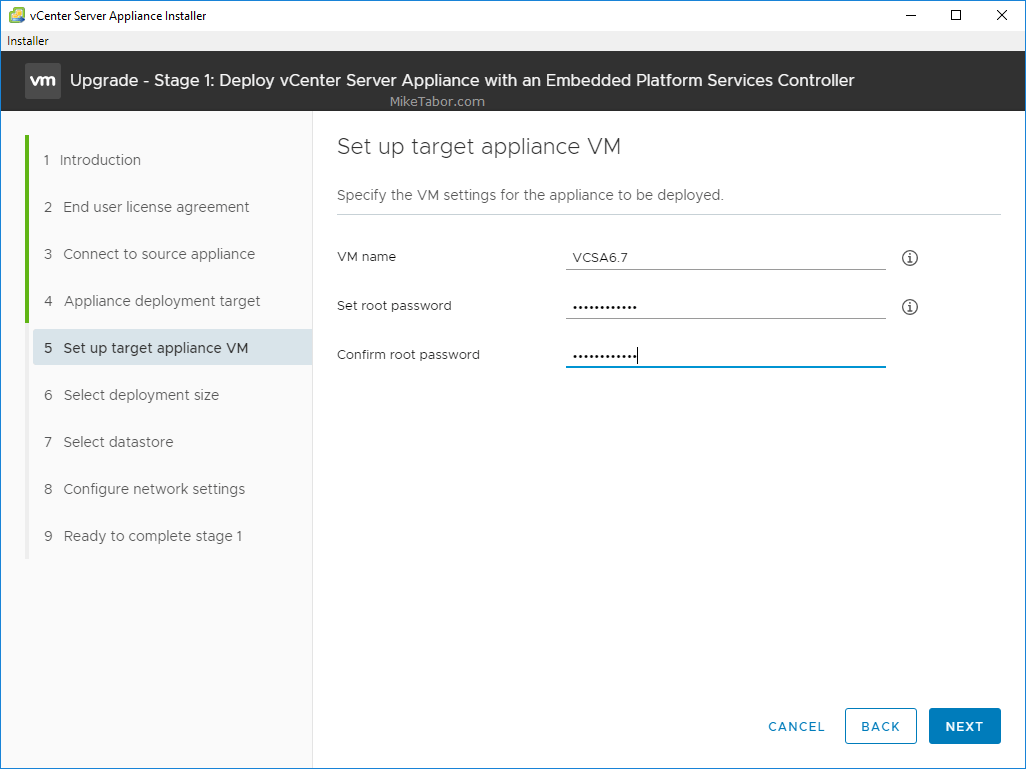
- Enter a VM name and root password for the new VCSA.
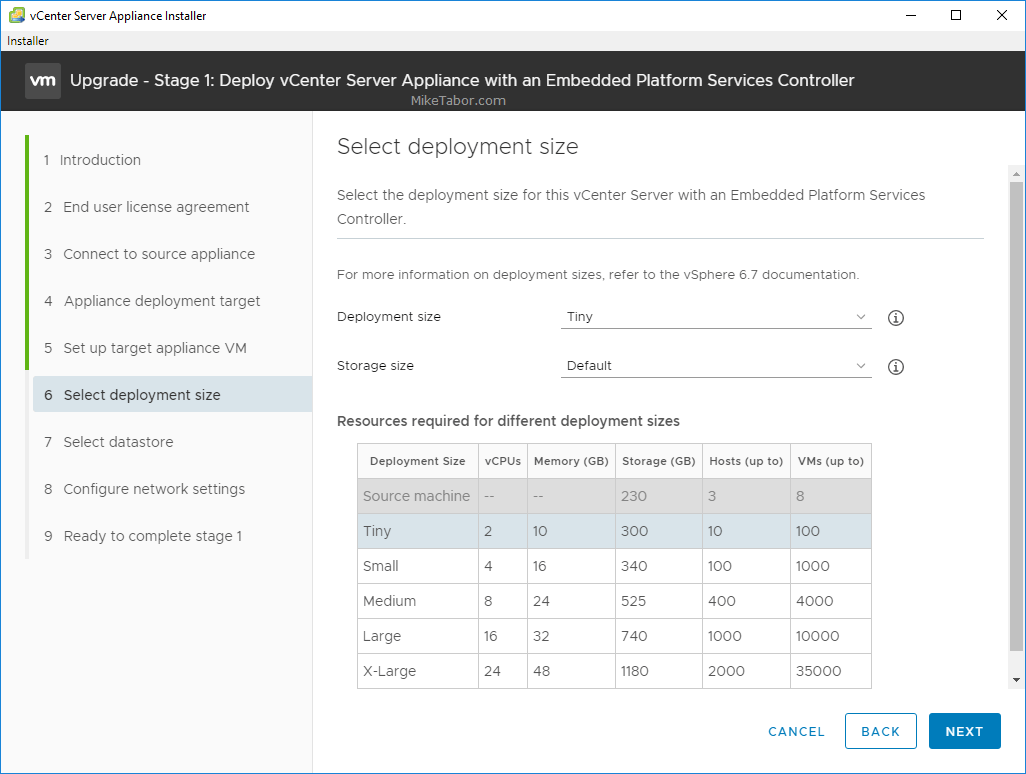
- Select an appropriate deployment size for your environment.
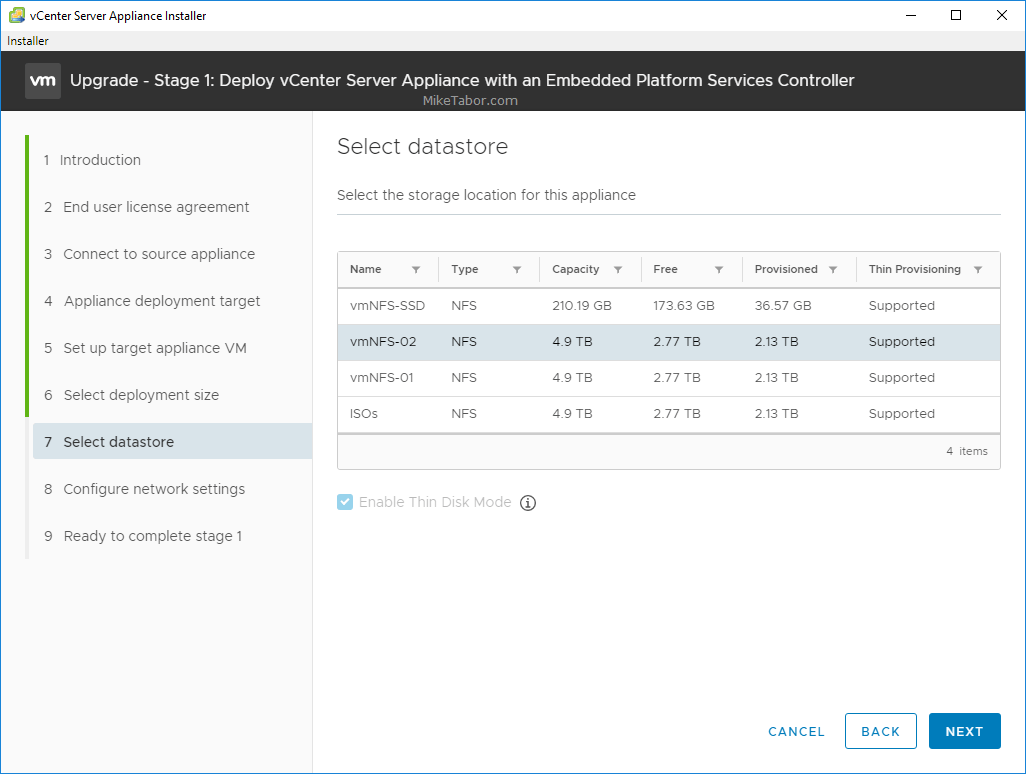
- Select what datastore you want the VCSA 6.7 appliance to be stored.
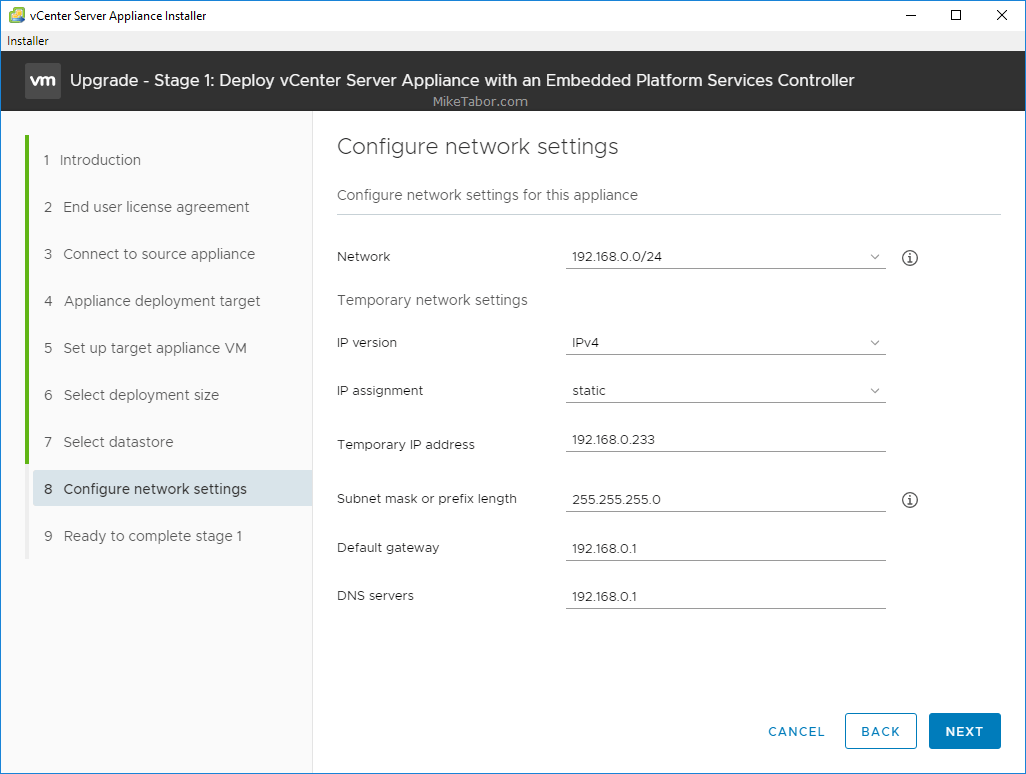
- Configure a temporary network configuration. Once Stage 2 of the upgrade has been completed the 6.7 VCSA will take the network identity of the old existing VCSA.
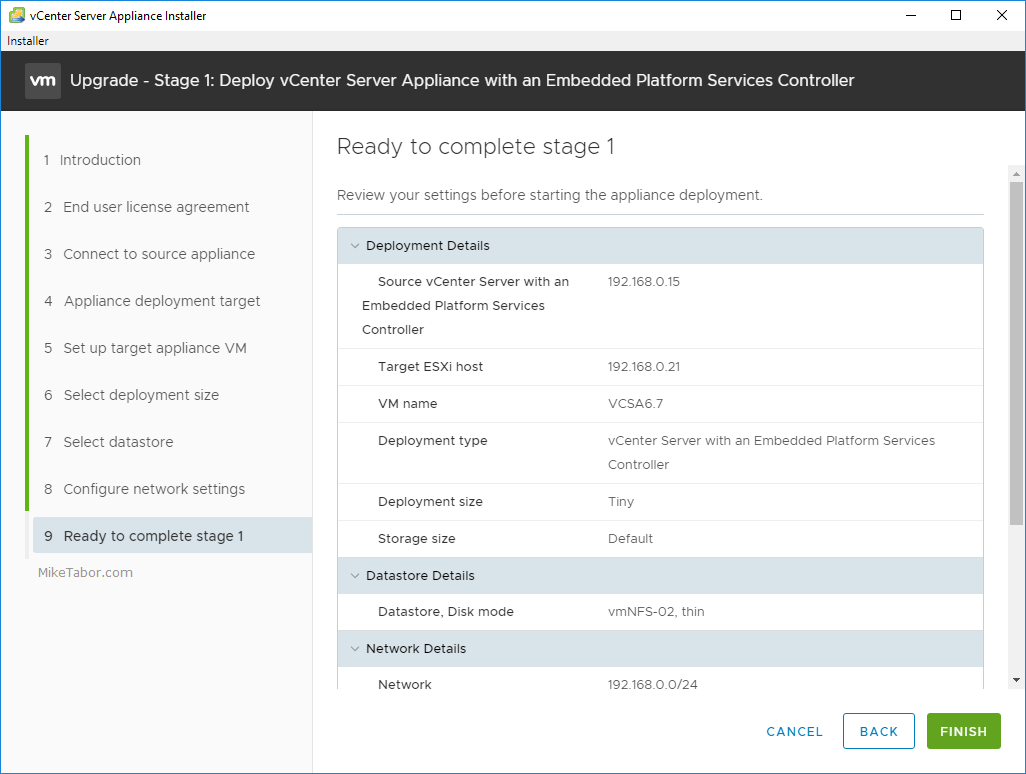
- Review the Stage 1 summary and click on Finish.
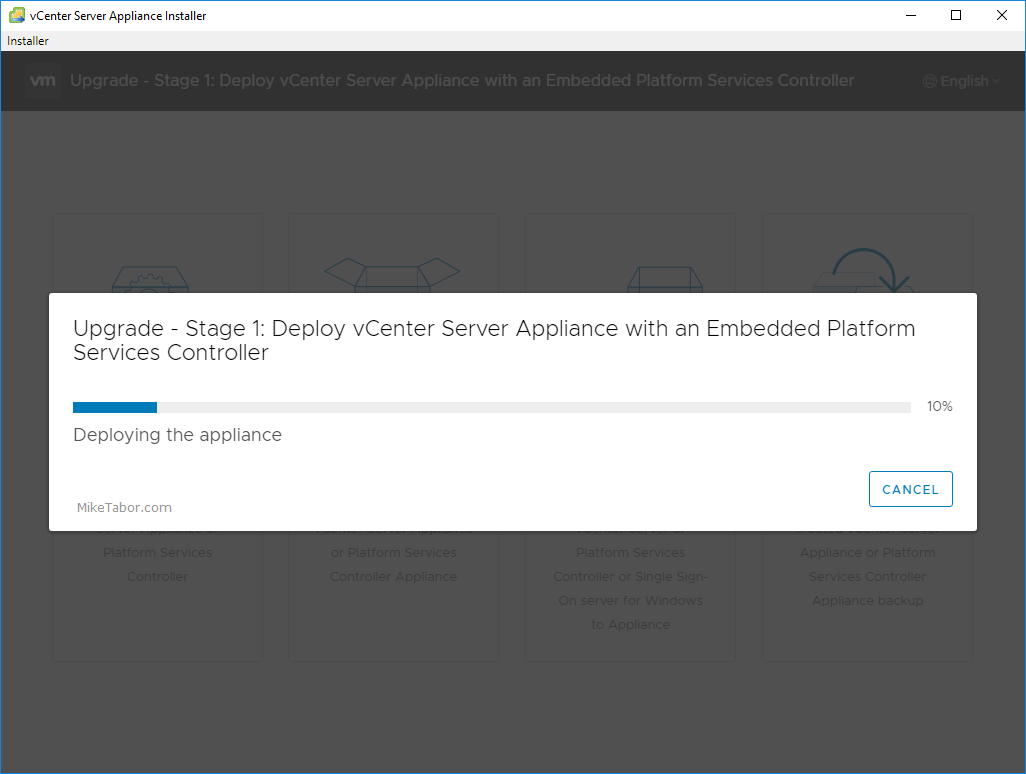
- Wait for Stage 1 to complete and deploy the new VCSA 6.7 U1 appliance.
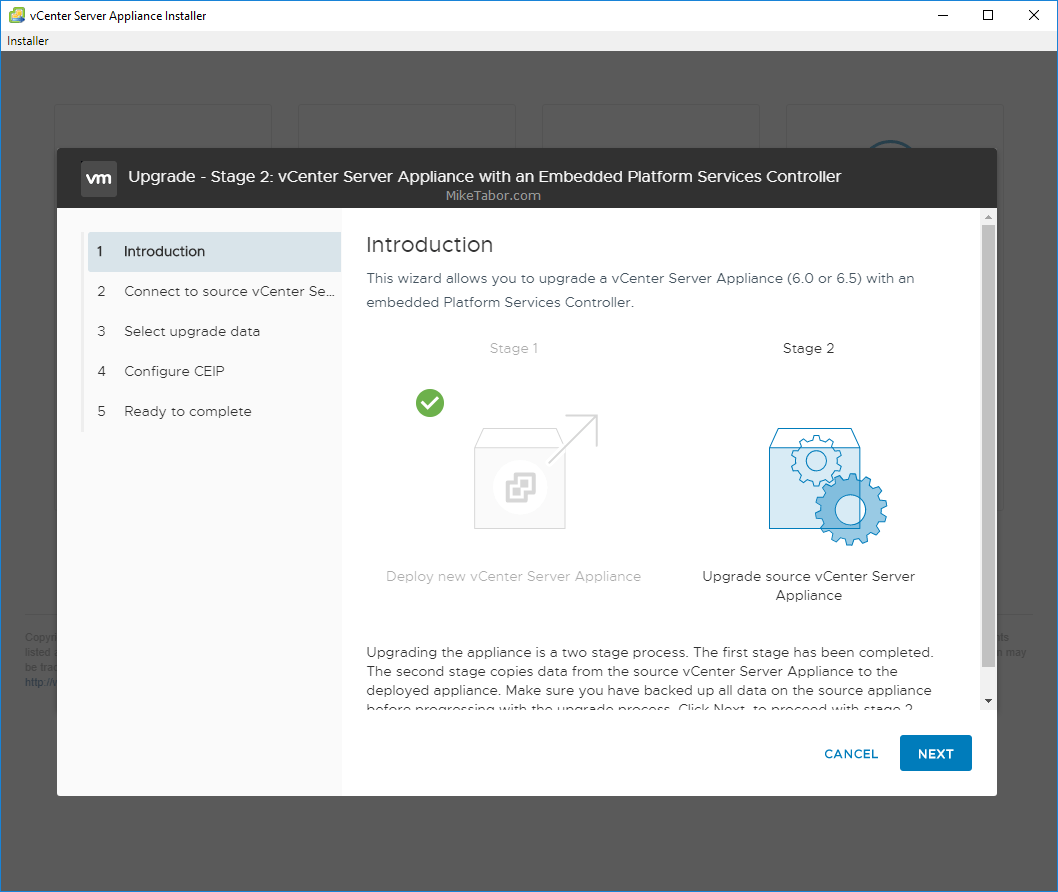
Stage 2 of VCSA 6.7 U1 upgrade, copying data
- Click Next through the introduction screen.
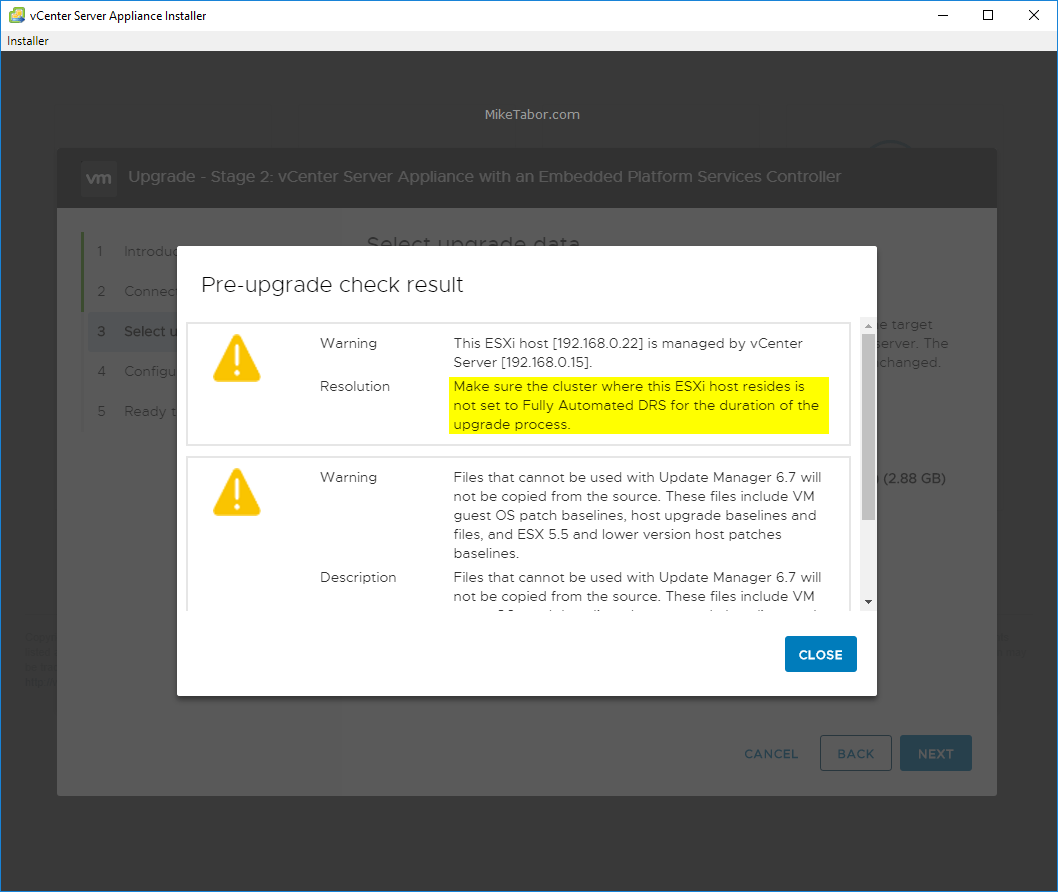
- Stage 2 will then automatically run a Pre-Upgrade check on your existing VCSA. Make sure to review those results, then click on Next.
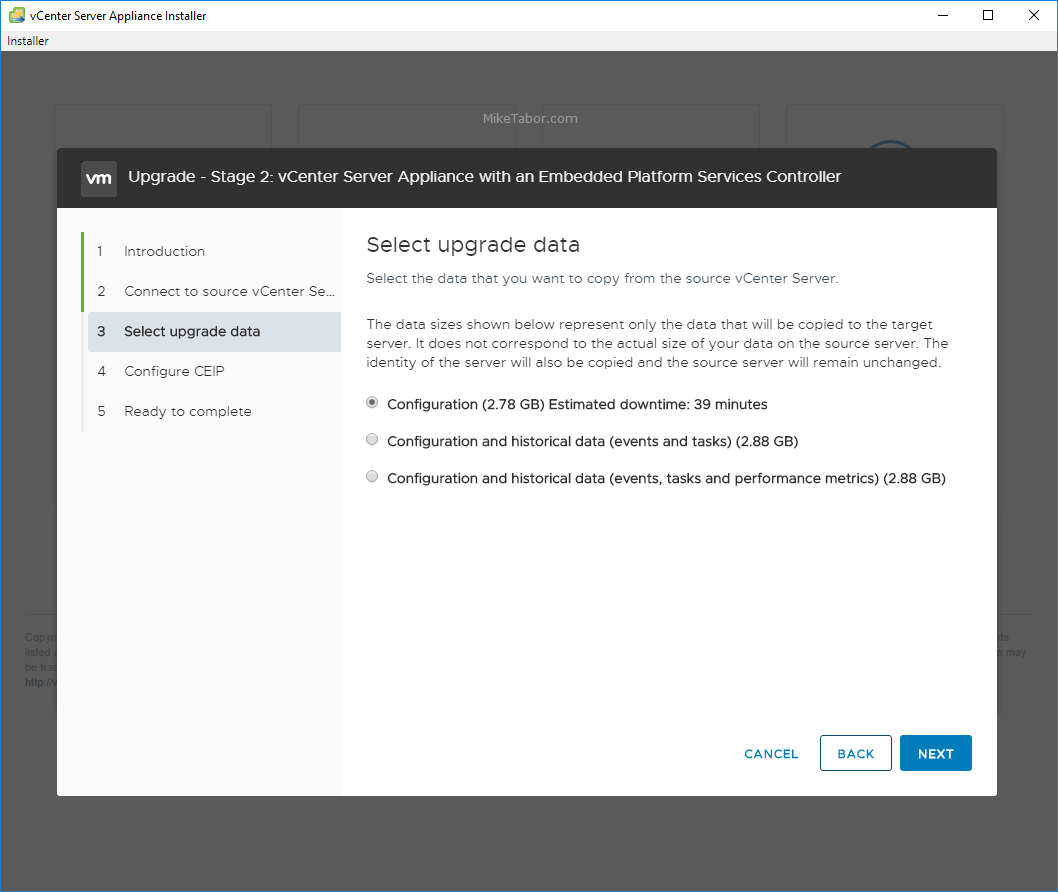
- Next select which data you would like to copy from the existing VCSA 6.5 to the new VCSA 6.7 U1 appliance.
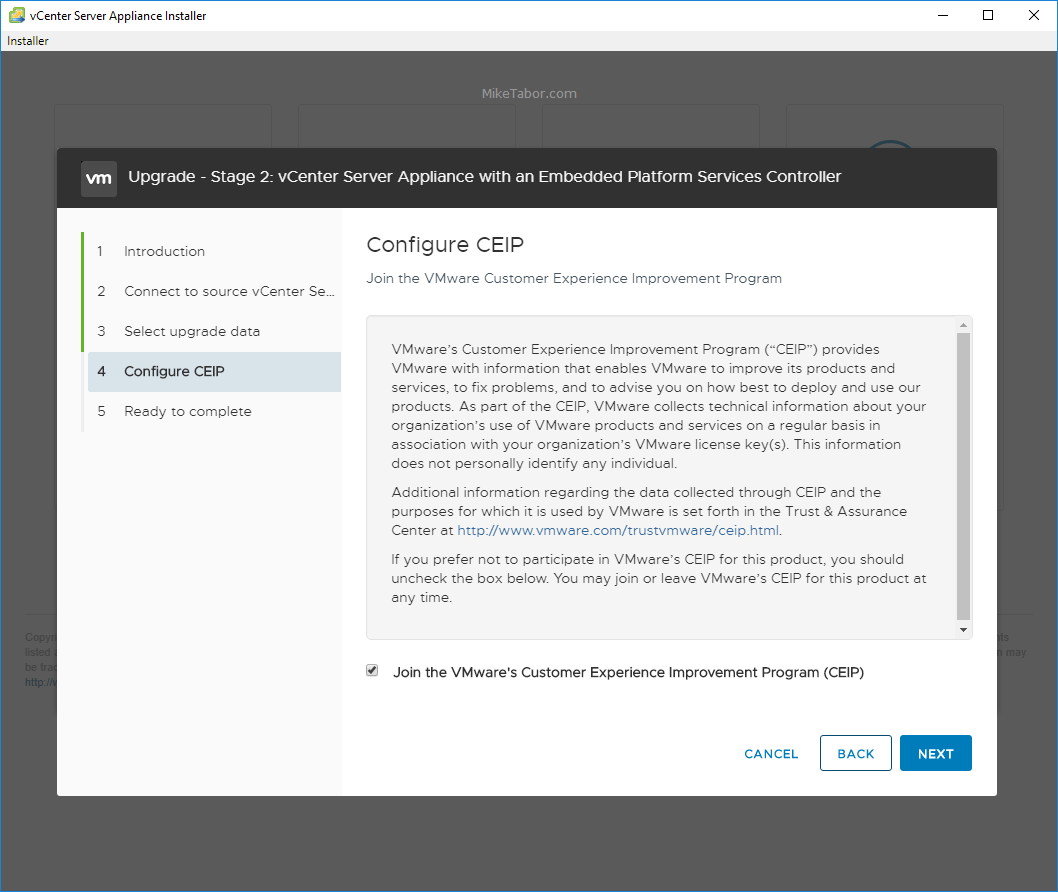
- Choose if you want to participate in CEIP or not and click on Next.
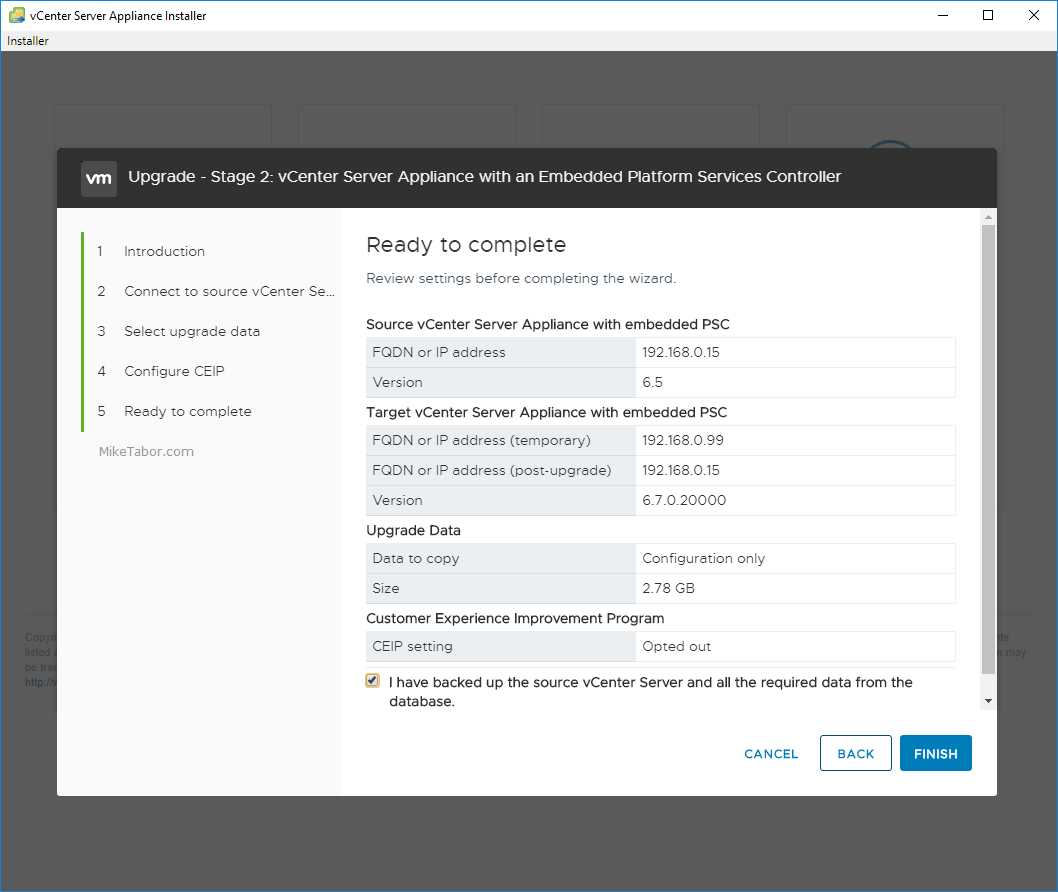
- Review the Stage 2 summary and check “I have backed up the source vCenter Server and all the required data from the database” and click Finish.
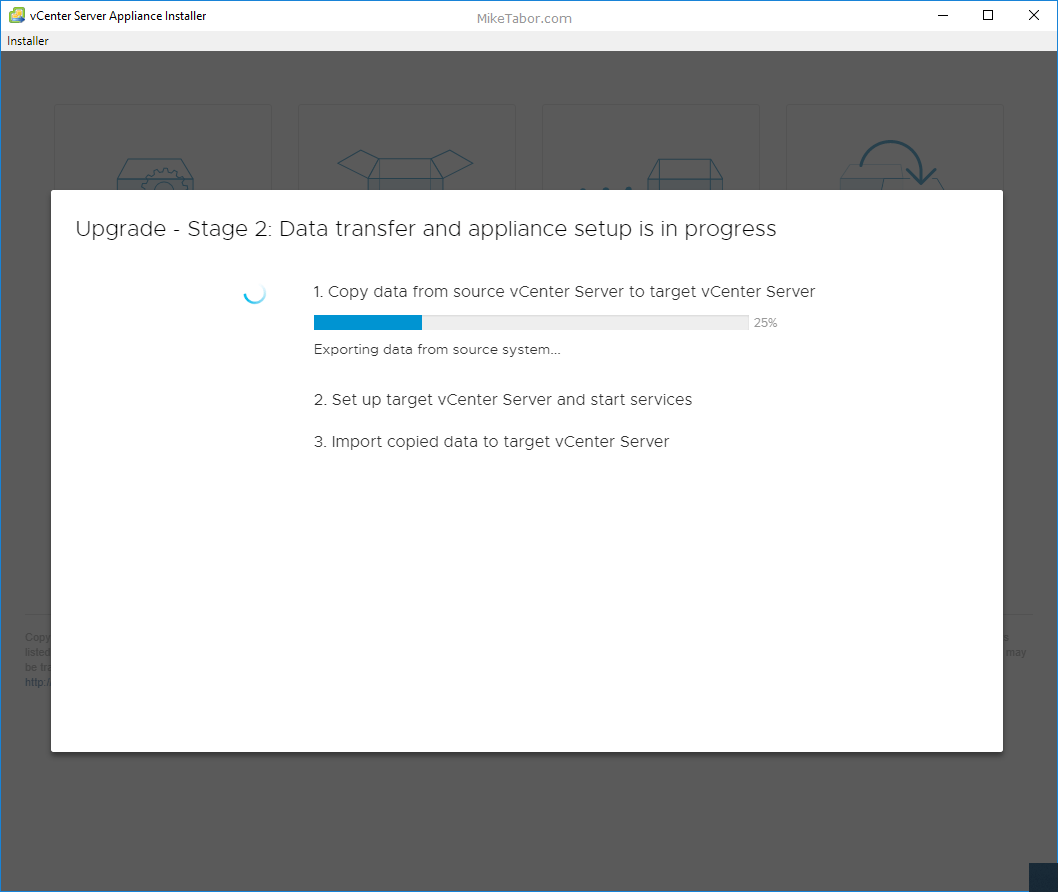
- Now the Stage 2 will start coping the data from the old VCSA into the new 6.7 VCSA and other tasks.
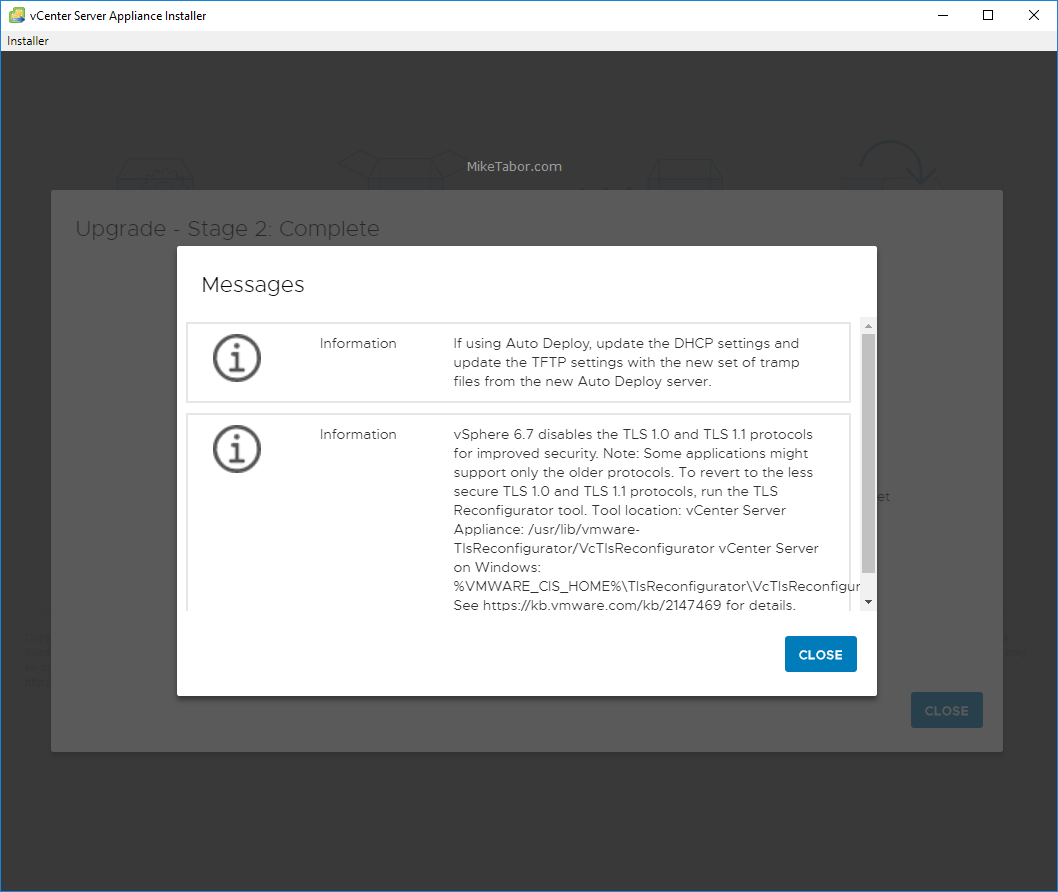
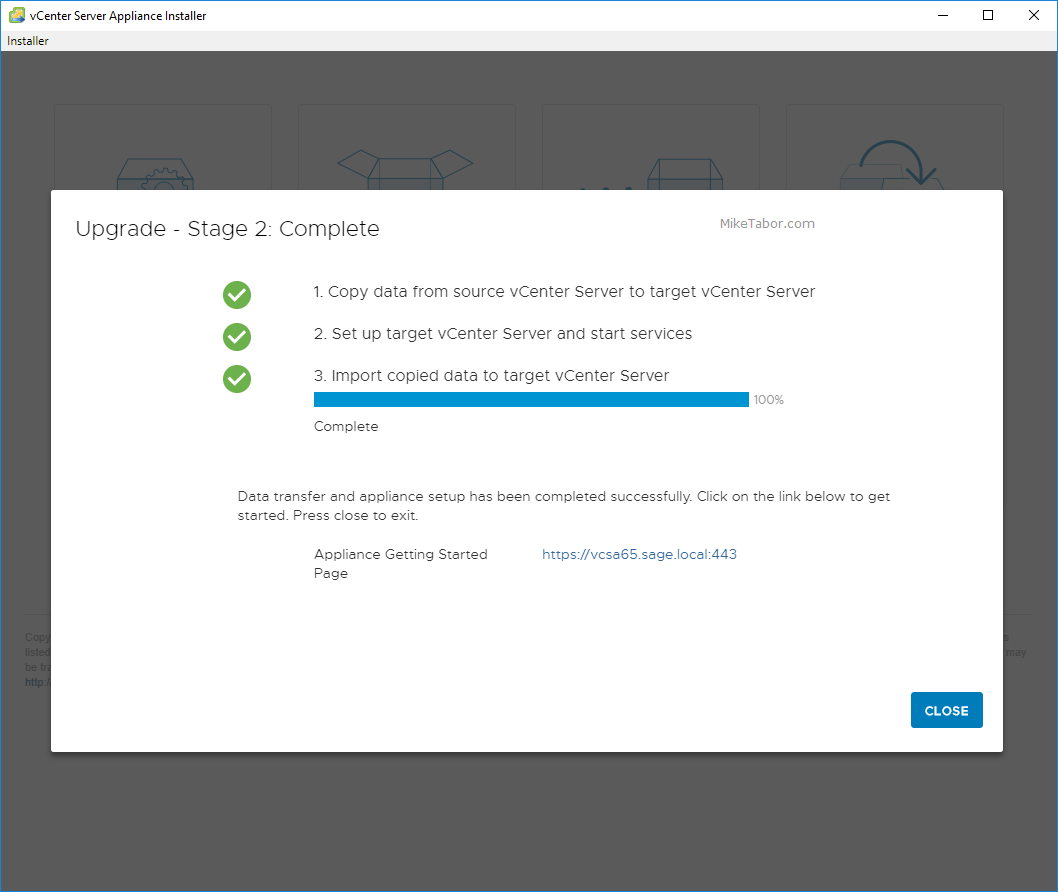
- Once Stage 2 is complete you’ll get another set of informational messages. Make note and click on Close.
- And finally, the VCSA 6.5 to VCSA 6.7 U1 upgrade is now complete!
Now that your VMware vCenter Server has been updated, you are ready to start upgrading your VMware ESXi hosts to 6.7 U1.