Altaro VM Backup Setup Step-by-Step

Altaro VM Backup is a company who offers a backup solution for small to medium sized businesses and have been around for a while that started out offering backup software for Hyper-V, but has now expanded to VMware as well. Altaro asked if I would be interested in trying for free as part of the vExpert program in my home lab.
I help out a few small companies here in town so having another backup solution to possibly suggest certainly wouldn’t hurt, so I decided to give it a try and below are my steps to setting it up and thoughts about the software so far.
Installing Altaro VM Backup
To install, you first need to download the 30 day trial or free Altaro VM Backup version. Altaro management can be installed on Windows Server 2008 R2, 2012, and 2012 R2 as well as Windows 7, 8 and 10.
Once you have downloaded Altaro VM Backup, simply run the .EXE file and click: Next > Accept (EULA) > Next > Next > Install. The install is now complete.
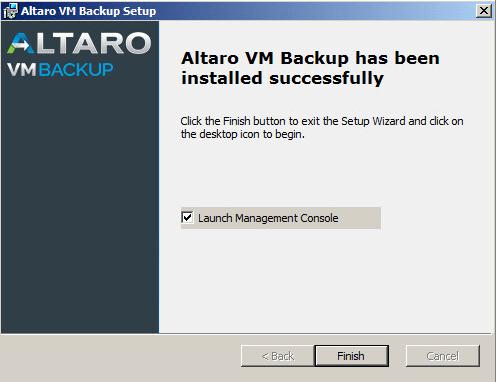
Altaro VM Backup Setup
With Altaro installed, lets run through the simple setup process to backup a couple VMware hosts.
Speaking of which Altaro is compatible with the following VMware software: VMware vCenter 5.0, 5.1, 5.5 & 6.0, VMware vSphere 5.0, 5.1, 5.5 & 6.0, VMware ESXi 5.0, 5.1, 5.5 & 6.0 – Free VMware ESXi are not supported.
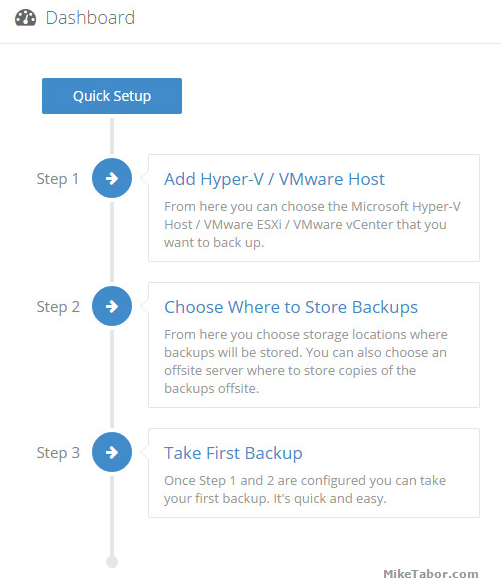
- Open Altaro VM Backup and check “This Machine” and click on Connect.
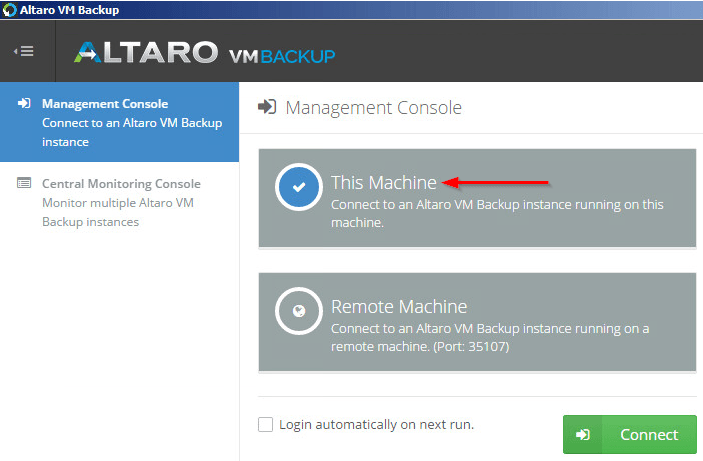
- From the Quick Setup click on “Add Hyper-V / VMware Host“.
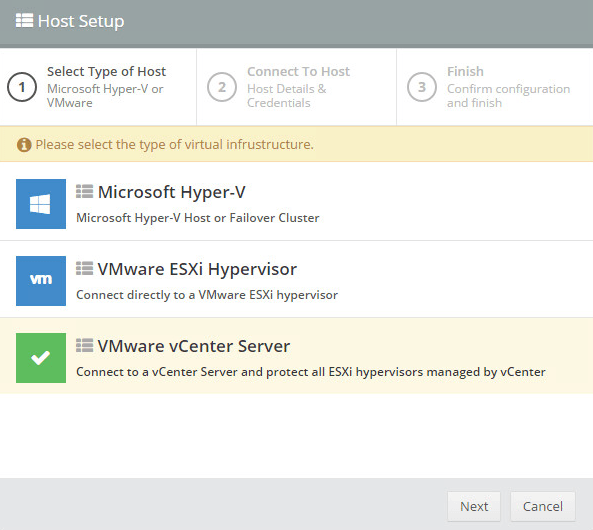
- You can choose to connect directly to an ESXi host or to the vCenter Server for your environment. For this setup I’m going to go with vCenter Server, then click NEXT.
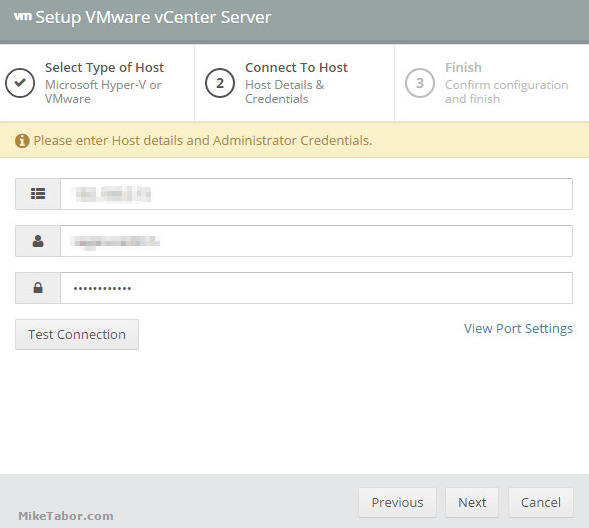
Note: Altaro is compatible with the vCSA appliance, which is what I’m using in my home lab now. - Now enter the vCenter Server FQDN or IP address, username and password, then click on “Test Connection”.
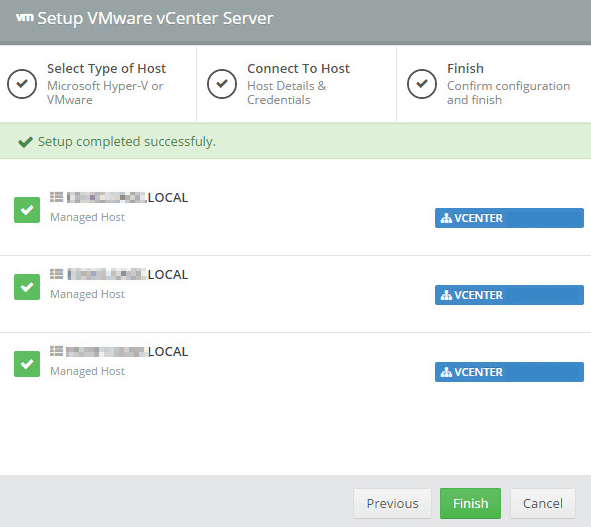
- After the above test is finished you will see a confirmation screen that lists all the hosts managed by the vCenter Server. Click on Finish.
- Now choose where the backups are going to be stored. I’ll be choosing “Network Path” to store the backups on my Synology DS1815+.
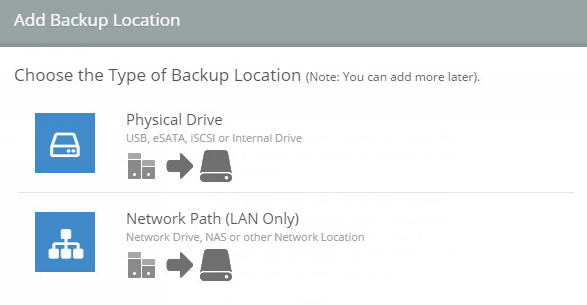 Note: You can add multiple locations so maybe some VM’s will get backed up to a network share while others might be backed up to a USB drive.
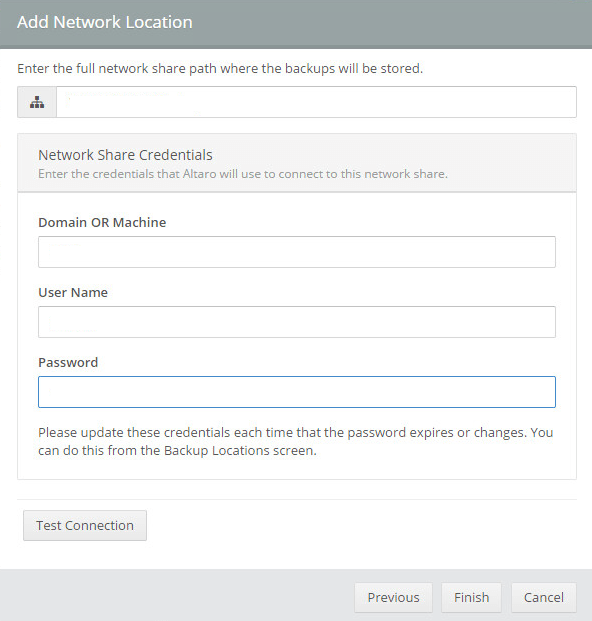
 - Enter the network path where the backups will be stored along with the username and password for the share.
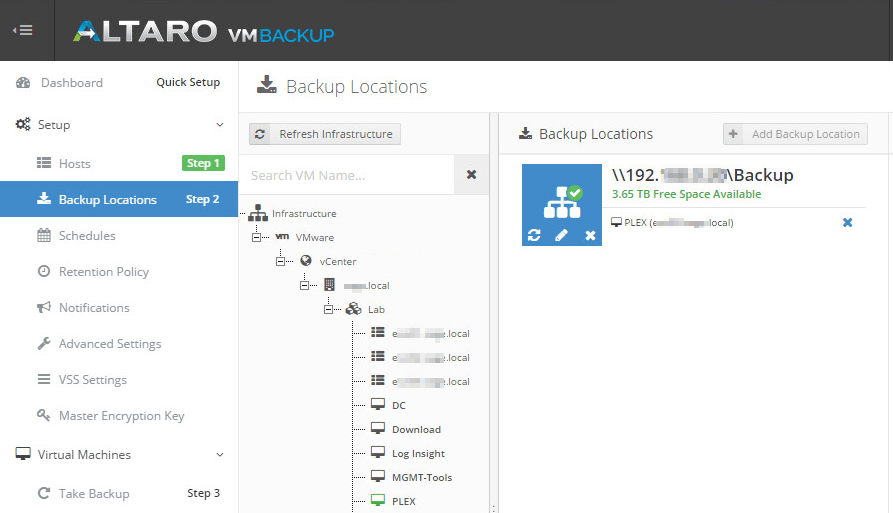
- Now that you have a backup location created, you can simply drag and drop virtual machines from the center pane to the backup location in the right pane, then click “Save Changes“
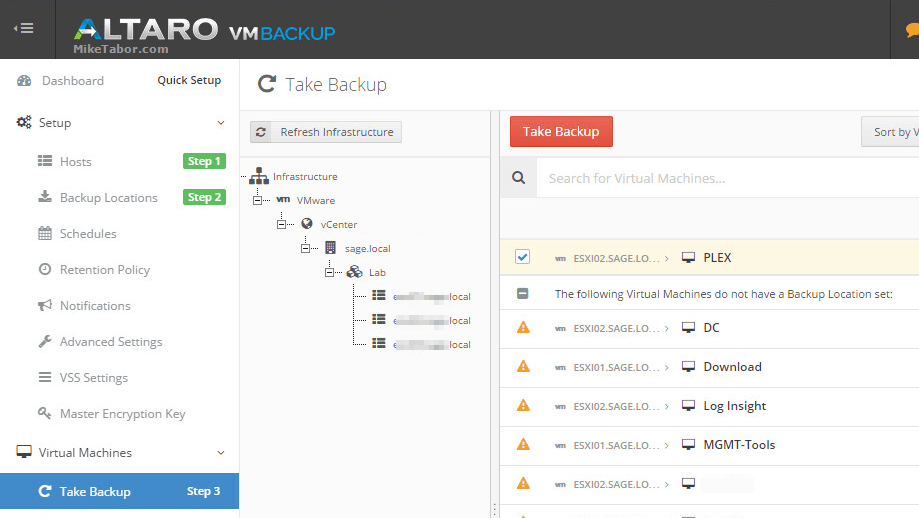
- Now under the Virtual Machines menu on the left click on “Take Backup” and place a check mark next to the VM you want to start backing up and click on “Take Backup“.
It’s as simple as that. At that point Altaro will kick off the backup process and protect your virtual machine(s). Of course you can go back and chance the retention policy, schedule times for backups to run and a host of of settings.
I’ve been running Altaro now for about 2-3 months now and have been impressed with the software. Backups are quick and it’s painless to restore files or whole VM’s from a backup if needed. For a small or medium sized business, Altaro is certainly worth checking out.
Check out the 30 day free trial or the free version here: Altaro VM Backup