Installing VMware vCenter Server Appliance 6.5
VMware has announced that VMware vSphere 6.5 has gone general available this week. Now installing VMware vCenter Server Appliance 6.5 (VCSA) is even easier as the requirement for the client integration plugin has been removed and now the VCSA appliance is delivered via an ISO image with an installation wizard that’s been broken up into two stages.
The VCSA 6.5 ISO offers two types of installation methods, CLI and GUI install – both availalbe for Windows, Mac and Linux machines. In this guide I’ll walk through the steps of installing VCSA 6.5 using the Windows GUI install.
How to install vCenter Server Appliance 6.5
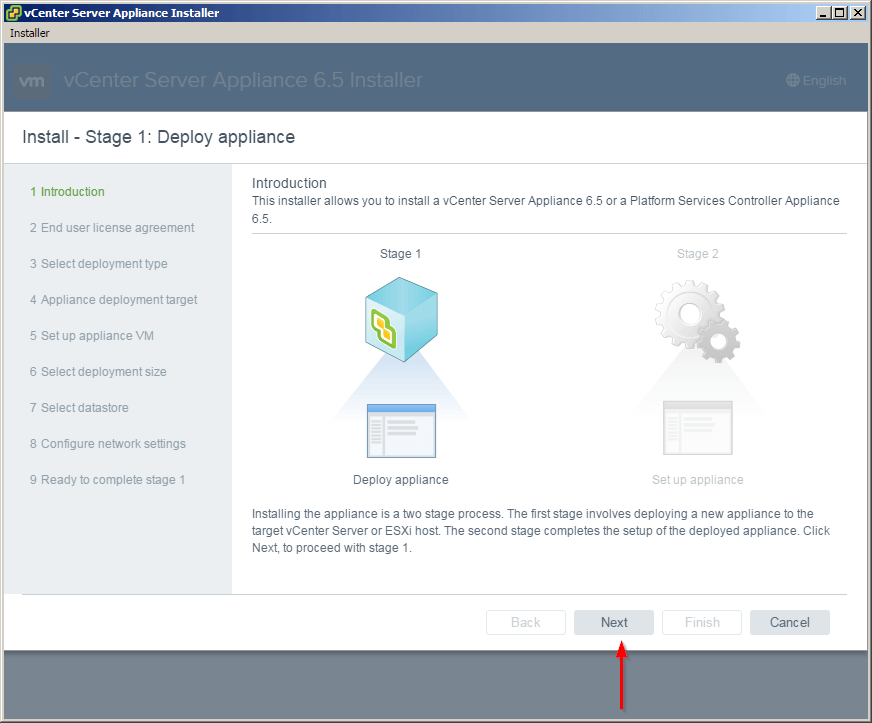
New to VCSA 6.5, the installer has now been broken up into two stages. Stage 1 will deploy the appliance (OVA) based on type and size, configure networking. Stage 2 will configure the VCSA with NTP and SSO settings.
If you haven’t already, go ahead and download the VCSA 6.5 ISO and lets get started.
Stage 1 – Deploying VCSA 6.5
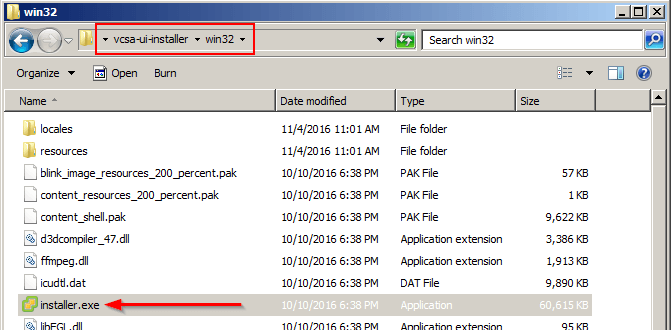
- Mount the ISO and start the vCenter Server Appliance 6.5 installer located at \vcsa-ui-installer\win32
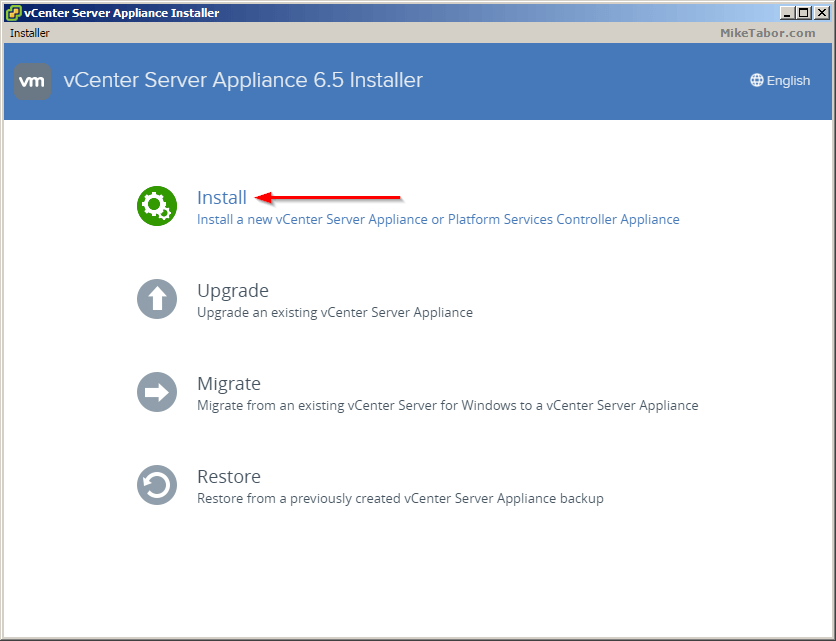
- Select Install from the VMware vCenter Server Appliance 6.5 Installer.
- The introduction shows what I stated above, that the installer is broken up into two stages – deploy and then configure. Click on Next.
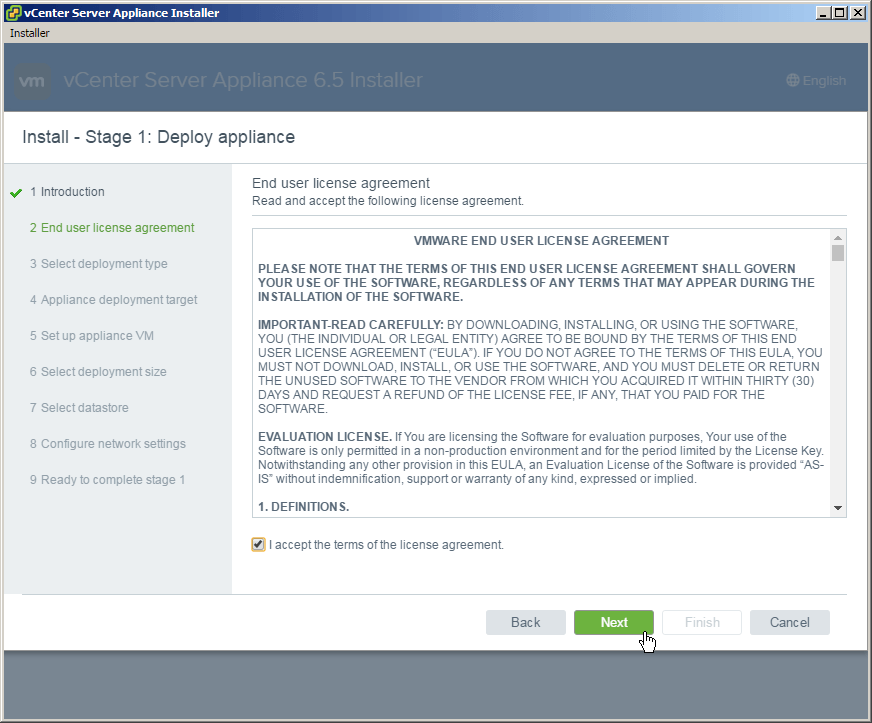
- Accept the End User Licence Agreement.
- Now you will need to decide to use embedded or an external Platform Services Controller. Since this is my home lab I’ll be selecting embedded. For a production environment I would go with external.
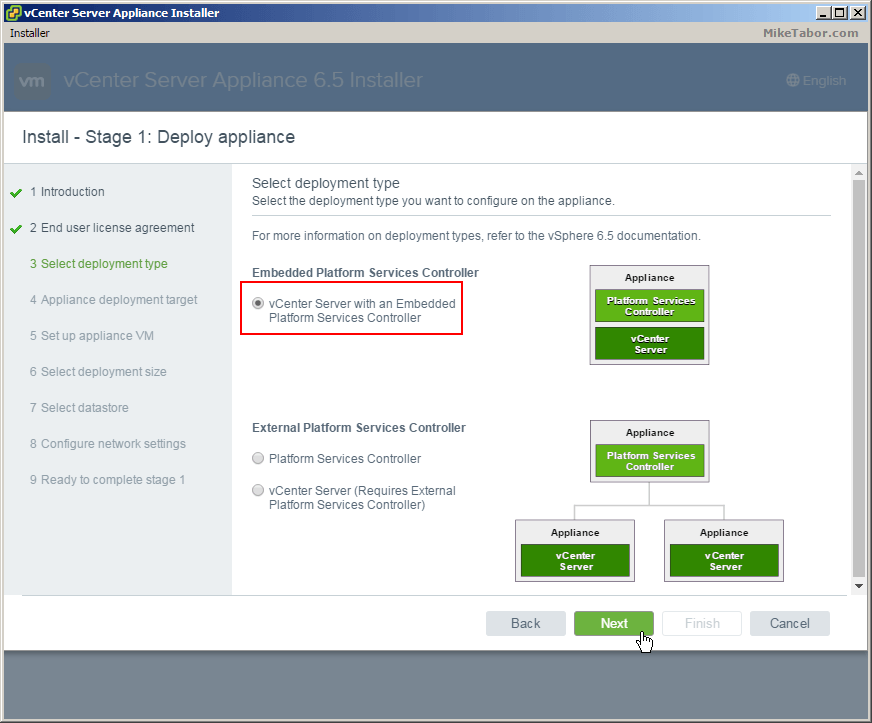
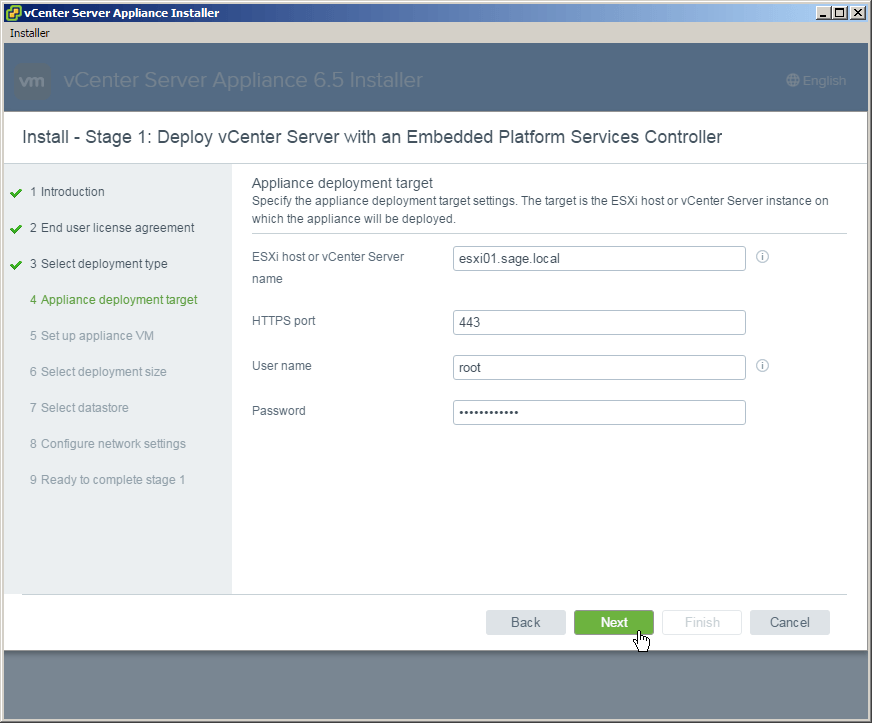
- Now enter the ESXi host where you want to have the VCSA deployed and enter your host credentials.
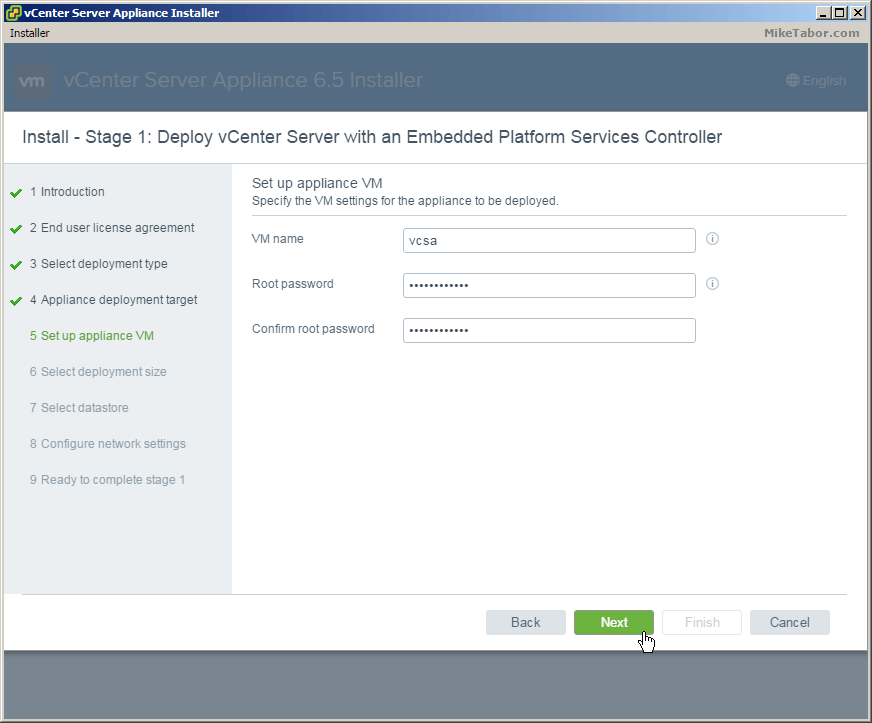
- Enter the name you would like for the appliance VM to be called as well as set a root password.
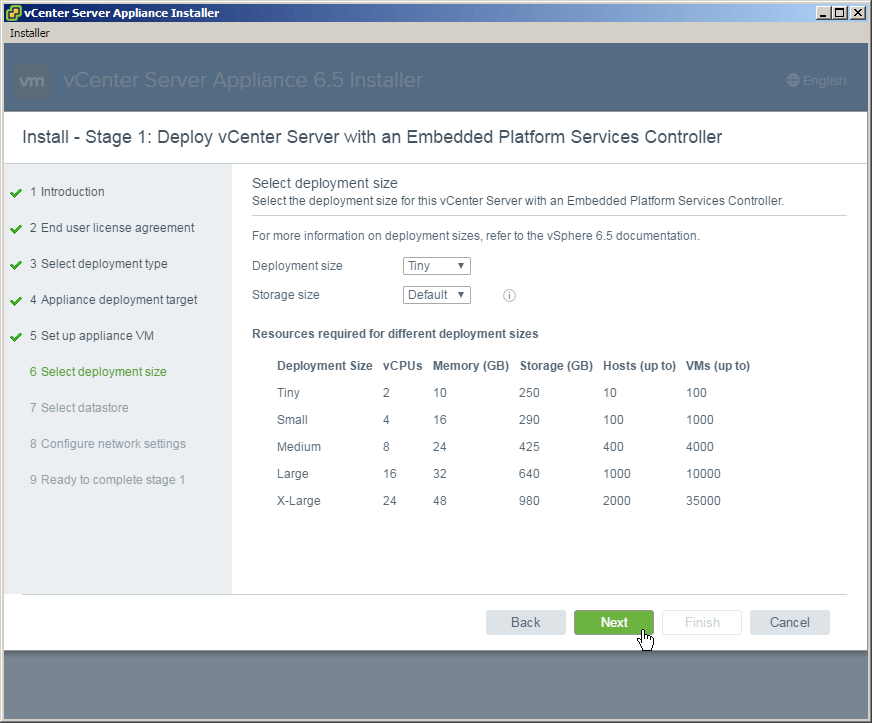
- Select the deployment size that best matches your environment. For my home lab I’m selecting Tiny.
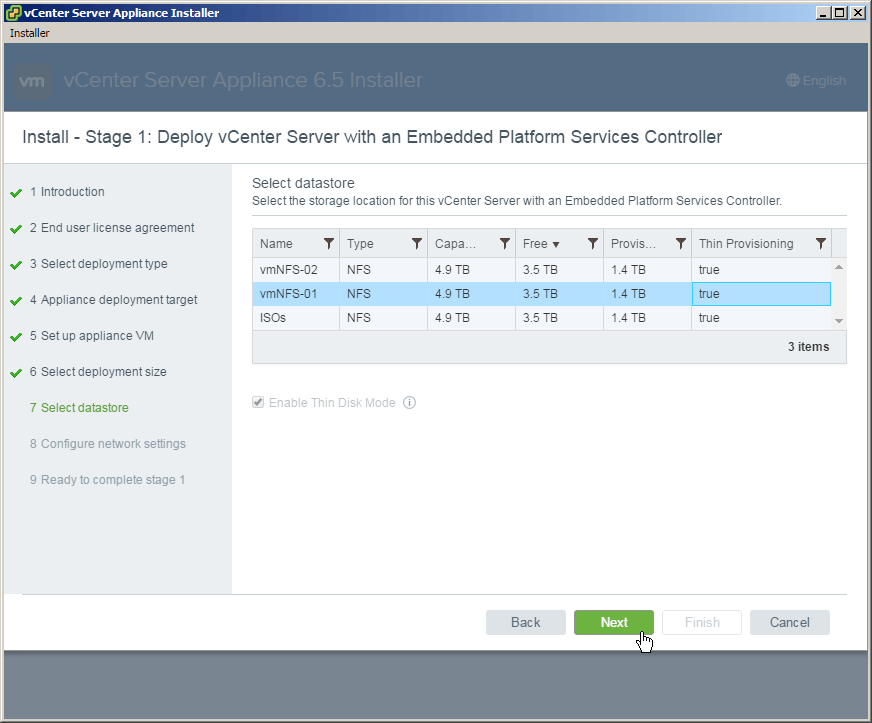
- Select what datastore you want the VCSA appliance to be stored.
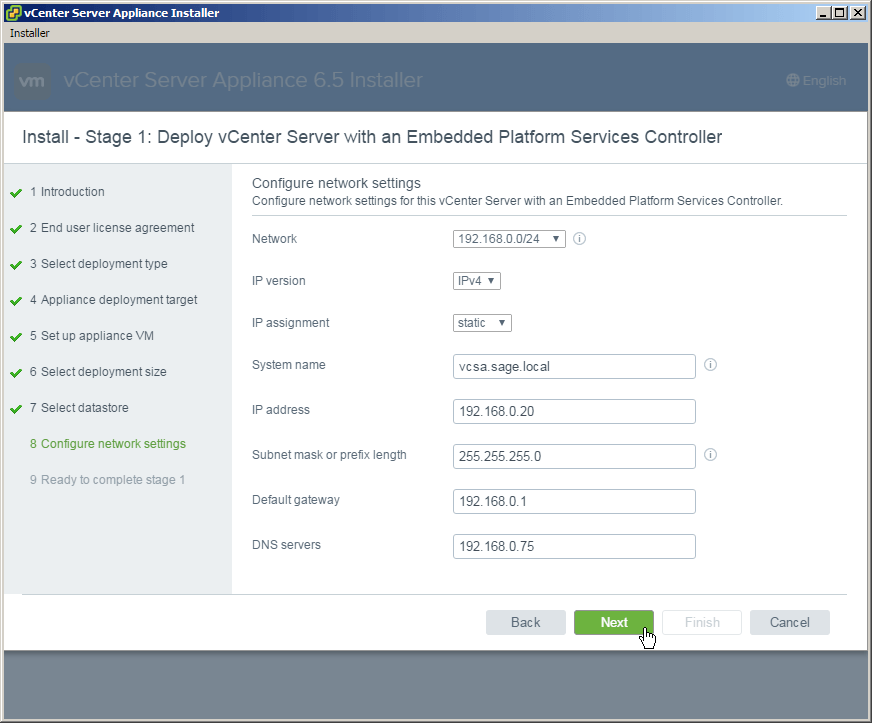
- Now configure the networking the VCSA appliance should use. It’s important to note that DNS for the IP used should both forward and reverse resolve else you will run into errors.
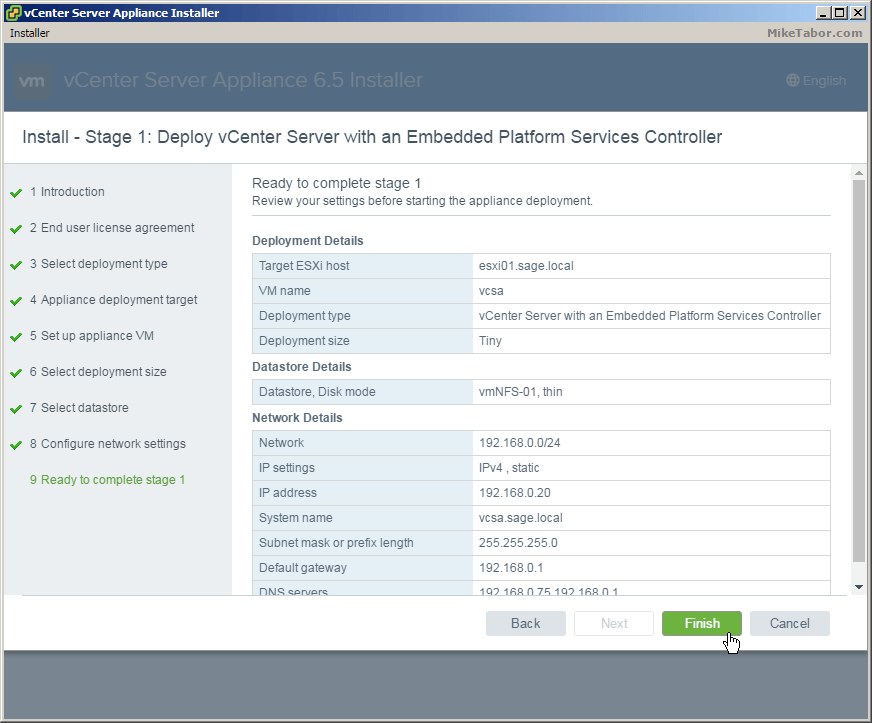
- The final step of the vCenter Server Appliance 6.5 deployment process is to review the summary and click on Finish.
- Once completed you will have the option to continue onto Stage 2 or close. If you close then you can finish the VCSA config by going to https://<VCENTER_IP>:5480

Stage 2 – Configuring VCSA 6.5
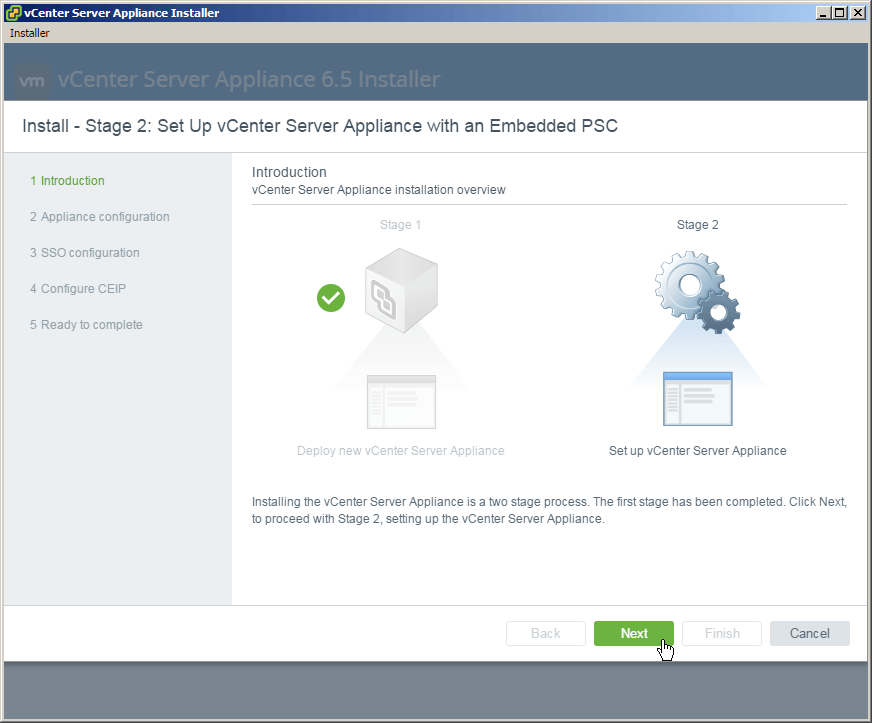
- After clicking Continue from Stage 1 you will be taken to the Stage 2 introduction page, click Next.
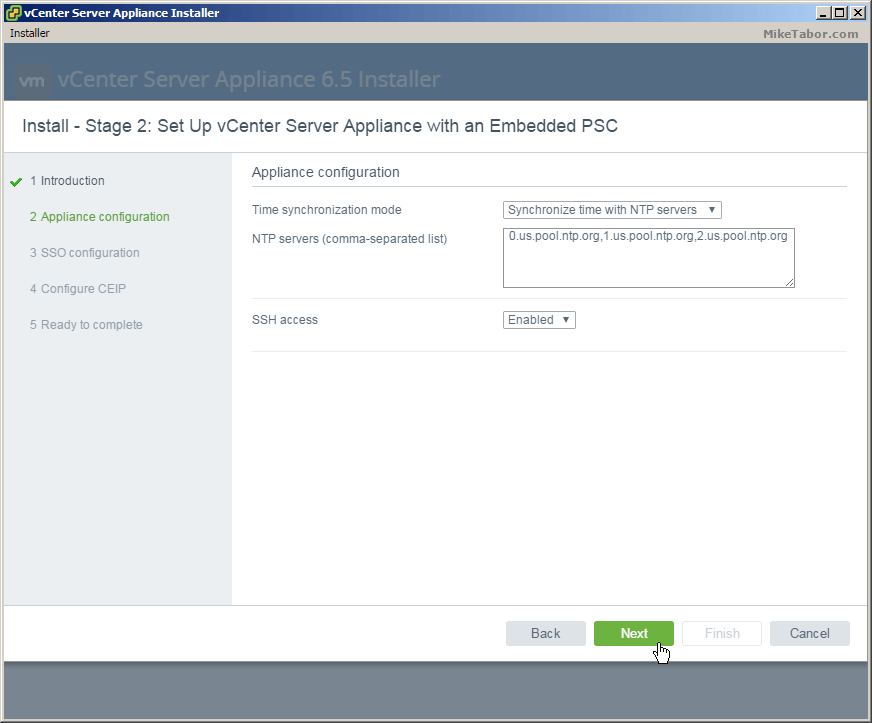
- First option to configure of the VCSA is Time synchronization. You can either sync with the ESXi host or user defined NTP servers as well as enable or disable SSH.
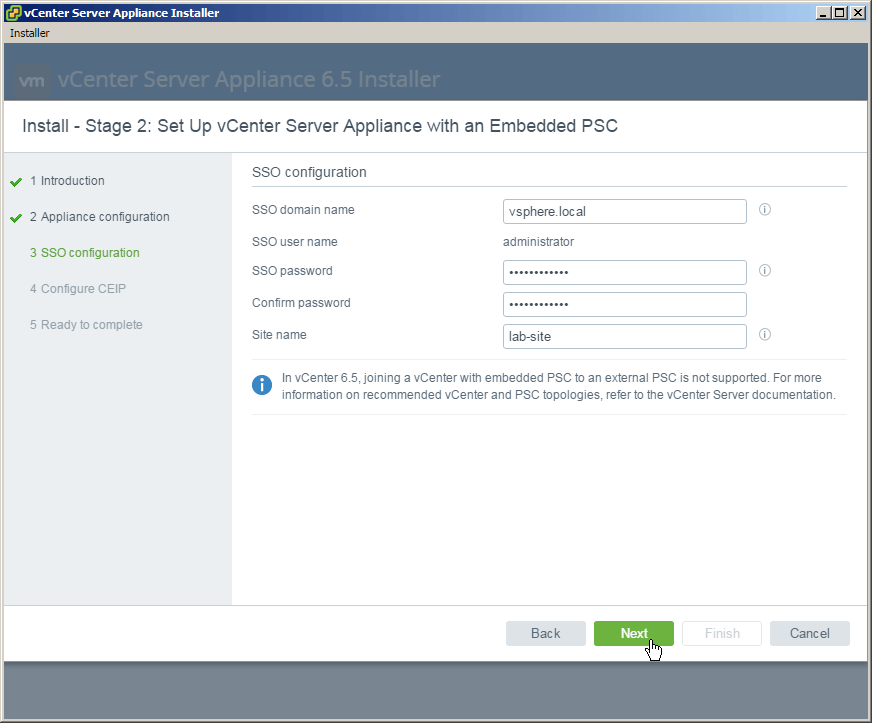
- Next configure Single Sign On (SSO) by giving it a domain name, password and site name.
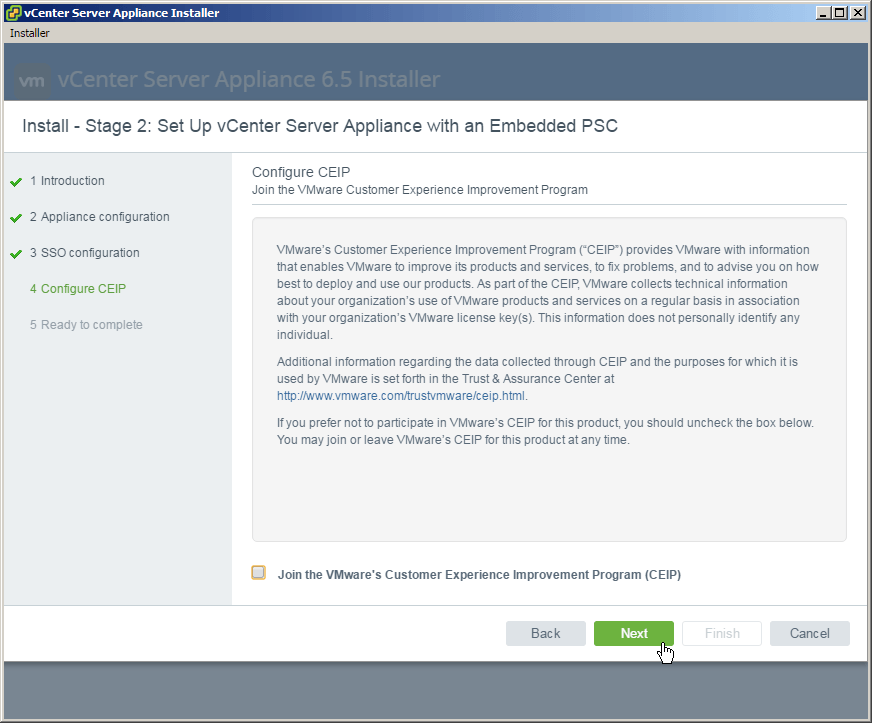
- Now decide if you’d like to join the Customer Experience Improvement Program (CEIP) and click Next.
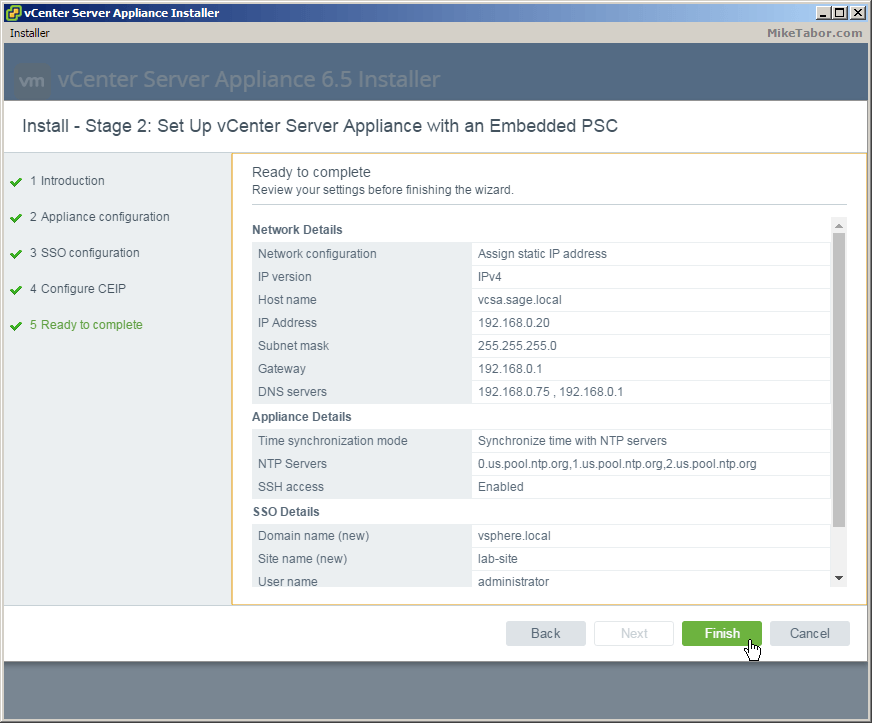
- Again review the summary and click Finish.
After the Stage 2 has completed you can then log into the vCenter web client, https://<VCENTER_IP>/vsphere-client (Flash – YUCK!) or the HTML5 client, https://<VCENTER_IP>/ui which currently only offers partial functionality. The vSphere thick client is gone in vSphere 6.5.
If you want more details about vSphere 6.5 check out the VMware vSphere 6.5 release notes here.

Hello Mike. I need help downloading the vCenter Server Appliance 6.5. I tried from all the links you provided but they kept only allowing me to download the Windows vCenter Server version.
Great job – very informative and helpful. Setup in no time. For the download, choose “vSphere Server” in your my.vmware.com login pages and download the appliance ISO file (about 3.3 GB).